AI-Assisted Film Scanning Post-Processing: Smart Color Correction Tools and Workflows Worth Trying in 2026
The process of converting film into digital files is far more complex than simply pressing the "Start" button on a scanner. For many film enthusiasts, the raw d
Why AI Intervention is Needed After Film Scanning—The Pain Points of Traditional Manual Color Correction
The process of converting film into digital files is far more complex than simply pressing the “Start” button on a scanner. For many film enthusiasts, the raw digital files exported from a scanner or camera copy stand are often just “half-products.” They typically appear dull, flat in contrast, and with color shifts—not because the film itself has failed, but because the negative information recorded on the film base requires complex inversion and color correction to restore the real world as we see it with our eyes.
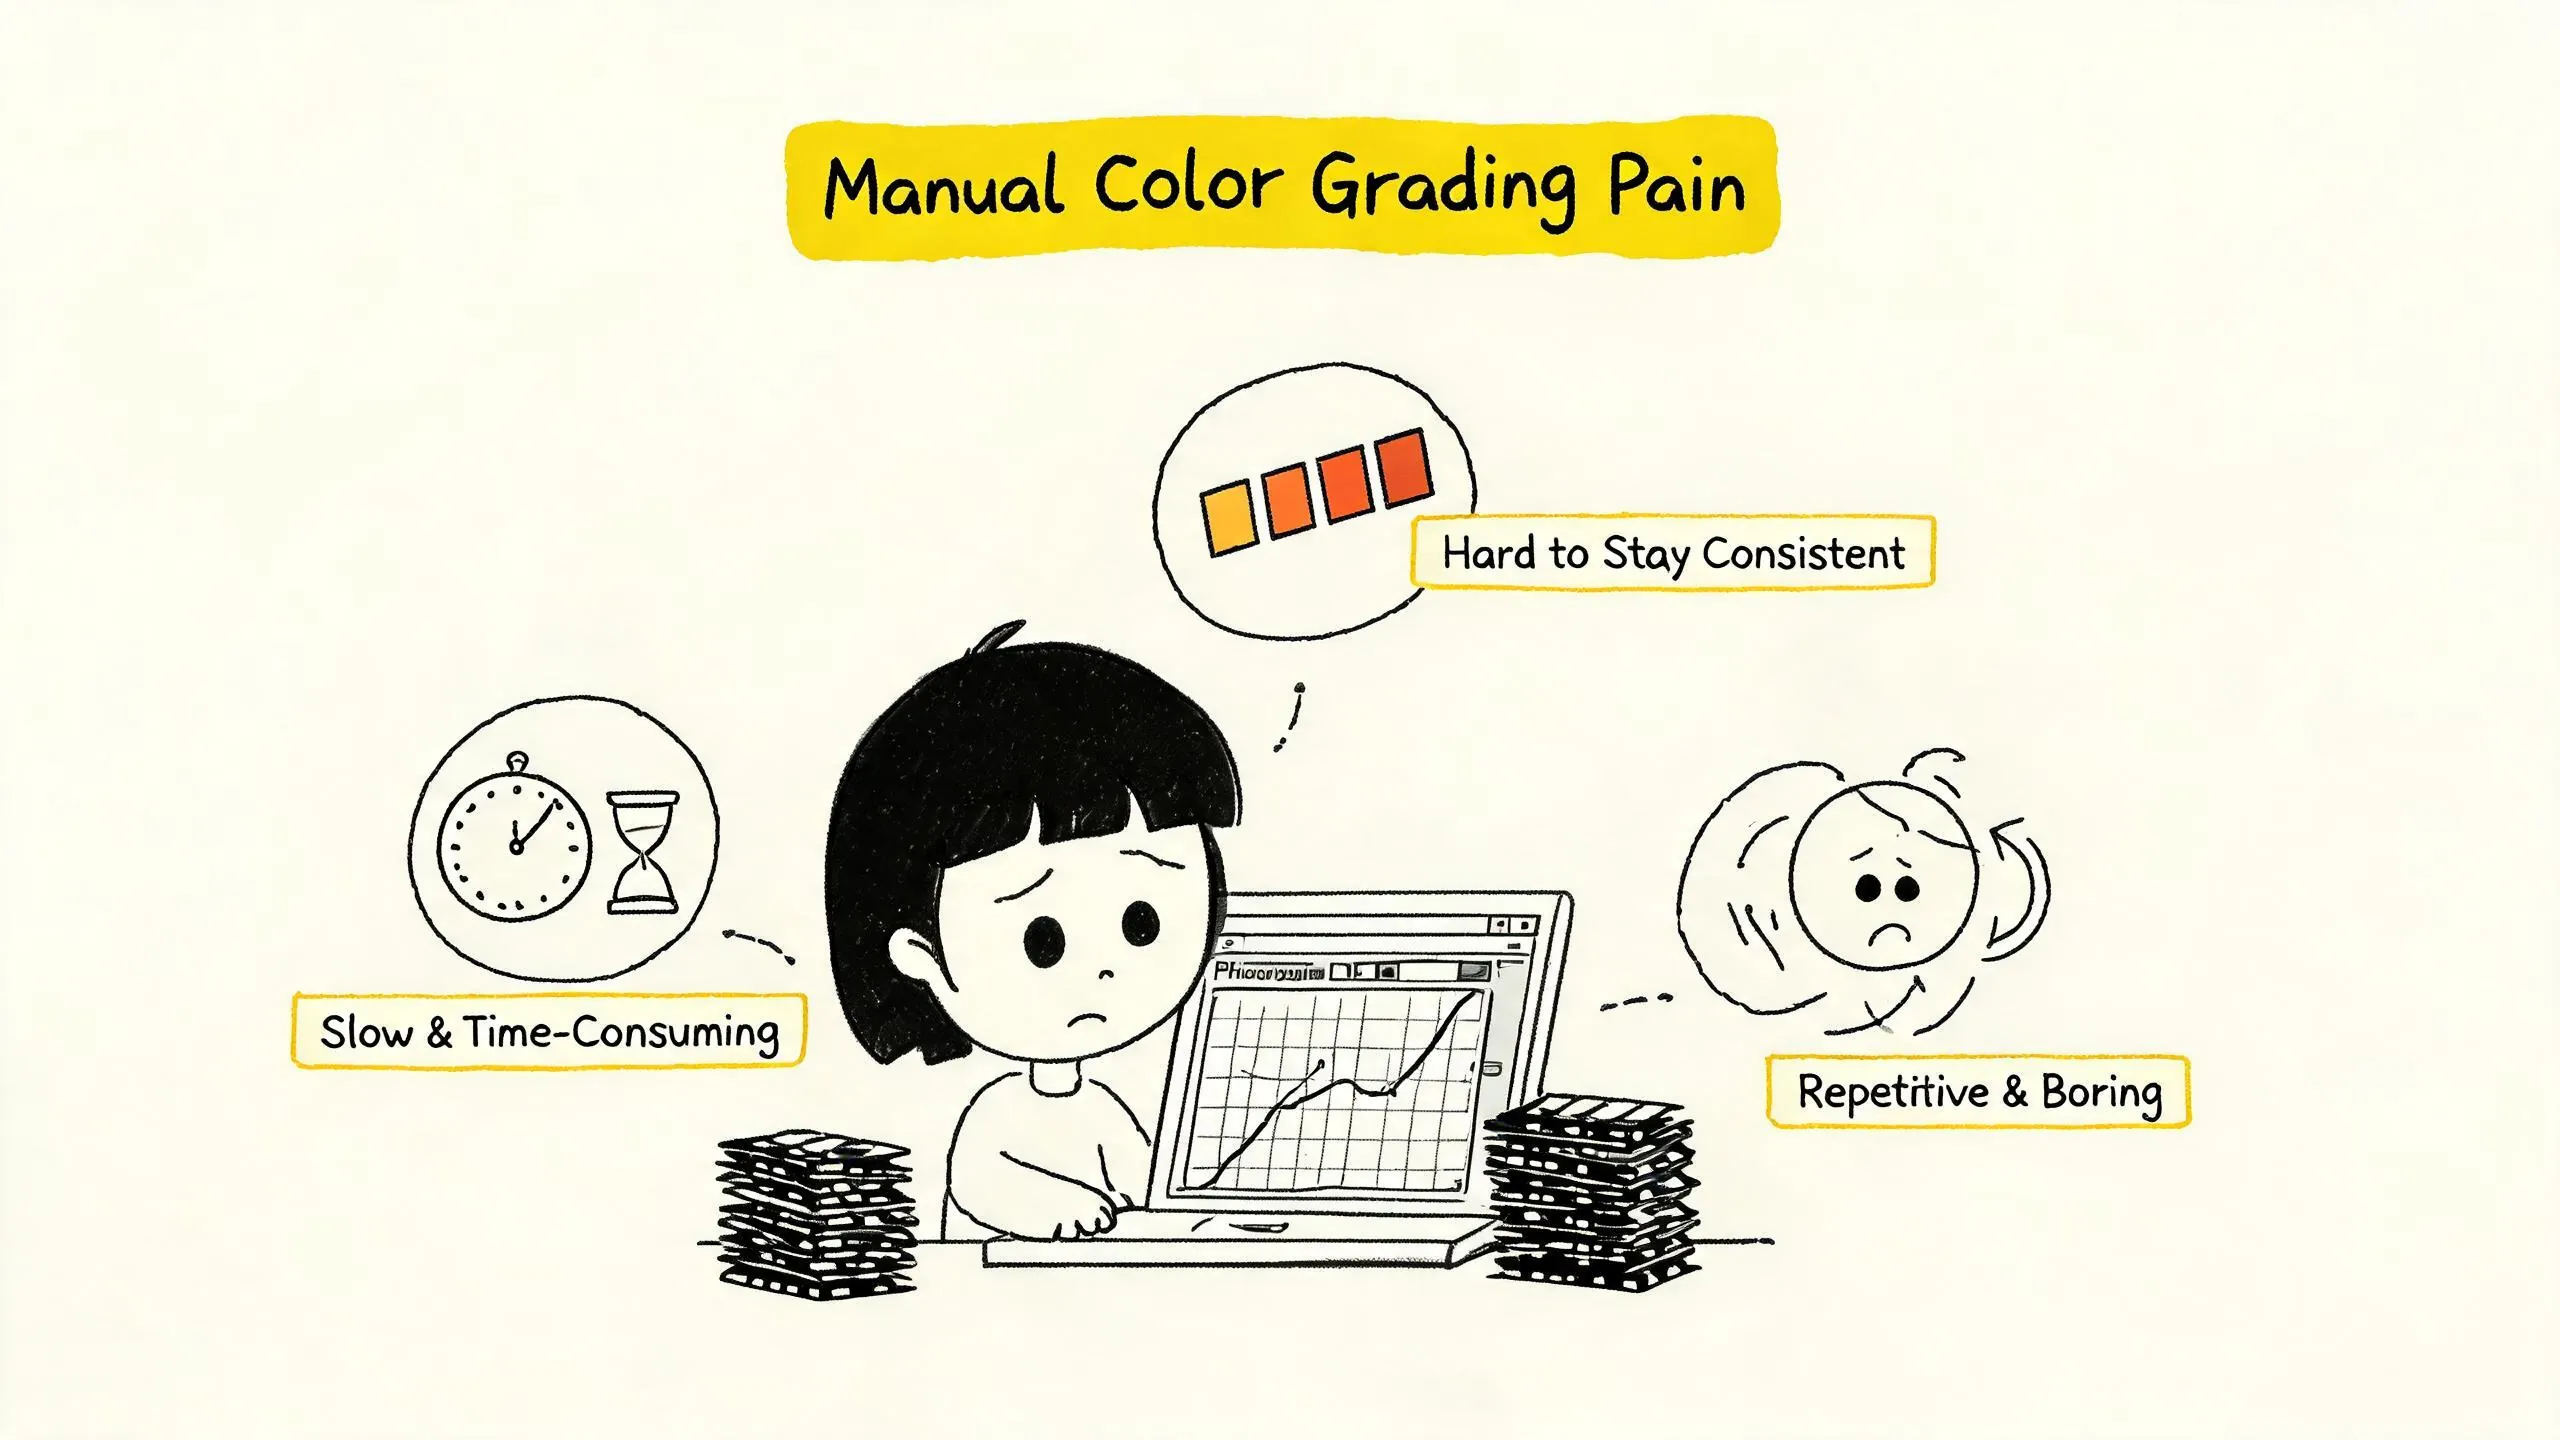
The traditional post-processing workflow centers on “manual” work. Whether using the Curves tool in Photoshop or adjusting White Balance, HSL, and Split Toning in Lightroom, each step heavily relies on the operator’s experience, eye, and patience. This process has several significant pain points:
- Low Efficiency and High Time Cost: Fine-tuning the color of a single negative frame can take 10 minutes or more. When faced with an entire roll of 36 frames or dozens of rolls from a trip, the time cost for post-processing increases exponentially, enough to dampen most of the enthusiasm for shooting.
- High Technical Barrier and Poor Consistency: Color correction requires deep theoretical knowledge and extensive practice. Negatives shot under different lighting conditions (e.g., daylight, tungsten, mixed light) exhibit different color shift directions. Even for the same roll of film, processing at different times or under different conditions makes it difficult to ensure complete consistency in tonal style.
- Repetitive Labor and Tedious Experience: The workflow involves many repetitive operations, such as basic exposure correction, white balance setting, and mask creation. These mechanical steps consume a lot of time but are not core to the creative process, easily leading to fatigue.
It is precisely these pain points that have driven the application of AI technology in the field of film scanning post-processing. The intervention of AI is not meant to replace the photographer’s final judgment but aims to automate the basic correction steps that are repetitive, mechanical, and computationally intensive. This liberates photographers from the tedious “digital darkroom” labor, allowing them to focus more on creative expression and style development.
2026 Mainstream AI Color Correction Tools Review: Performance of DxO, ON1, and Luminar Neo in Film Post-Processing
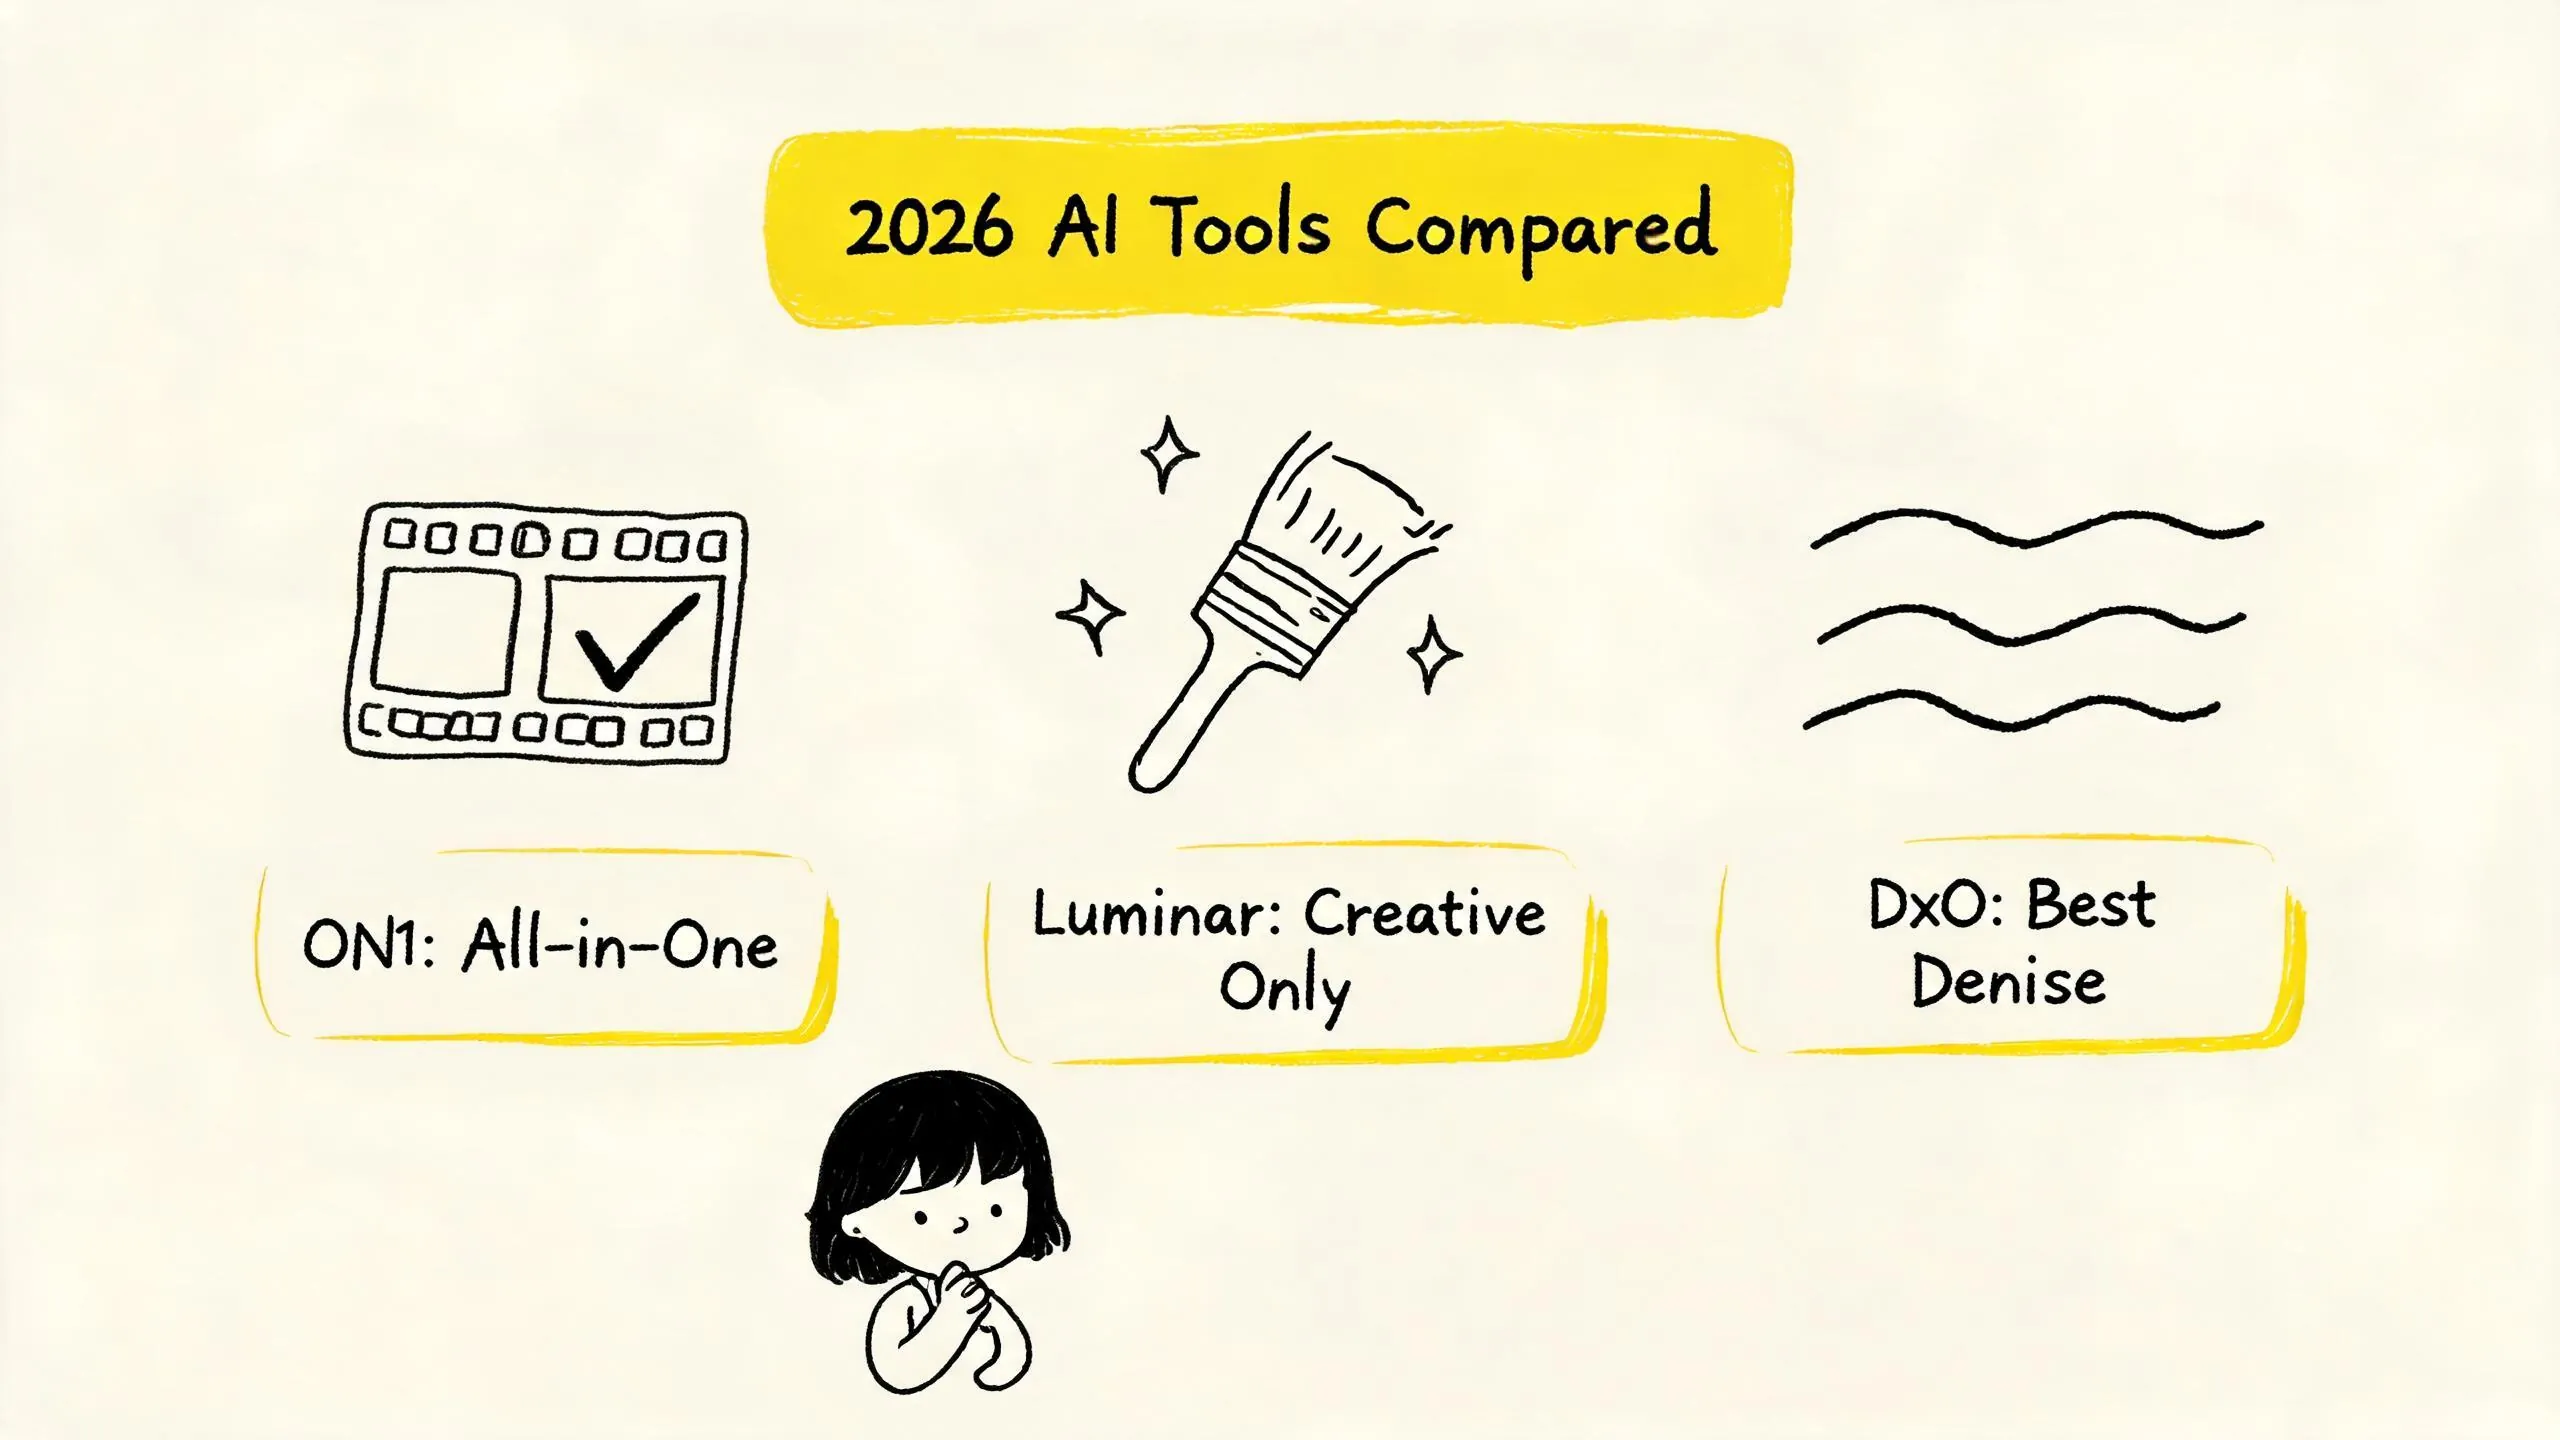
The ecosystem of film scanning post-processing tools in 2026 shows a parallel development of specialized professional tools and integrated features within comprehensive editors. On one hand, specialized negative inversion plugins like Negative Lab Pro continue to deepen their niche, becoming a “de facto standard” for many photographers. On the other hand, comprehensive image editors like ON1 and Luminar are beginning to deeply integrate AI capabilities with negative processing workflows. We focus on three representative comprehensive editors to analyze their actual performance in film scanning post-processing.
ON1 Photo RAW 2026.5: Integrated Negative Inversion and AI Enhancement
ON1 Photo RAW 2026.5 (one-time purchase, price range approx. $70-$100) launched Negative Mode in September 2025, marking a significant milestone in the comprehensive editor space. It has built-in negative inversion functionality, supporting both color and black-and-white negative modes, automatically inverting tones and removing the orange mask of the negative. This means you can complete the conversion from scanned negative files to positive images directly within ON1, without relying on third-party plugins or complex Photoshop actions.
Its built-in AI toolchain forms the core of the “AI initial correction”:
- Brilliance AI: Provides one-click intelligent analysis and correction of exposure, color, and tone, offering a solid starting point for the inverted positive image.
- NoNoise AI: Used to handle noise generated during scanning or inherent grain in high-ISO film. However, it’s important to note that community user feedback indicates that modern AI noise reduction still struggles with film grain—noise reduction can destroy film texture, but skipping it leaves grain overly prominent. This is a pain point requiring careful balancing.
- Other AI Tools: Such as Resize AI for super-resolution upscaling and Super Select AI for local adjustments, provide strong support for subsequent retouching stages.
ON1 has a high update frequency, with six free updates released in 2026. Its advantage lies in its highly integrated workflow, suitable for users who want to complete the entire process from inversion to retouching within a single software.
Luminar Neo: Powerful Creative Tools, but Not the First Choice for Negative Inversion
Luminar Neo (one-time purchase $79-$149, or subscription) is renowned for its powerful AI creative tools. Features like Enhance AI (one-click intelligent enhancement), Color Transfer, and Noiseless AI (AI noise reduction) perform excellently when processing digital photos.
However, according to Skylum’s official information, Luminar Neo currently does not have built-in negative inversion functionality. This means it cannot independently complete the conversion from scanned negatives to positive images. Therefore, Luminar Neo’s role in the film post-processing workflow is better suited as a creative tool for manual retouching stages. For example, after completing inversion and basic color correction, you can use its Film Grain filter to add or adjust film texture, or use Color Transfer for stylized color grading.
It plans to launch Luminar for Web in Fall 2026 to enable cross-device editing, but cross-device synchronization is still being refined. Its advantage lies in the richness and ease of use of its AI creative features, suitable for adding artistic enhancements to already processed film images.
DxO PhotoLab 7 / PureRAW 4: The Noise Reduction King, but Requires Companion Use
DxO’s product line is known for its strong technical prowess. DeepPRIME XD2 is its AI-driven noise reduction and demosaicing engine introduced with PureRAW 4 (released in 2024), excelling in high-ISO scenarios and widely recognized as one of the strongest AI noise reduction technologies. For scanned film files, especially high-ISO film or noise introduced by scanners, DeepPRIME XD2 can provide significant improvement.
However, DxO PhotoLab itself does not support negative inversion. Its role is more like a powerful “preprocessing” or “enhancement” module in a hybrid workflow. A viable path is: first use a specialized tool (like Negative Lab Pro) to complete negative inversion, then import the generated positive DNG/TIFF files into DxO PhotoLab, use DeepPRIME XD2 for fine noise reduction, and then combine its powerful color and exposure adjustment tools for correction.
Additionally, DxO’s FilmPack 7 is a film color simulation tool that can emulate the color styles of classic films like Kodak Portra and Fuji Velvia, but this is stylized digital post-processing, not negative inversion. Its advantage lies in unmatched noise reduction quality and color science, suitable for users with extreme demands on image quality, but it requires use in conjunction with other tools.
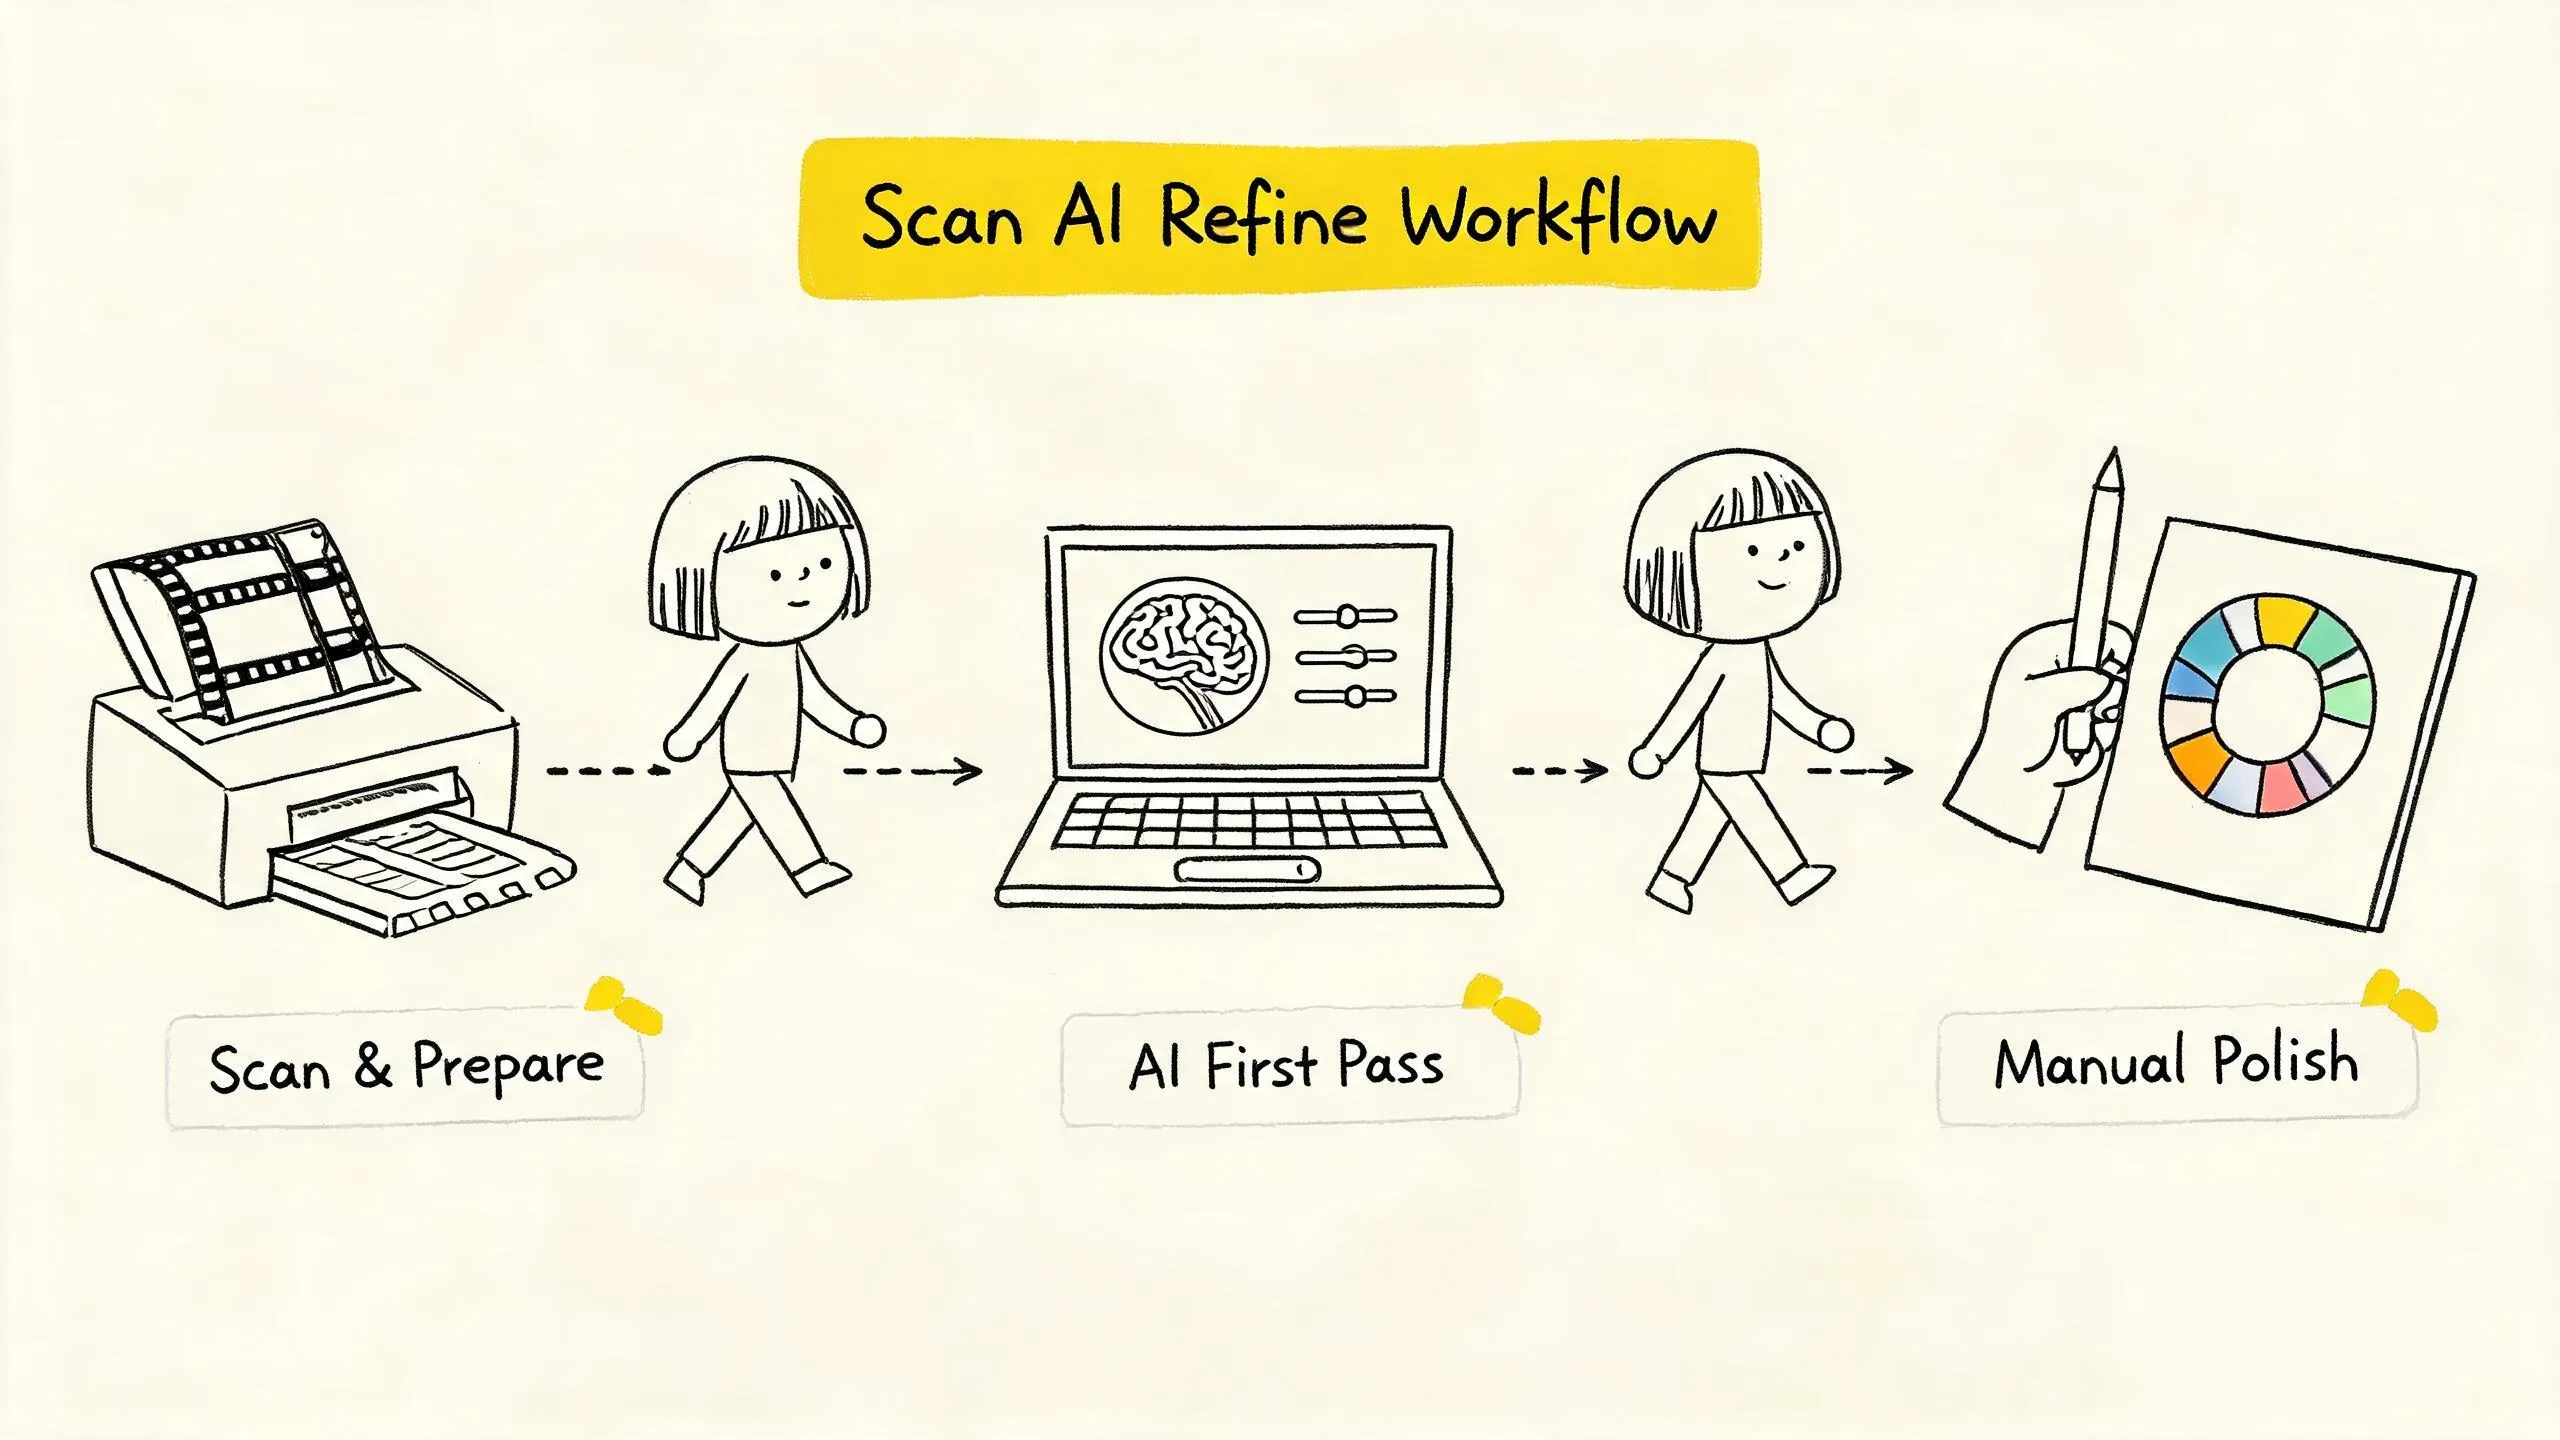
Practical Demonstration of the “Scan → AI Initial Correction → Manual Retouching” Hybrid Workflow
Based on the current capabilities of available tools, a pragmatic and efficient hybrid workflow should be: use specialized tools or built-in functions for core negative inversion, leverage AI engines for basic noise reduction and color correction, and finally perform manual retouching for creative control and flaw repair. Here is a specific operational path example:
Step 1: Scanning and File Preparation
- Equipment Choice: Traditional flatbed scanners (like Epson V700/V800) paired with SilverFast Ai Studio software can achieve excellent scan quality. SilverFast’s NegaFix feature provides precise color profiles for different film brands and models, and its Multi-Exposure technology can double dynamic range. For users seeking efficiency, using a DSLR/mirrorless camera for copy work is faster, but requires setting up a copy stand and lighting in advance.
- Output Format: Regardless of the equipment used, it’s recommended to save scanned files as 16-bit TIFF or DNG (Digital Negative) format to maximize the retention of film information and provide the greatest latitude for subsequent processing.
Step 2: AI Initial Correction—Inversion, Noise Reduction, and Basic Correction
This is the stage where AI provides the most value, aiming to quickly obtain a correctly exposed, color-neutral positive image base.
- Negative Inversion:
- Option A (Integrated): Import scanned files directly into ON1 Photo RAW 2026.5 and enable Negative Mode. The software will automatically complete inversion and mask removal, yielding a basic positive image.
- Option B (Professional Workflow): Import scanned files (especially DNG format) into Adobe Lightroom Classic and use the Negative Lab Pro v3.1 plugin for inversion. NLP continues to improve color accuracy and supports batch processing. For users scanning with SilverFast, its HDR RAW workflow integrates seamlessly with NLP.
- AI Noise Reduction and Color Enhancement:
- If using ON1: After inversion, you can directly apply Brilliance AI for one-click correction, then use NoNoise AI as needed to handle grain. Be cautious with noise reduction intensity—retaining some grain is key to maintaining film character.
- If using NLP+DxO Workflow: After completing inversion and basic adjustments in Lightroom with NLP, export the file as TIFF/DNG, then import into DxO PhotoLab and use DeepPRIME XD2 for fine noise reduction. DxO’s DxO Wide Gamut color space helps retain richer color information during processing.
Step 3: Manual Retouching—Local Adjustments and Creative Stylization
After AI initial correction, the image reaches an 80-point foundation. The remaining 20 points require manual intervention to inject soul.
- Local Adjustments: Use the software’s masking tools (like ON1’s Super Select AI, Luminar’s AI Masking, or Lightroom’s Radial/Gradient Filters) to individually adjust exposure, color, and tone for areas like skies, faces, and shadows.
- Color Fine-Tuning: Through the HSL panel and color grading tools, personalize the overall tone, enhancing or subduing specific colors.
- Creative Stylization: At this stage, you can introduce DxO FilmPack 7’s film simulations to give digital files the color character of specific films; or use Luminar Neo’s Color Transfer to migrate color styles from reference images.
- Flaw Repair: Use the healing brush or generative erase tools (like ON1’s Generative Erase) to remove dust, scratches, or other imperfections not fully addressed during scanning.
Limitations and Boundaries of AI Color Correction: Scenarios Still Requiring Manual Intervention
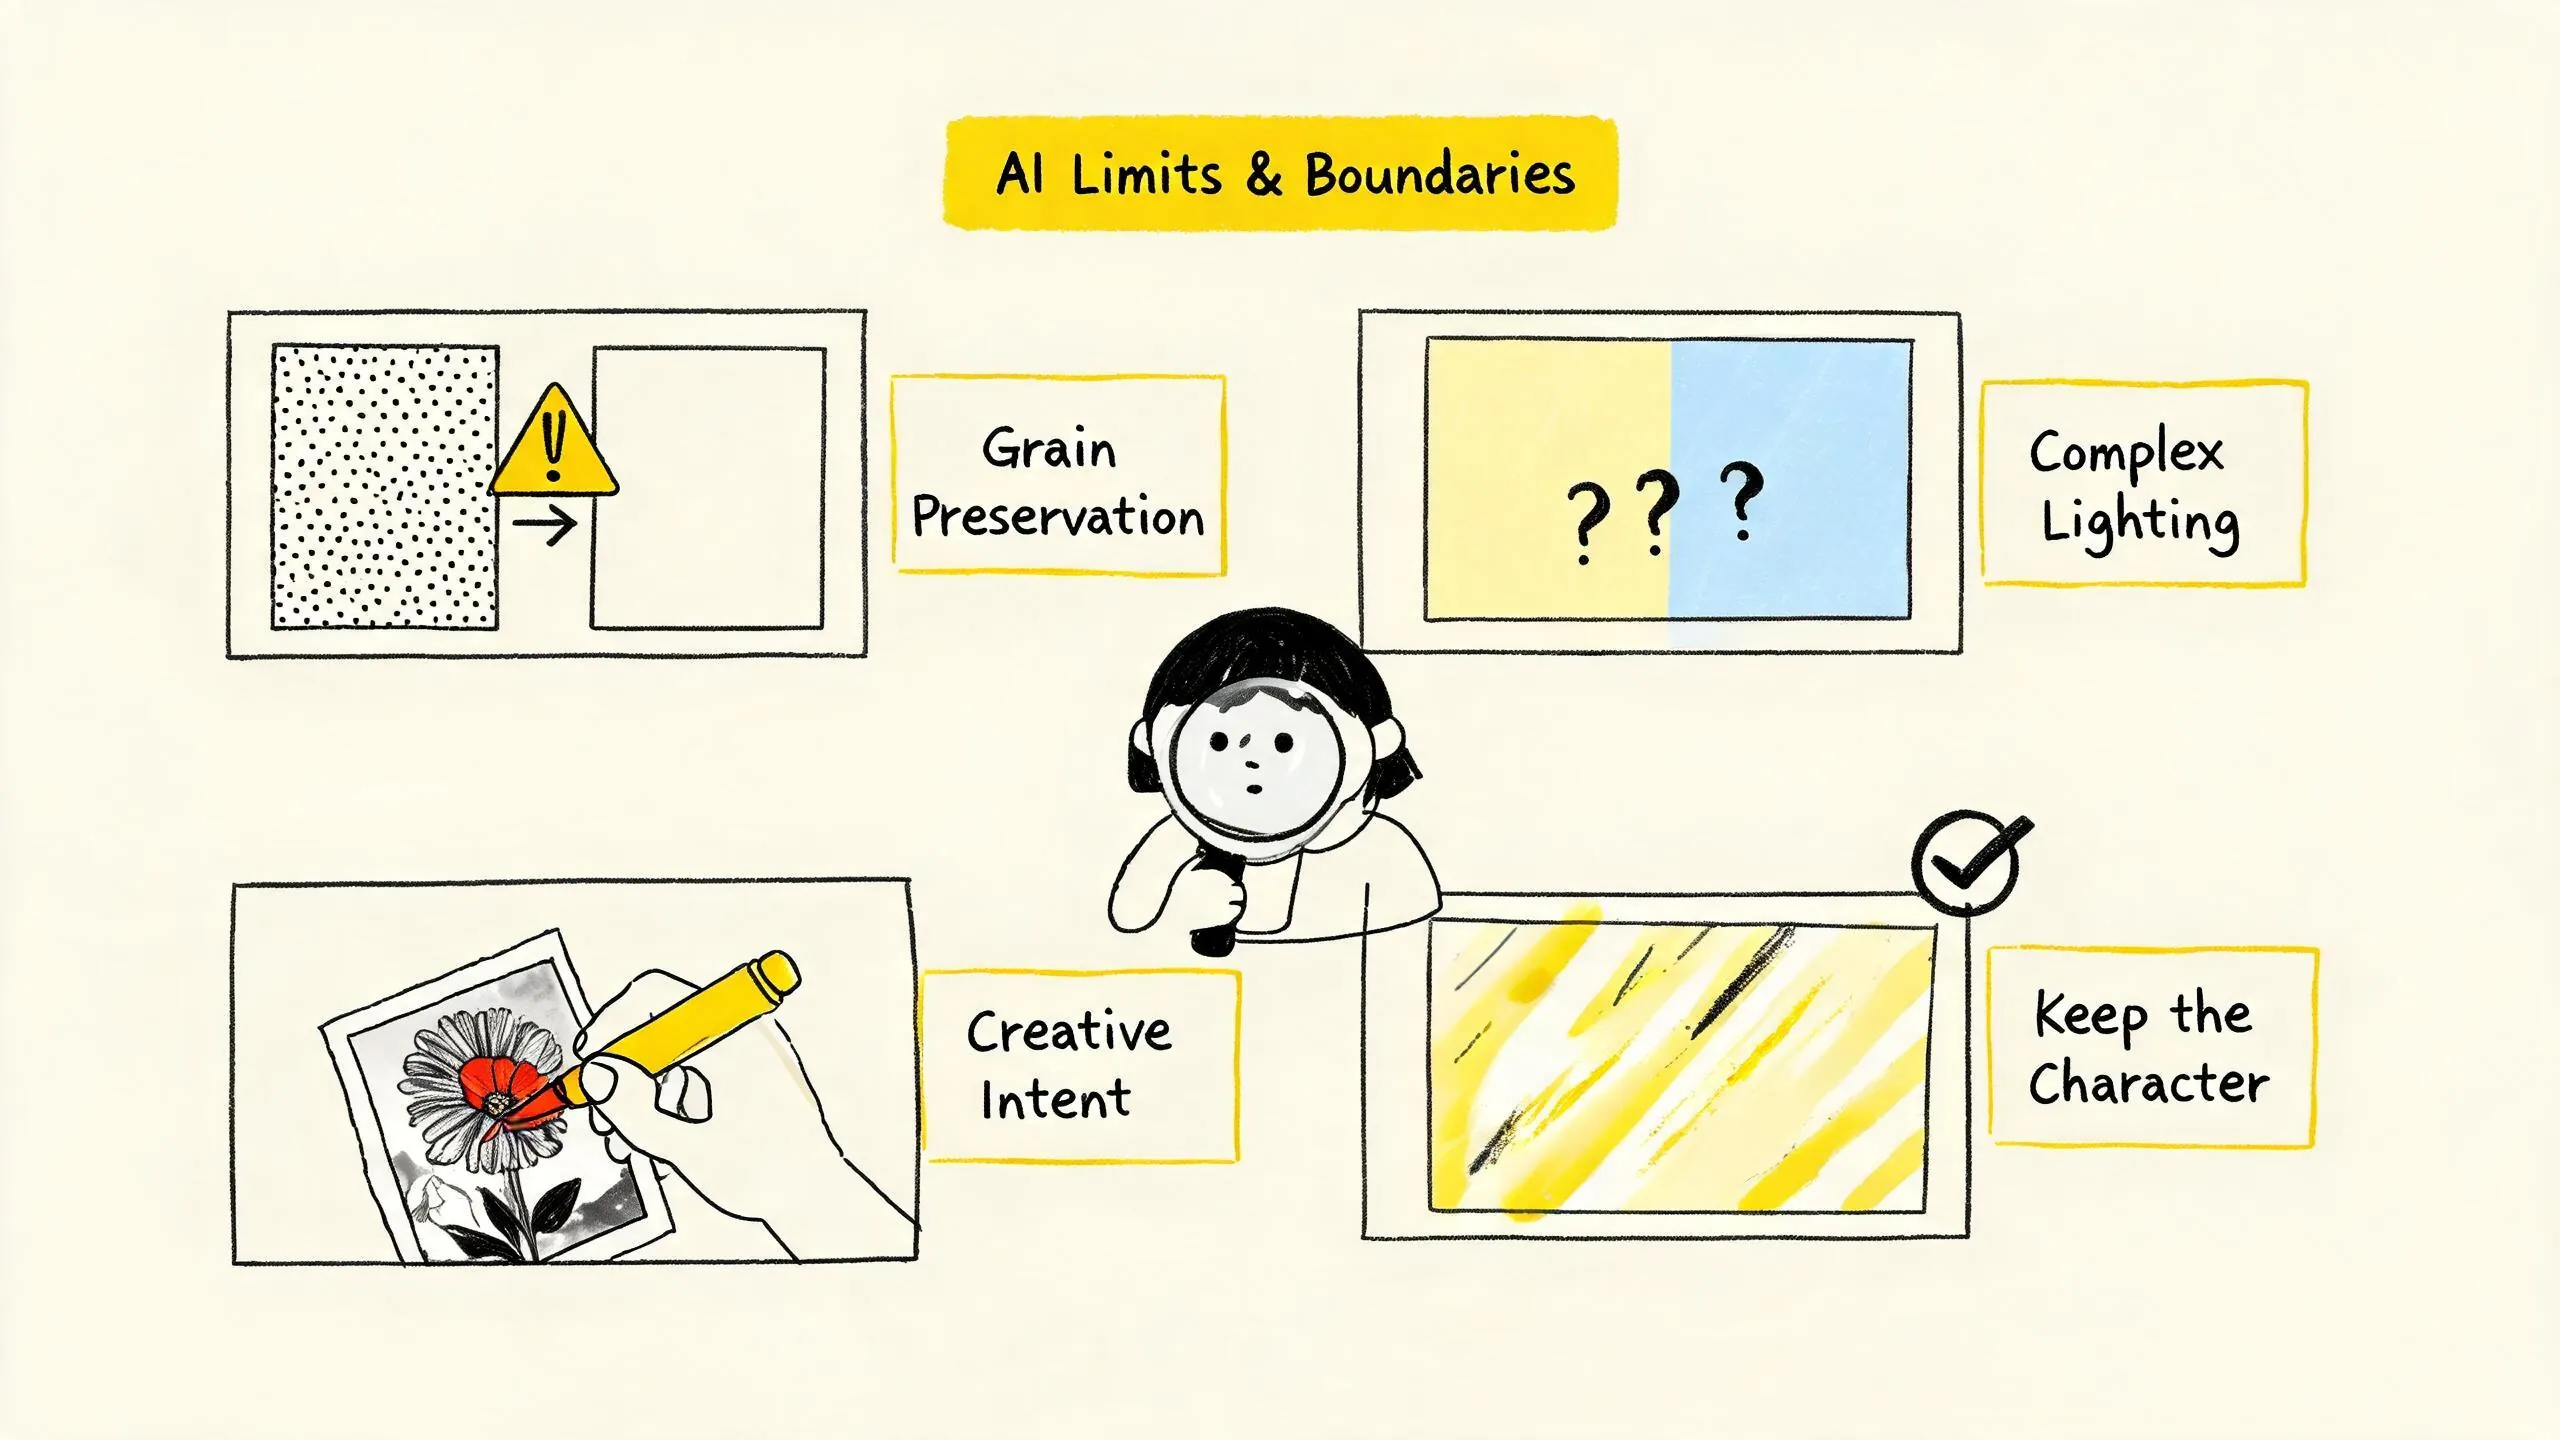
While AI tools have brought an efficiency revolution, they are not omnipotent. In film post-processing, the following scenarios still require photographer vigilance, and manual intervention remains indispensable:
- Handling of Film Grain: This is currently one of AI’s biggest shortcomings. AI noise reduction algorithms tend to treat grain as “noise” and attempt to smooth it out, which severely damages the unique texture of film. The correct approach is to exercise restraint during the AI noise reduction step—or skip it entirely—and then “manage” the grain in subsequent manual retouching through adjustments to contrast, sharpening, etc., making it an organic part of the image rather than a defect.
- Complex Lighting and Color Restoration: For scenes with mixed light sources, extreme color temperatures, or specific color casts (e.g., using Wratten filters), AI’s “automatic correction” may not accurately understand the photographer’s creative intent. In such cases, manual white balance, color calibration, and curve tools must be relied upon for precise restoration.
- Local Creative Intent: AI excels at global optimization but is powerless for local, subjective creative adjustments. For example, if you want a streetlamp in the frame to emit a specific warm yellow light, or to have shadows lean towards cool tones, these require manual masking and local adjustments.
- Preservation of Historical Feel and Imperfections: Sometimes, minor scratches, light leaks, or vignetting on the negative are precisely part of the charm of film photography. AI tools may attempt to “repair” these traces, and photographers need to judge which are flaws to remove and which are “character” to retain.
Tool Selection Recommendations: Recommended Solutions for Different Budgets and Needs
Facing a variety of tools, how to choose? The key lies in clarifying your workflow preferences, budget, and image quality requirements.
- Pursuing Integration and Efficiency with Limited Budget: ON1 Photo RAW 2026.5 is the top choice. It offers a complete solution from negative inversion to AI enhancement and retouching as a one-time purchase, with high update frequency and outstanding cost-effectiveness. Suitable for enthusiasts looking to simplify the workflow and produce images quickly.
- Pursuing Ultimate Image Quality and Noise Reduction, Open to Multi-Software Collaboration: The combination of Negative Lab Pro (Lightroom plugin) + DxO PhotoLab sets the benchmark for image quality. NLP handles precise inversion, while DxO’s DeepPRIME XD2 provides top-tier noise reduction. This workflow is slightly complex but yields the cleanest, most detailed images. Suitable for commercial or artistic photographers with strict image quality demands.
- Already in the Lightroom/Photoshop Ecosystem, Seeking Free or Low-Cost Solutions: Consider CineStill CS Negative+ (free, Adobe CC plugin) for inversion, whose color restoration is praised as “true-to-film”, or use the built-in Film Negative tool in the free and open-source RawTherapee. Then use Lightroom/ACR’s basic adjustment tools for manual color correction. This is the lowest-cost entry path.
- Treating Film Post-Processing as a Creative Endpoint, Not a Starting Point: If you primarily use digital cameras but occasionally scan film and wish to add a unique “film look,” Luminar Neo’s rich AI filters and creative tools (like Film Grain, Color Transfer) will be very useful. But remember, it requires you to first complete negative inversion using other tools.
In summary, AI tools in 2026 have already profoundly changed the landscape of film scanning post-processing, liberating photographers from repetitive labor. The wisest strategy is to embrace AI’s efficiency in basic corrections while maintaining manual control over creative expression in retouching. In the “Scan → AI Initial Correction → Manual Retouching” hybrid workflow, find your own balance point, letting technology serve creation rather than replace it.