The Raw Aesthetic of Direct Flash: Capturing Y2K Party Vibes with Hard Flash + Tungsten Film
In an era where digital photography pursues ultimate clarity, perfect lighting, and noise-free images, a counter-trend is making a strong comeback in the 2026 f
Why “The Uglier, the Better”? — The Aesthetic Origins of the Direct Flash Look
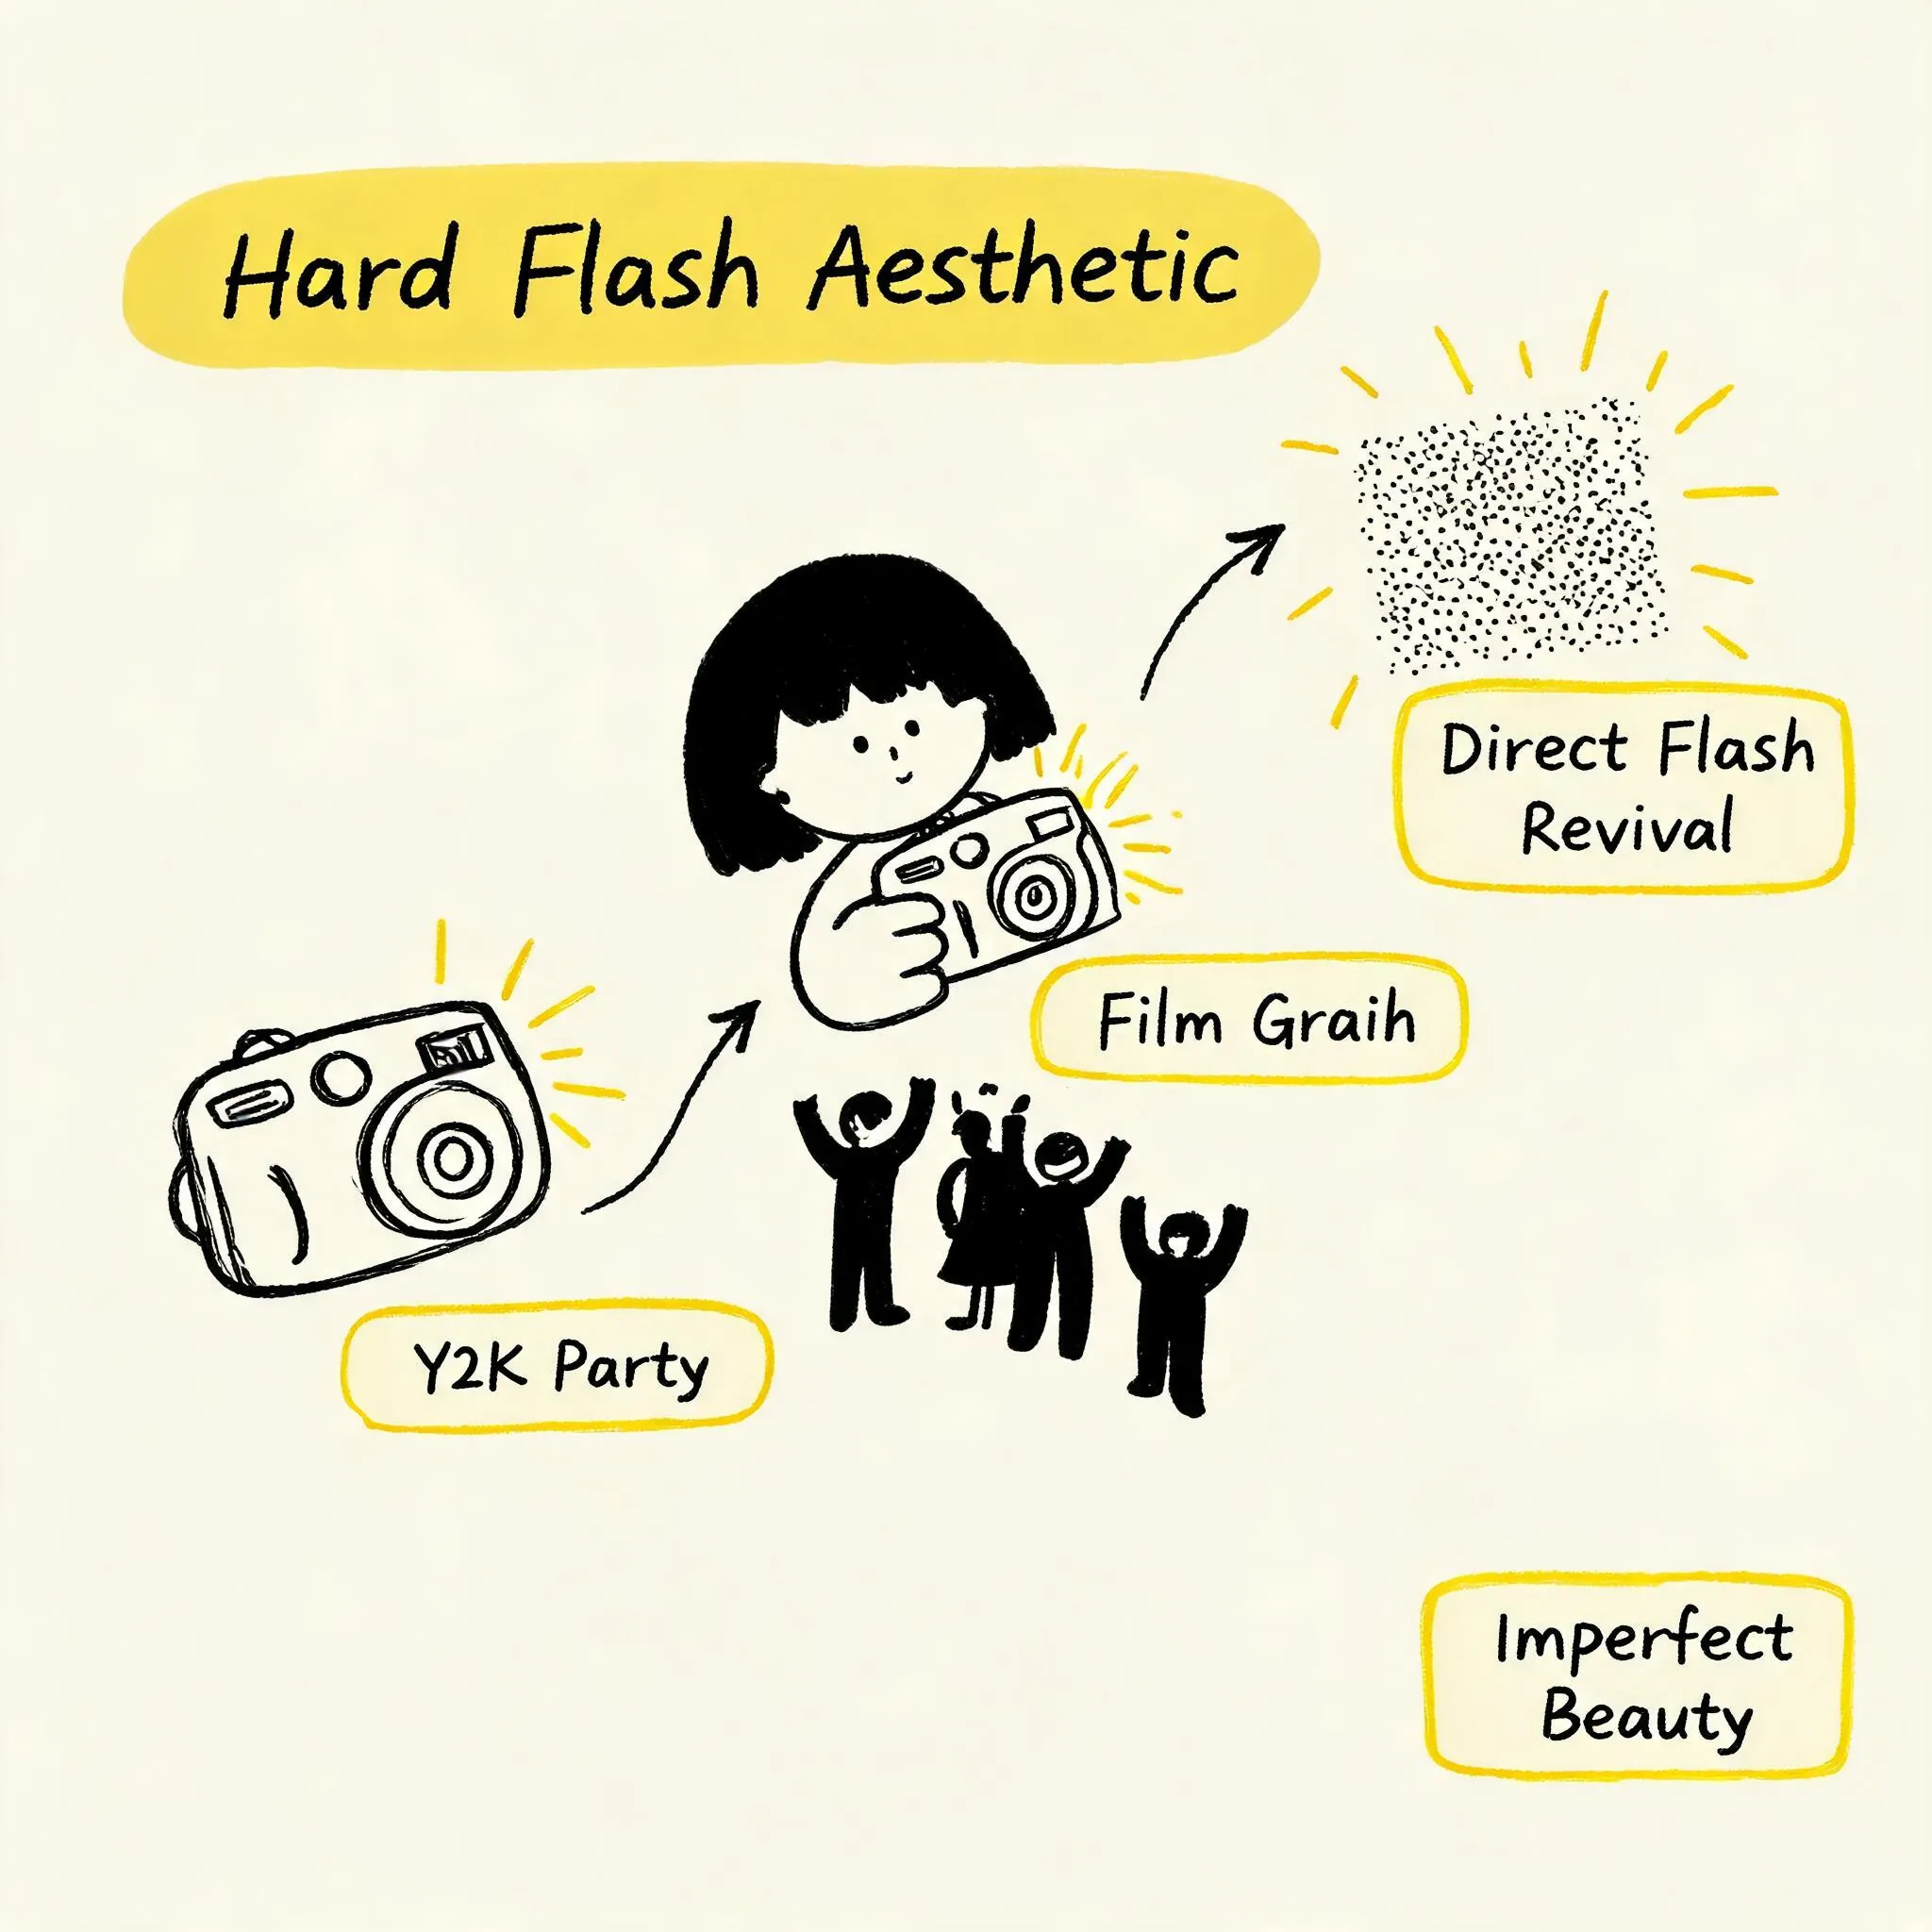
In an era where digital photography pursues ultimate clarity, perfect lighting, and noise-free images, a counter-trend is making a strong comeback in the 2026 film photography scene. It’s the Hard Flash Aesthetic. This style deliberately uses the camera’s built-in, direct hard flash, paired with specific color-temperature film, to create intense color shifts, gritty contrast, and flat lighting effects under warm ambient light. This aesthetic is the core visual language of Y2K-era party snapshots and disposable camera culture .
This revival is no accident. UK-based lab Film Processing noted in its February 2026 trend report that point-and-shoot cameras with small built-in flashes are being sought after for reasons “beyond technical perfection”—direct flash, slight motion blur, soft focus, and occasional light leaks combine to create a relaxed, spontaneous aesthetic tied to Y2K party photos and disposable camera nostalgia . For Photographers Only even listed it as one of the three defining photography style trends of 2026, calling it the “Direct Flash Revival,” arguing that this harsh, gritty light produces “sharp shadows, flat lighting, and a confrontational energy, as if snatched from a candid moment” .
From a psychological perspective, this trend is a rebellion against overly retouched digital images and AI-generated content. A deep analysis by For Photographers Only points out that 2026 photography is shifting from technical perfection to “human presence,” with “searches for film grain up 31%.” Visible grain, motion blur, and candid expressions have become visual markers distinguishing human-taken photos from AI-generated ones. In 2026, “texture conveys ‘a person did this,’ just like a handwritten signature conveys ‘a person wrote this’” . Lomography Taiwan connects it to Eastern aesthetics, linking it to the philosophy of “Wabi-sabi,” where “imperfections” like light leaks and underexposure constitute natural beauty . Therefore, mastering the direct flash aesthetic isn’t just about a shooting technique; it’s about participating in a visual dialogue about authenticity, spontaneity, and humanity.

Film Selection Guide: Mixing Tungsten and Daylight Film
The soul of the hard flash aesthetic lies in the conflict between flash and film color temperature. Understanding this is key to choosing film.
The Color Shift Magic of Tungsten-Balanced Film
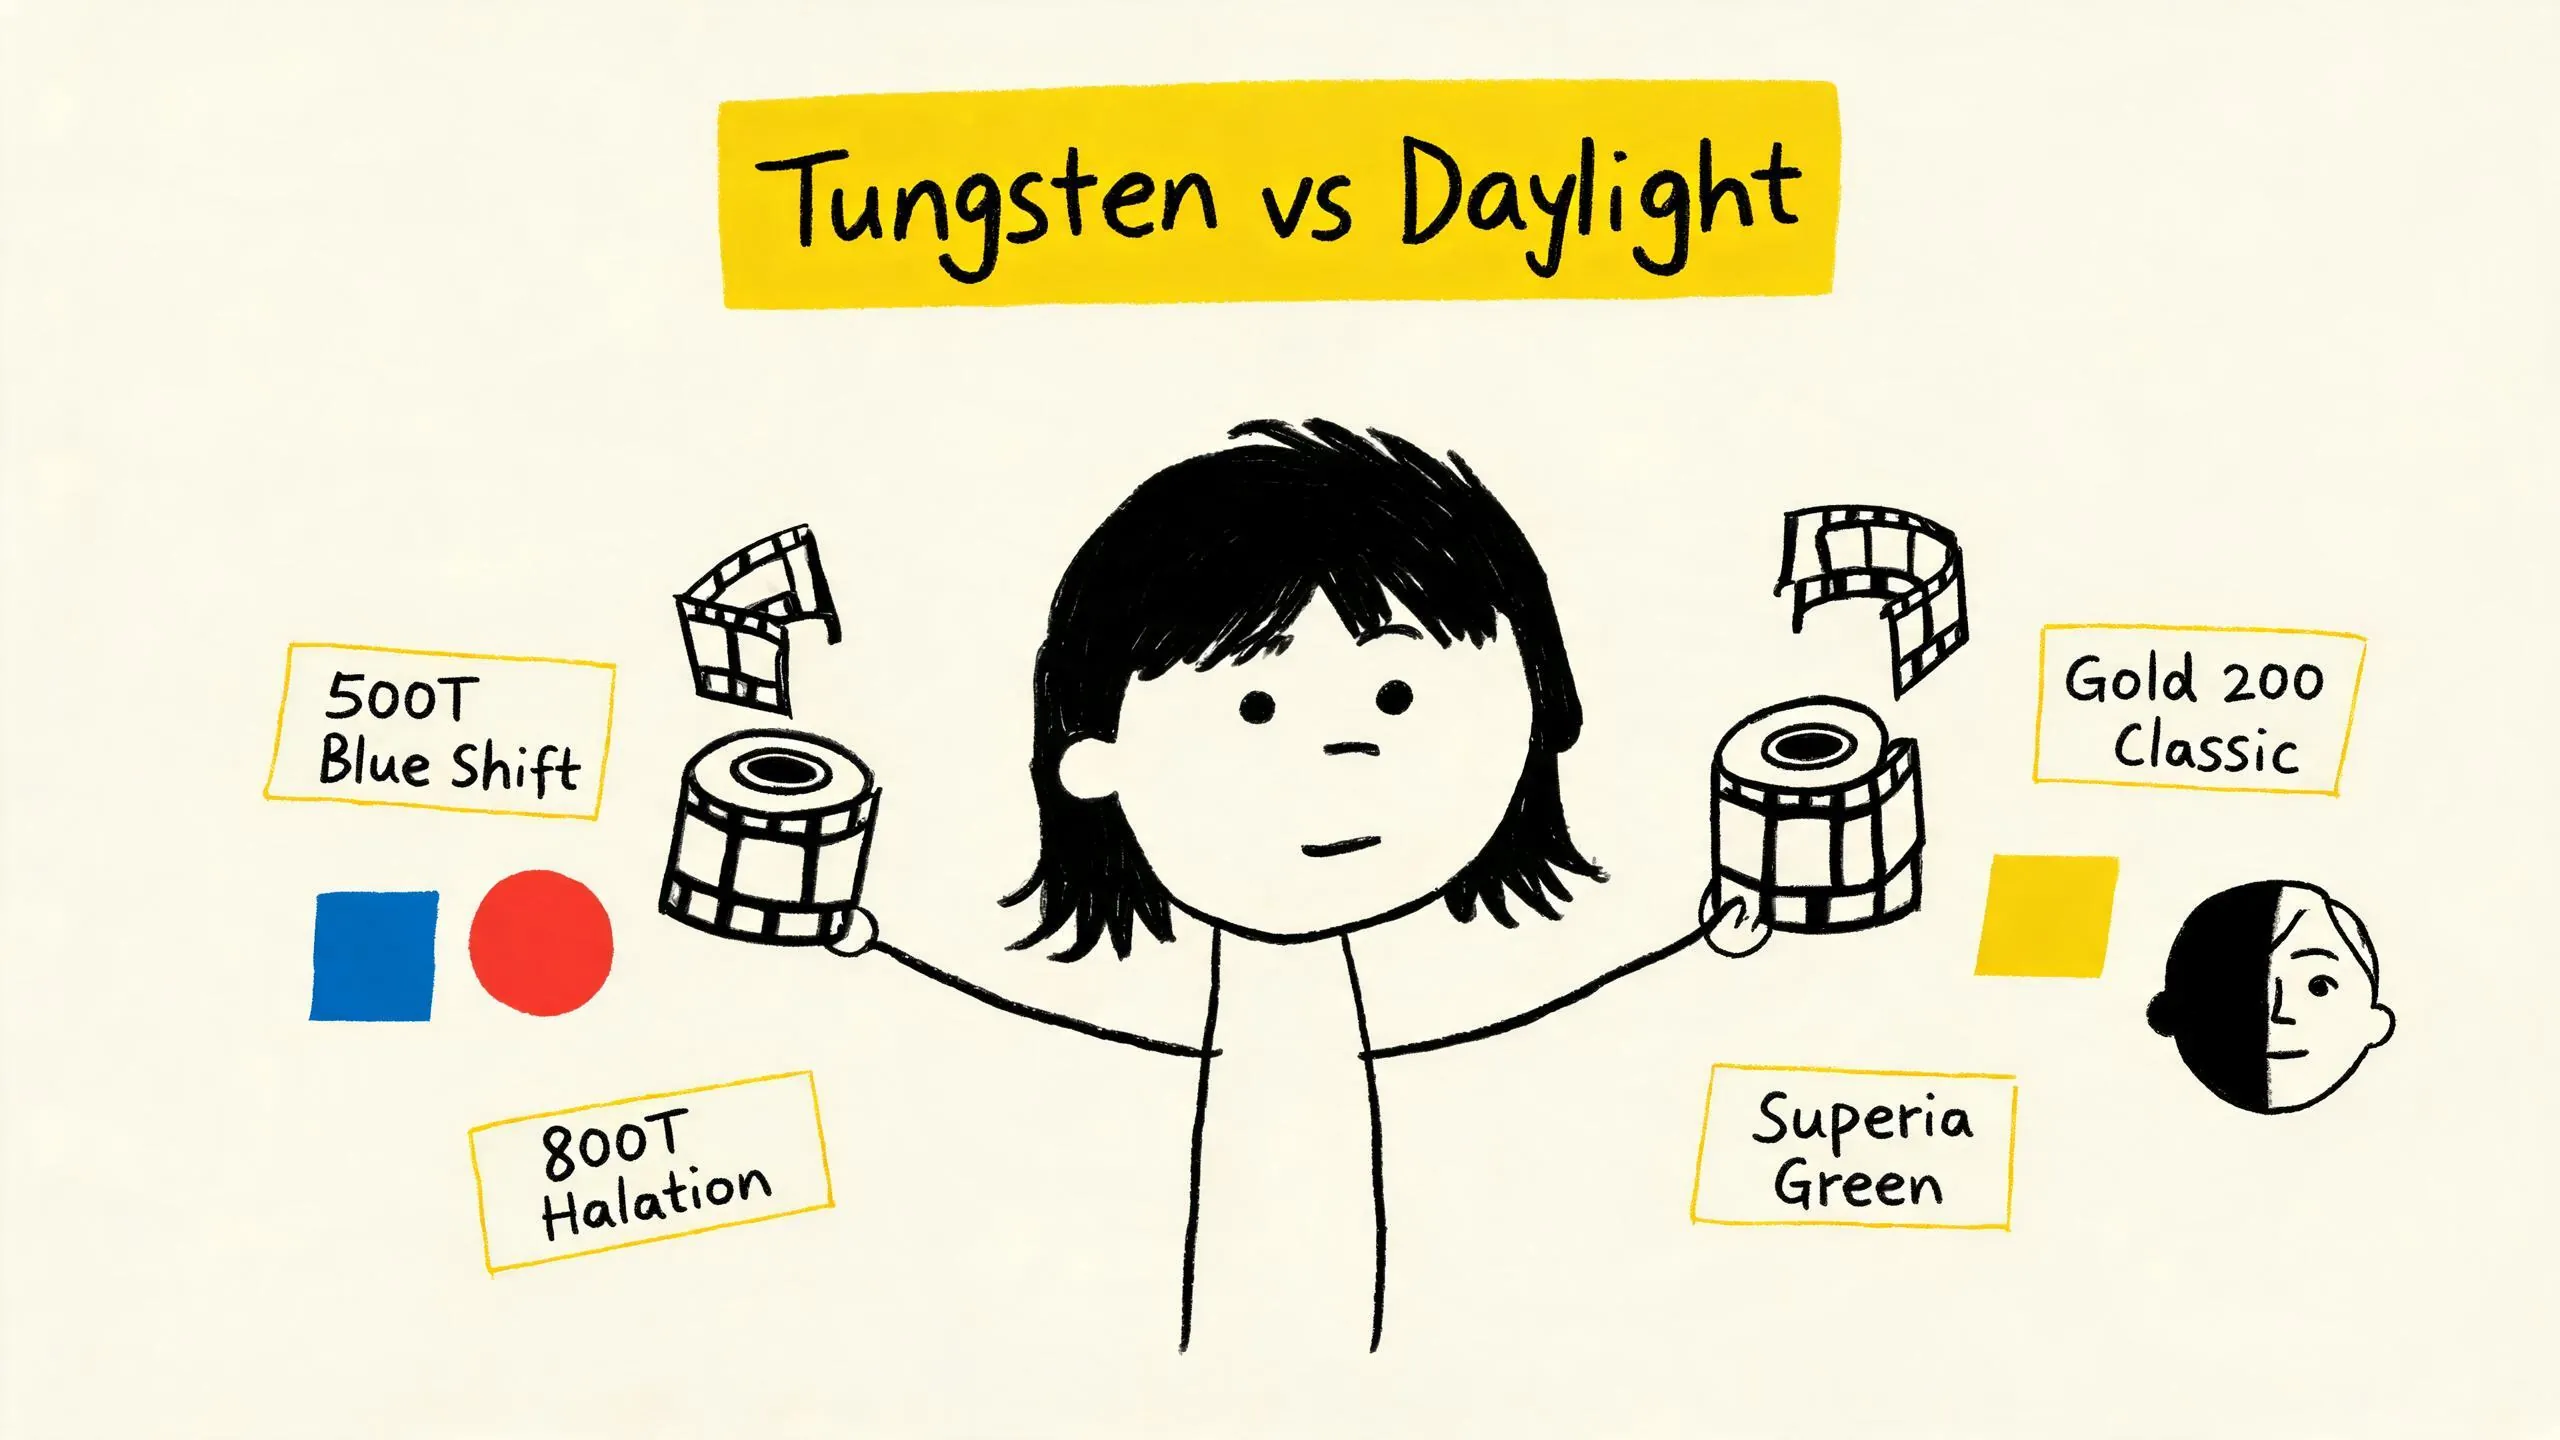
Tungsten-balanced film is calibrated to 3200K, designed to render neutral colors under warm artificial light sources like tungsten bulbs. Electronic flashes, however, have a color temperature around 5500K, similar to daylight . When shooting with tungsten film:
- In pure warm light environments (e.g., candlelight, tungsten bulbs), colors will appear relatively normal.
- When hard flash is introduced, the flash’s 5500K daylight color temperature on 3200K-balanced film creates a strong blue color shift. This collision of cool white light with a warm background is the core of the style. Analog.cafe’s review of Kodak Vision3 500T notes that this film has “enhanced sensitivity in the blue layer… this adjustment counteracts the orange cast of artificial lighting at the source” .
The Straightforward Contrast of Daylight Film
Using standard daylight-balanced film (e.g., Kodak Gold 200, Fujifilm Superia 400) with direct flash yields a more straightforward effect. The flash and film color temperatures match, so the subject is “lit up” and “flattened,” while the background quickly darkens due to flash falloff, creating strong contrast and flat lighting. This is a more “direct” form of grit.
Five Recommended Films for the Direct Flash Aesthetic
- Kodak Vision3 500T: A cinema-grade tungsten film, the ultimate choice for creating blue shifts and a cinematic feel. Note that it’s designed for the film industry and has a remjet anti-halation layer; personal processing requires a lab that can handle this process .
- CineStill 800T: Essentially “Kodak Vision3 500T with the remjet layer removed.” Removing the remjet allows light to reflect from the film base back into the emulsion, creating the signature red halation, especially around point light sources. Kubus Photo points out that while its box speed is 800 ISO, it’s based on the 500T emulsion, so metering between 500-800 ISO is recommended . The Darkroom explains the halation: “Light passes through the emulsion, hits the film base, bounces back, and re-exposes adjacent emulsion” .
- Lomography Tiger 200: A daylight-type color negative film with vibrant colors and moderate grain. Paired with direct flash, it produces a bright, retro party feel—a great choice for beginners.
- Kodak Gold 200: A classic daylight film with warm colors and high latitude. Under direct flash, it delivers a very typical “point-and-shoot” look with moderate contrast, ideal for everyday documentation.
- Fujifilm Superia X-TRA 400: A high-speed daylight film, easier to handhold in low light. Direct flash produces strong contrast, and its unique green tones can add a touch of coolness to the image.
Core Idea: For intense color drama, choose tungsten film; for a direct, bright retro feel, choose daylight film. Bold mixing is part of the fun of this aesthetic.
Camera and Flash Settings: From Point-and-Shoot to Off-Camera Flash
Tool choice directly influences the “purity” of the resulting style.
Point-and-Shoot Cameras: The Best Starting Point
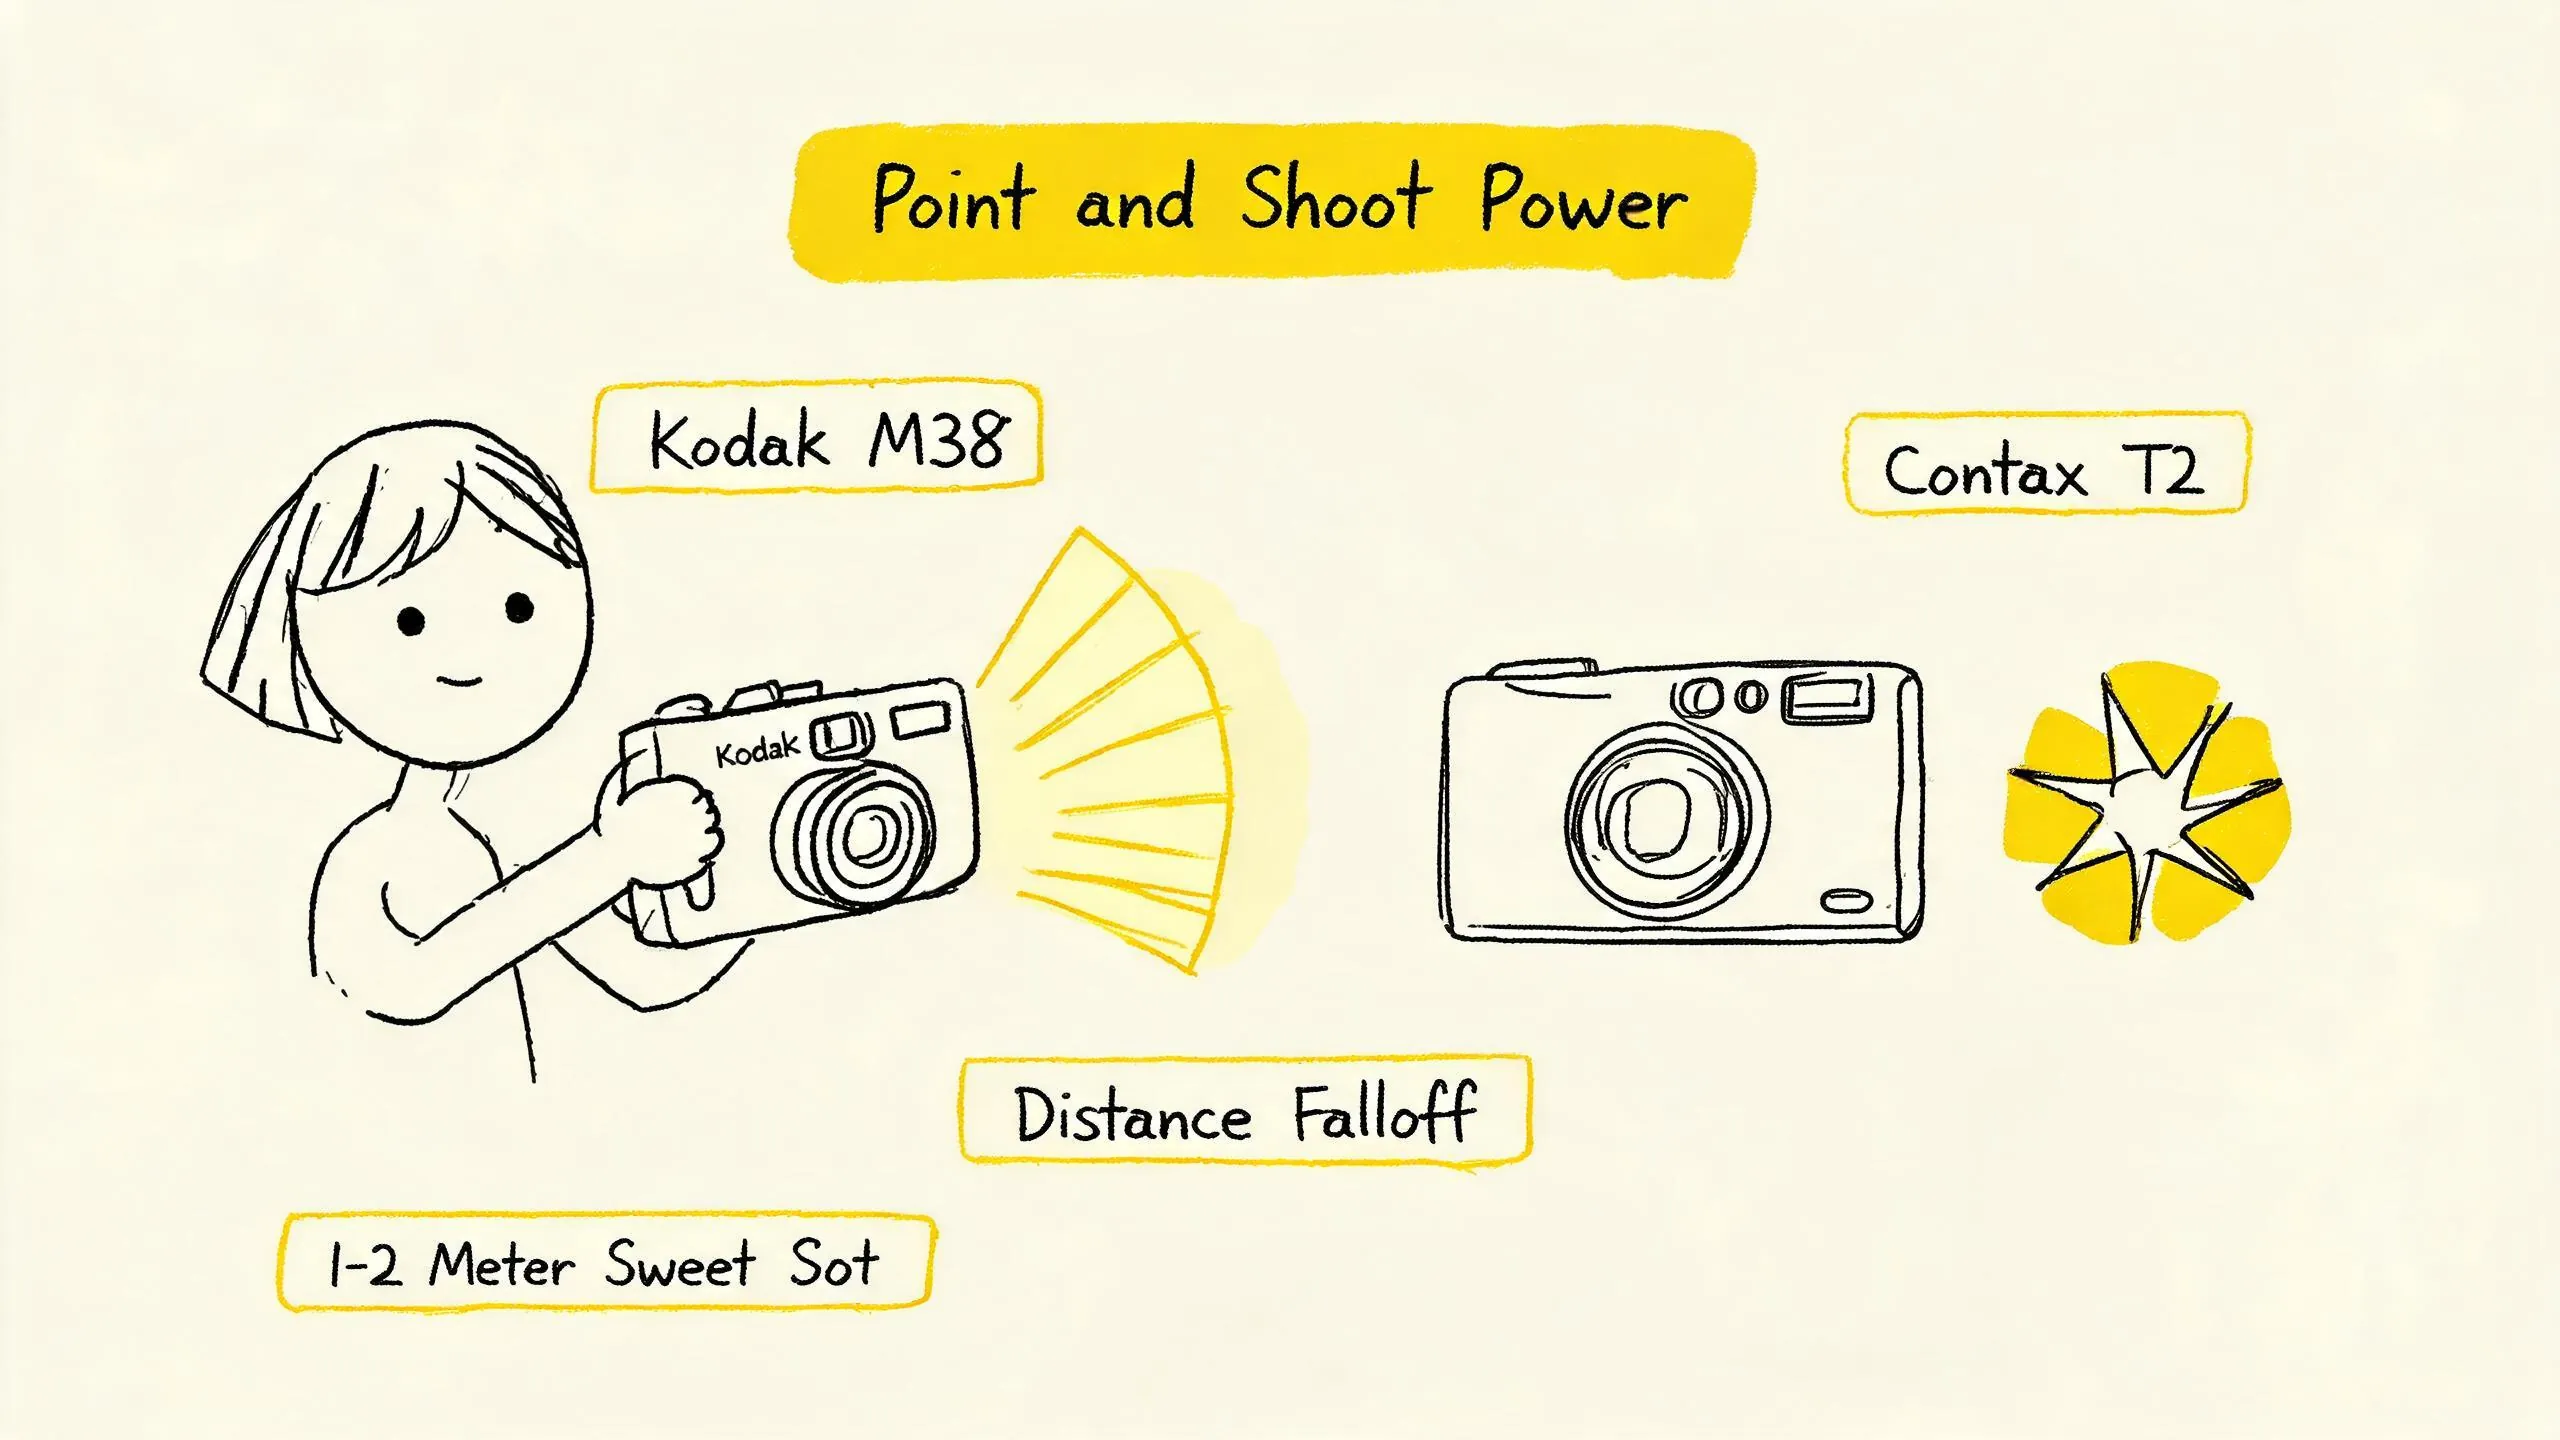
Film Processing’s trend report directly recommends the Kodak M38 as an entry point for the direct flash aesthetic . This is a reusable 35mm point-and-shoot with a built-in flash (with an on/off switch), focus-free design, and a plastic body. Its flash has an effective range of about 1-2.5 meters and limited power, but this is part of the style—the distance falloff effect is pronounced, with the subject bright and the background quickly darkening . Vogue China notes: “Play well with ‘direct flash’—pointing the built-in flash directly at the face creates strong flat facial lighting and a dark background, instantly boosting the retro portrait vibe” .
For those seeking higher image quality, premium point-and-shoots like the Contax T2 are ideal. It features a 38mm f/2.8 Carl Zeiss lens, a titanium body, autofocus with manual aperture selection, and a built-in dual-flash mode (including red-eye reduction). Field Mag calls it “packing the quality and features of a big camera into a point-and-shoot form” .
External Flashes and Key Parameters
If you use an SLR or rangefinder with interchangeable lenses, an external flash offers more control.
- Direct Power Control: For the hard flash aesthetic, the flash is typically set to full power or a high setting to achieve the hardest light quality.
- Distance Falloff: This is key to the hard flash aesthetic. With flash power fixed, the closer to the subject, the stronger and brighter the light; the farther away, the faster the light falls off, and the darker the background. A Threads user shares: “To get that Y2K direct flash effect, the subject needs to be between one and four steps away, and the closer, the brighter (but also more out of focus)” .
- Flash Sync Speed: This is a crucial technical parameter. The Film Photography Project explains that for focal-plane shutter cameras, flash sync speed typically ranges from 1/60 to 1/250 second. Exceeding this speed results in black bars on the image. Point-and-shoots usually have a fixed shutter speed, so users don’t need to worry .
Practical Advice: Start with a point-and-shoot with a built-in flash to feel how distance and angle affect the light. As you advance, try using full power output on an off-camera flash for more creative freedom.
Six Practical Shooting Scenarios
Theory meets practice. Here are six scenarios where the hard flash aesthetic shines.
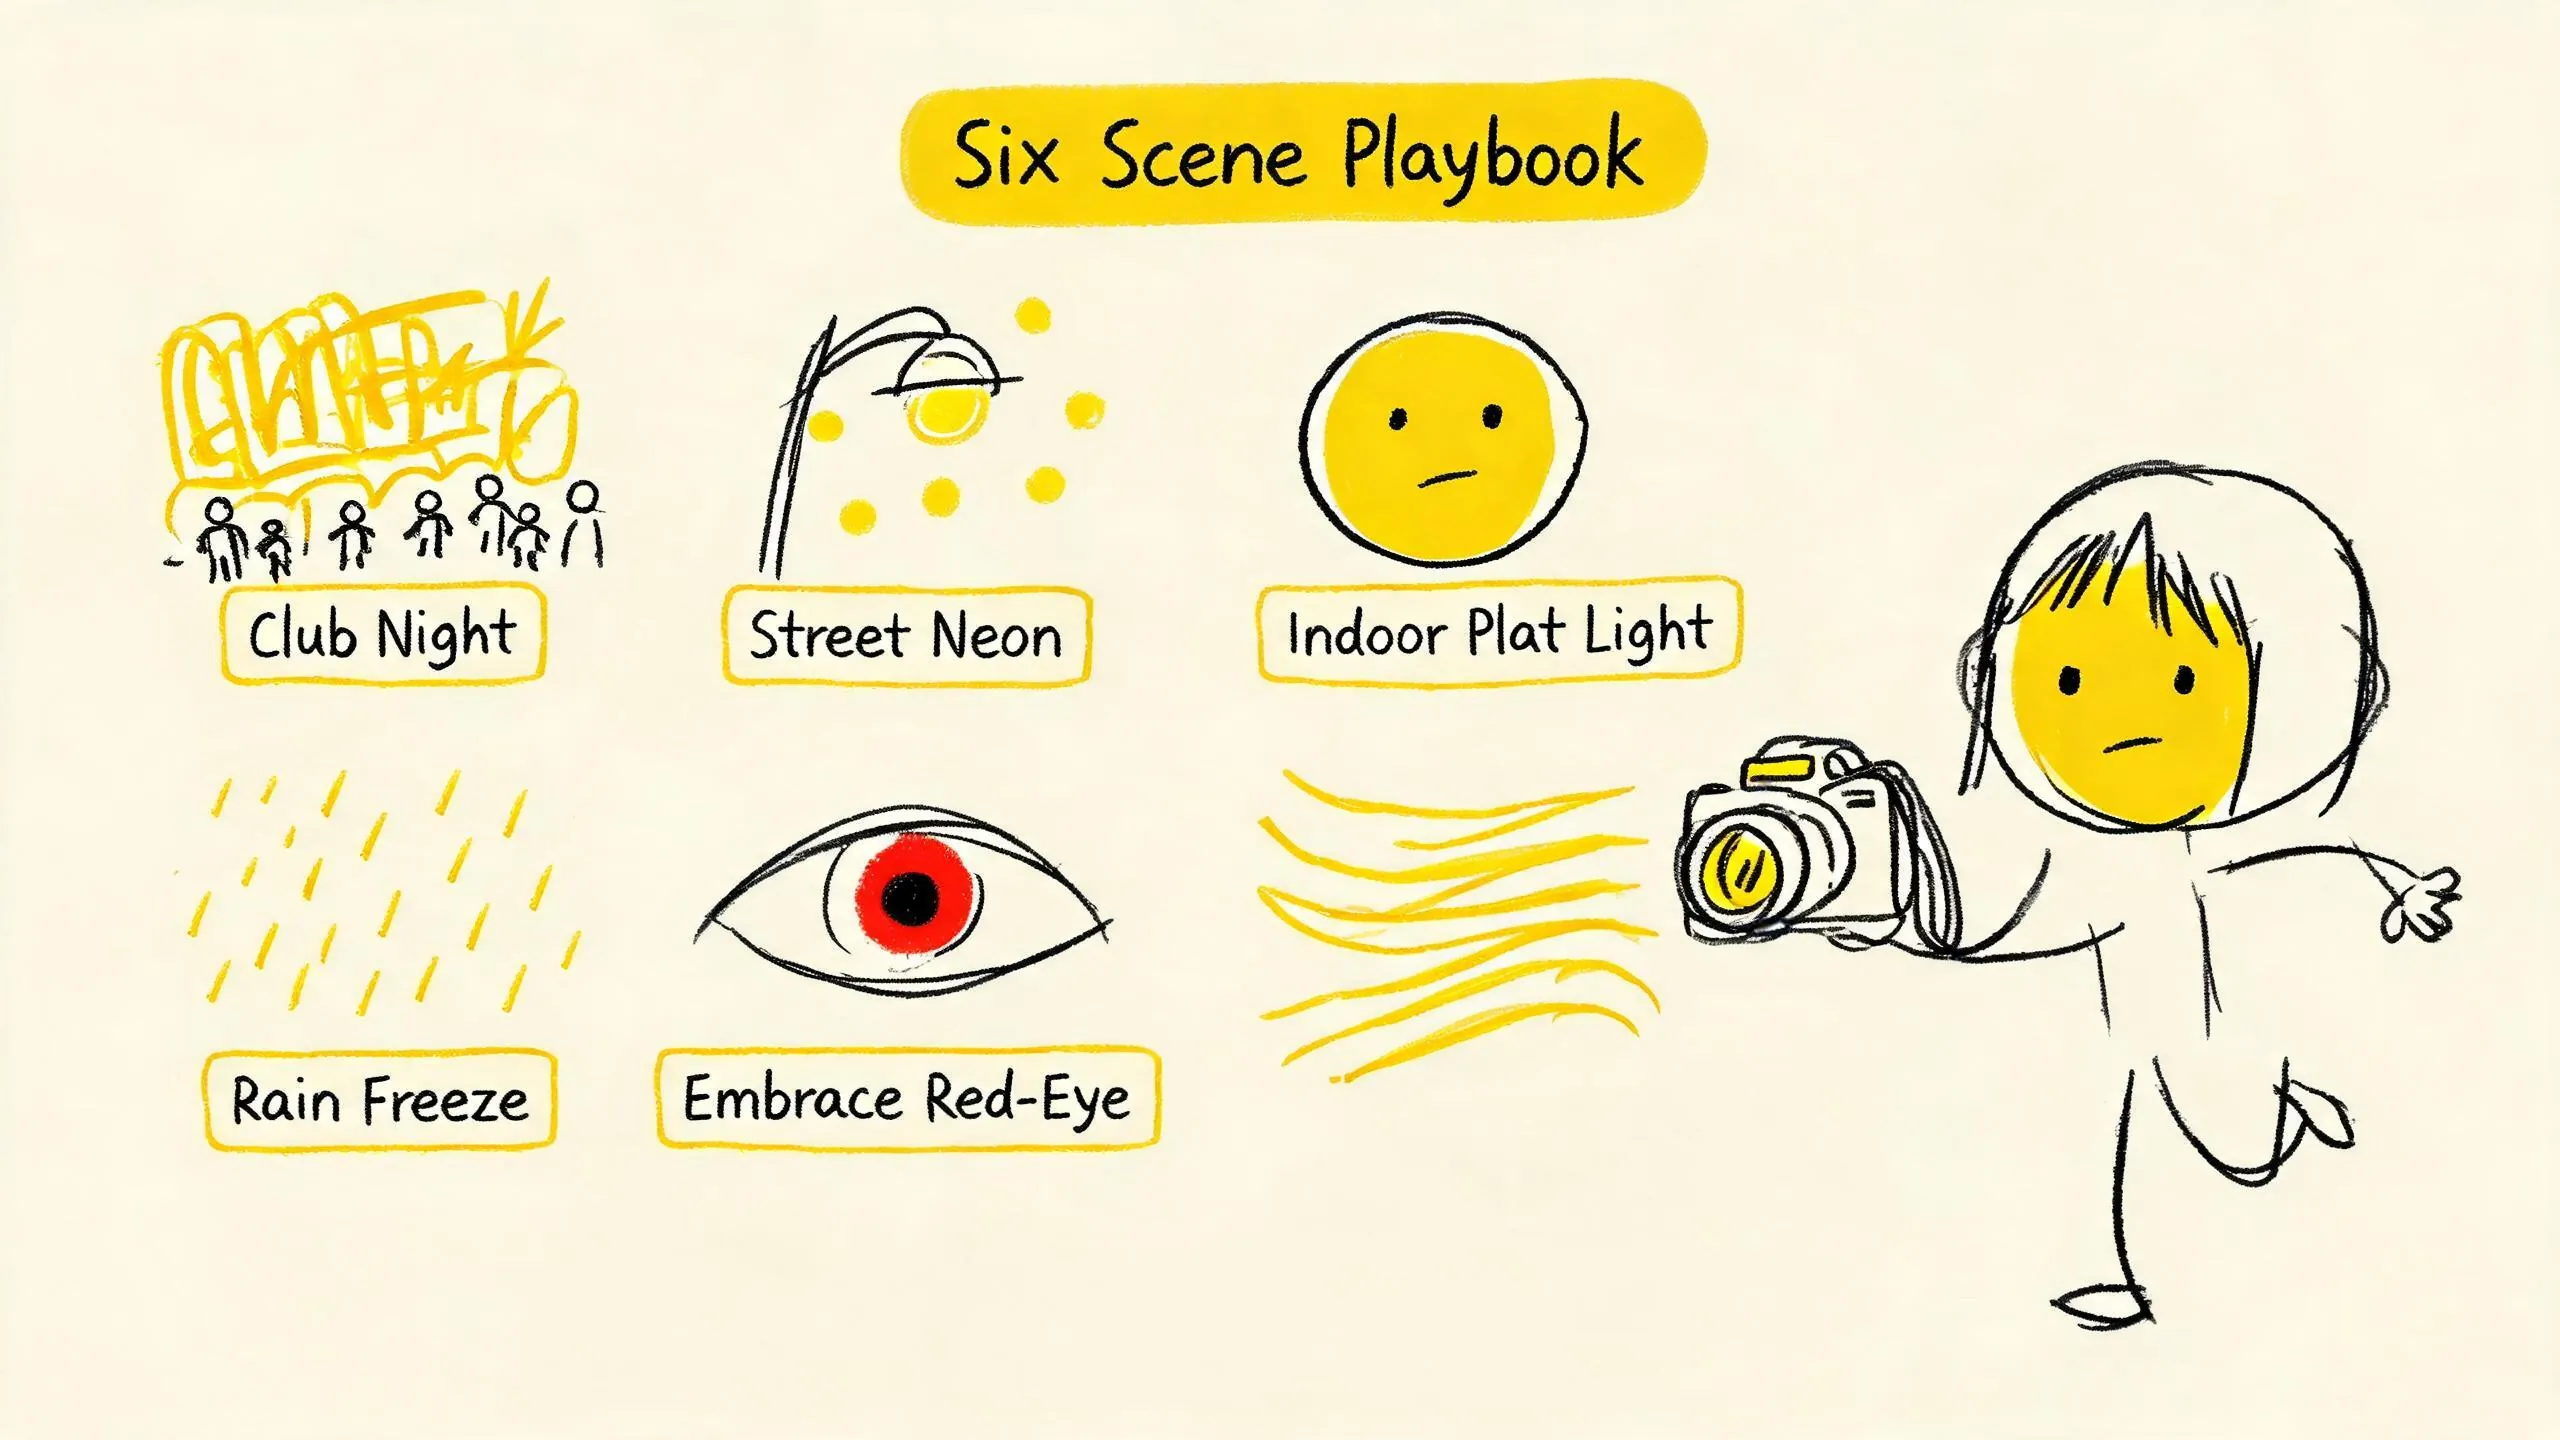
1. Nightclubs/Parties: The Y2K Soul Live
This is the “native habitat” of the hard flash aesthetic. The environment is dim, with complex mixed light sources like neon and screens.
- How to Shoot: Use tungsten film (e.g., CineStill 800T), turn on the flash, and get close to your subject (1-2 meters). The flash will “freeze” the moment, while the mixed background lights on tungsten film create psychedelic color swirls. The subject’s face may appear blue from the flash, contrasting with the warm background.
- Key Point: Embrace motion blur and soft focus. Occasional blur better conveys the dynamism and chaos of the scene.
2. Street Night Photography: Urban Cold Light and Warm Shadows
Utilize the complex lighting of city nights.
- How to Shoot: Use daylight film. Under neon signs or streetlights, use the flash to photograph passersby or buildings. The flash will “isolate” the subject, making them stand out from the environment, while background lights form beautiful bokeh.
- Key Point: Try side flash or low-angle flash for more dramatic shadows.
3. Indoor Portraits: Flat Light and Strong Personality
In ordinary indoor settings like living rooms or bathrooms.
- How to Shoot: Use daylight film, hold the camera at eye level, and flash directly at the subject’s face. This creates very flat, almost shadowless facial lighting, “flattening” skin texture and producing strong catchlights.
- Key Point: This lighting amplifies facial features, making it suitable for expressing strong, direct personalities. Guide subjects to make exaggerated or relaxed expressions.
4. Freezing Moments in Rain or Snow: Crystalline Grain
Rain and snow are excellent visual elements.
- How to Shoot: Use high-speed film (e.g., ISO 400 or 800) and turn on the flash at night or in dim conditions. The flash will illuminate and “freeze” raindrops or snowflakes in the air, creating bright white grains against a dark background for strong contrast.
- Key Point: Shoot from a backlit or side-lit position to make the rain/snow outlines clearer.
5. Handling Red-Eye in Group Party Shots: From Flaw to Style
Red-eye is a common “byproduct” of direct flash.
- Traditional Handling: Use the camera’s red-eye reduction pre-flash function (e.g., Contax T2), or have subjects look at a light source to the side of the camera.
- Stylistic Handling: Embrace red-eye. In Y2K aesthetics, red-eye is a mark of authenticity, spontaneity, and party spirit. It enhances the “candid” quality and grit of the photo. Deliberately preserving it becomes a stylistic flourish.
6. Flash + Long Exposure: The Hybrid Magic of Light Trails and Frozen Action
This is an advanced technique combining motion and stillness.
- How to Shoot: Mount the camera on a tripod, set a slow shutter speed (e.g., 1/15 second or slower), and turn on the flash. After pressing the shutter, the flash will instantly freeze the subject, while the slow shutter records the movement of ambient light (e.g., car headlights, neon signs), creating light trails.
- Key Point: The subject needs to remain relatively still after the flash, while the background will produce psychedelic trailing effects. This is a powerful tool for creating surreal party atmospheres.
Avoiding Pitfalls and Post-Processing: Scanning Preferences and Color Correction Trade-offs
After shooting, scanning and post-processing are crucial steps in determining the final style.
Scanning Trade-offs: Preserve Overexposure or Correct It?
Direct flash photos often result in highlight overexposure, where the face or directly lit areas are “blown out” and lose detail. Richard Photo Lab notes this is a common scanning issue with direct flash photos . However, for the hard flash aesthetic, highlight clipping is part of the style, enhancing the “harsh” and “gritty” feel.
- Instructions for the Lab: Clearly state, “Please preserve highlight clipping, do not attempt to recover highlight detail,” or “Please scan as the original negative, without automatic corrections.”
- Special Handling for CineStill 800T: Kubus Photo emphasizes that automatic scanning correction algorithms fight against the intended look of CineStill 800T. They need to “identify CineStill and scan with appropriate settings, preserving its characteristics rather than correcting them away” .
Tone Differences Between Home Processing and Lab Scanning
- Professional Labs: Typically use high-end scanners (e.g., Noritsu, Fuji), with mature color science, providing stable, predictable tones. Suitable for those seeking a “standard” film look.
- Home Processing/Scanning: Using home scanners like the Plustek OpticFilm or more DIY methods offers greater control freedom but requires time to learn color management. Tones may be more “personalized,” with differences in contrast and grain.
Post-Processing Tweaks: Enhancement or Overkill?
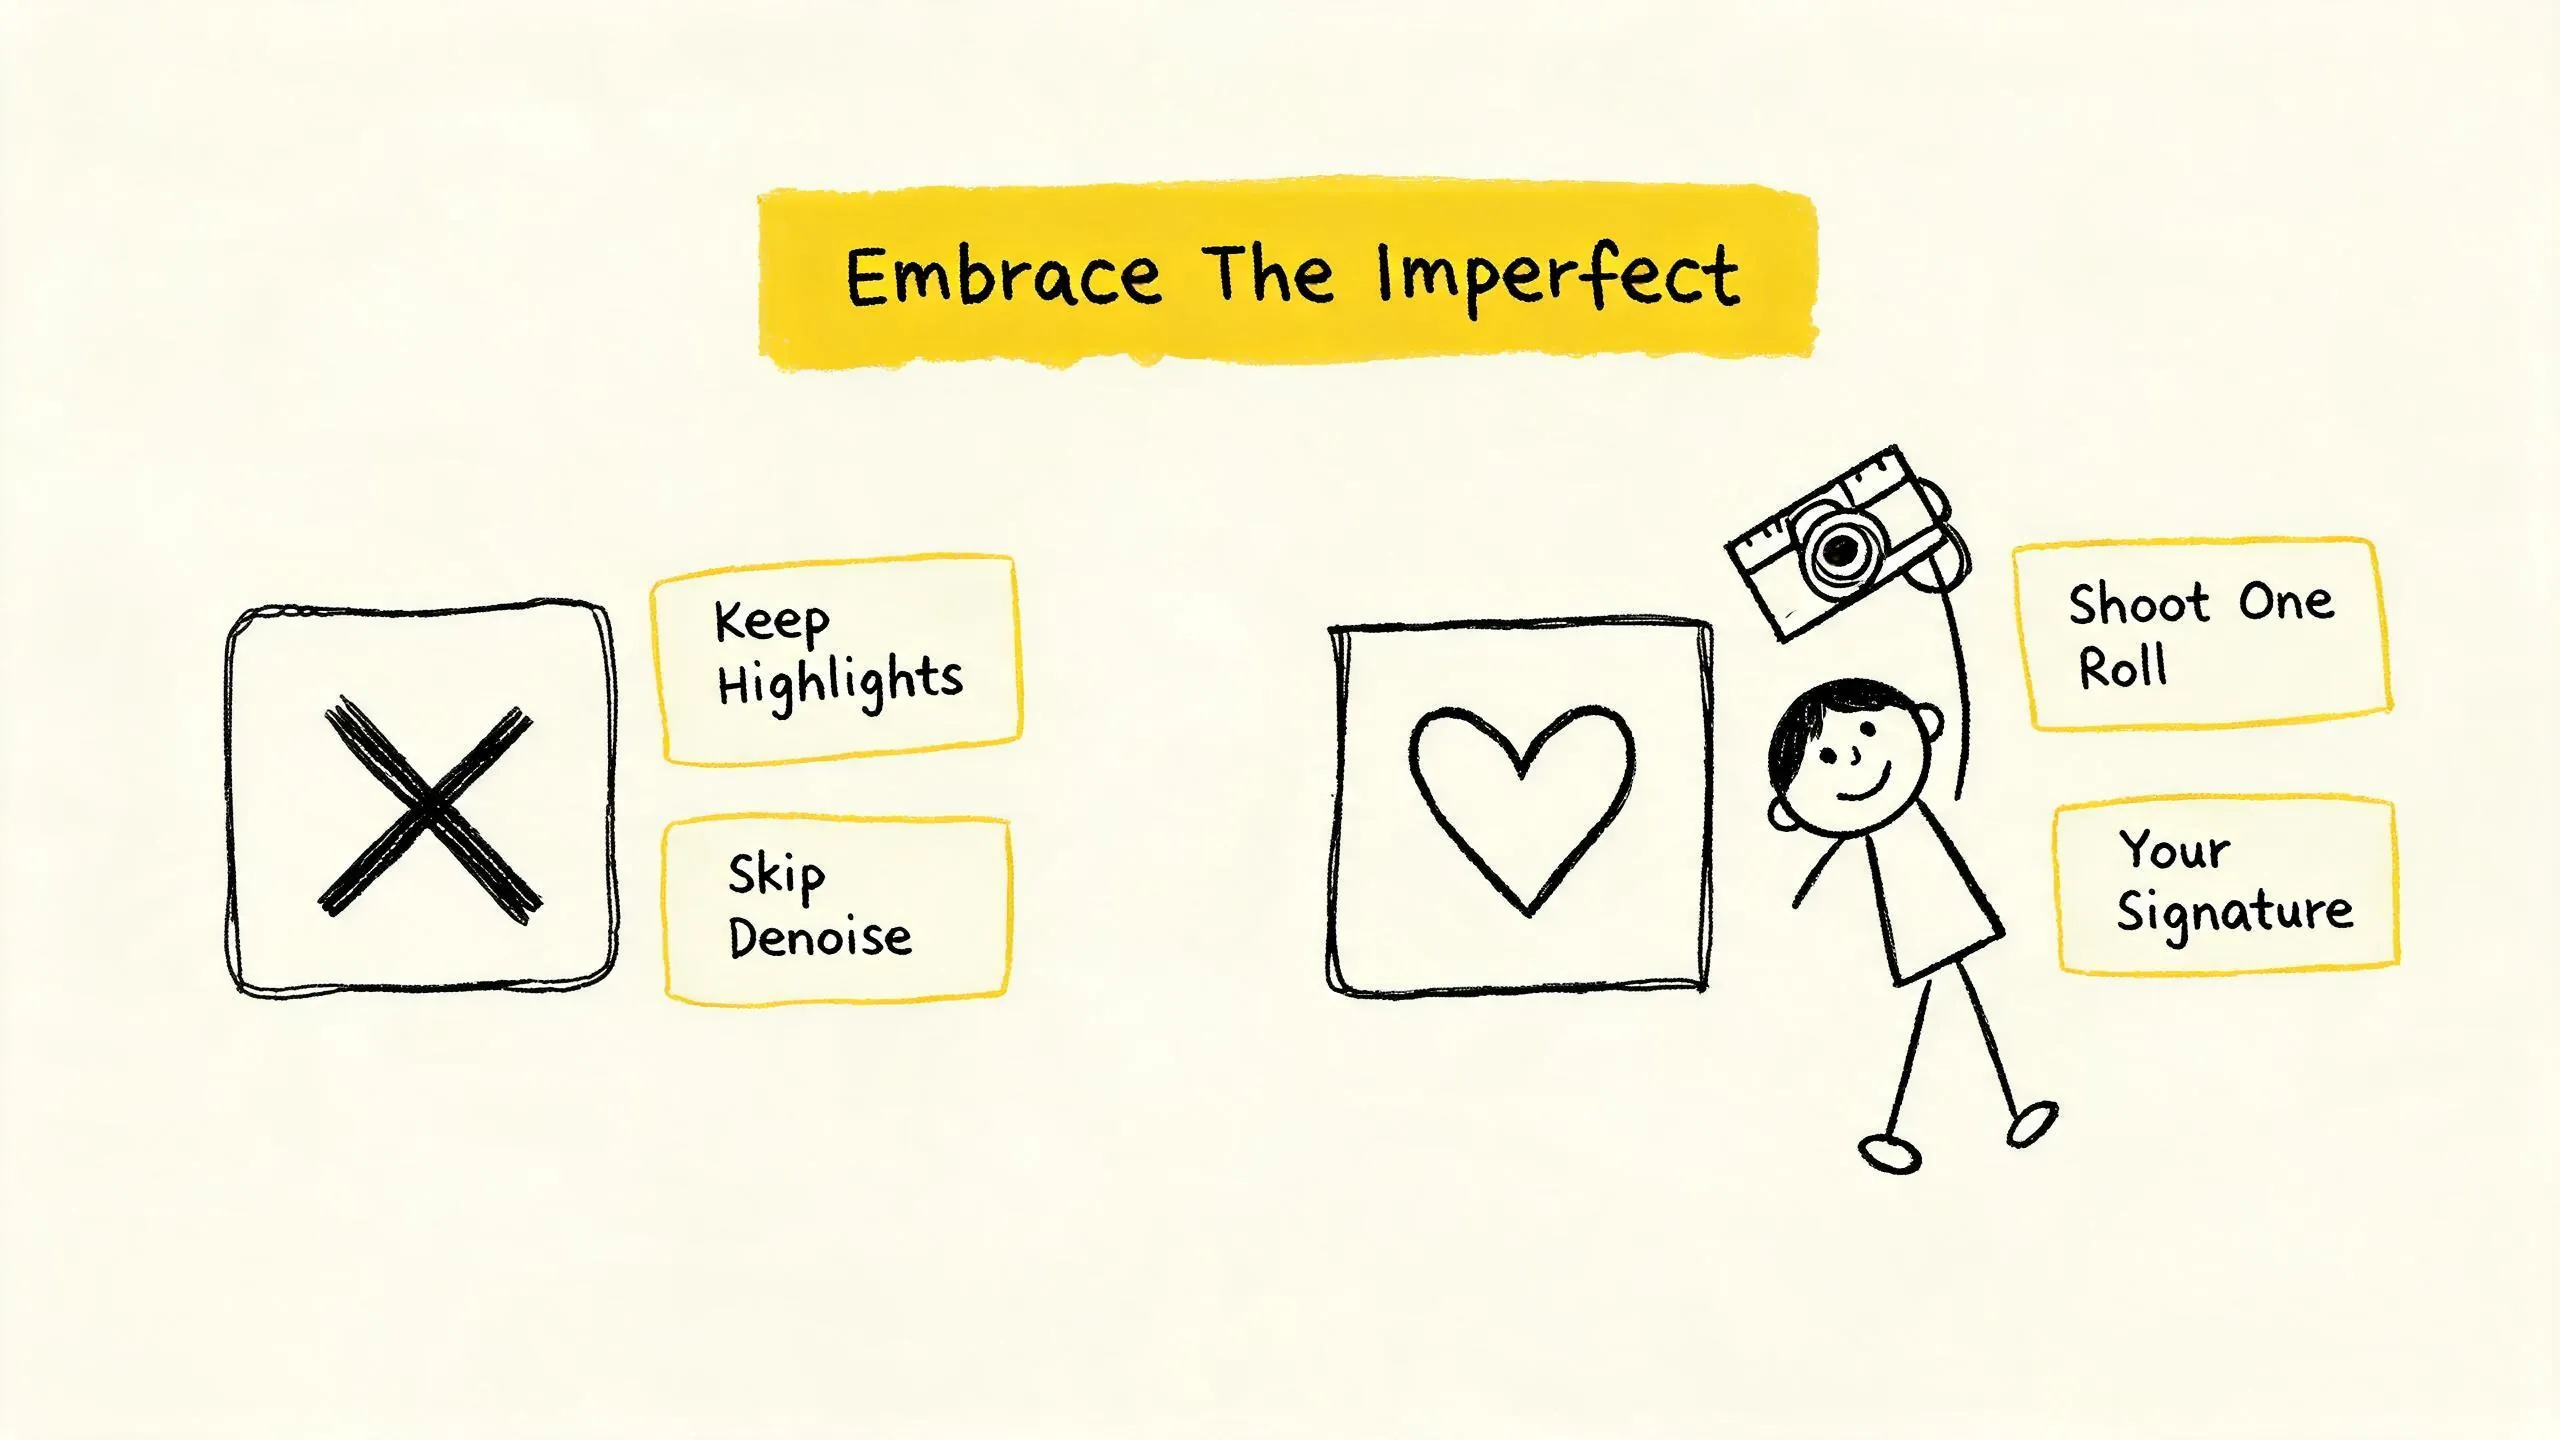
The core of the hard flash aesthetic is “front-loaded decisions.” Post-processing should be cautious.
- Adjustable Items: Slight adjustments to contrast, saturation, or cropping.
- Items to Avoid: Aggressive noise reduction (destroys grain), forcing highlight or shadow recovery (breaks the style), adding unnatural filters.
- Core Principle: Post-processing should enhance the existing style from the shoot, not create a new one. If you find extensive post-processing is needed to achieve the effect, the shooting technique may need adjustment.
Conclusion: Embrace Imperfection, Capture Authentic Moments
The hard flash aesthetic is not a technical flaw but an active aesthetic choice. Drawing inspiration from Y2K party culture, it makes a strong comeback in 2026 as a rebellion against digital perfectionism and AI-generated imagery . It reminds us that the charm of photography lies not only in capturing perfect moments but also in seizing authentic emotions, energy, and “human presence.”
Start by choosing a roll of tungsten or daylight film, pick up your point-and-shoot or external flash, and step into the night, a party, or any scene you want to document. Don’t fear overexposure, color shifts, blur, or red-eye—these “imperfections” are your unique visual signature at the moment you press the shutter. Go shoot, and let every flash be a gritty, authentic response to this over-polished era.
References
- Top Film Photography Trends For 2026 – Film Processing
- Photography Trends 2026: The Shifts Defining the Art – For Photographers Only
- Flash On: The Raw, Authentic Visual Style Reshaping Design – Stills
- 2026 Photography Trends: Future Proof Creative’s Product Predictions
- Kodak Vision 3 500T 5219/7219 Film Review – Analog.cafe
- CineStill 800T Complete Guide – Kubus Photo Service
- What is Halation? – The Darkroom Photo Lab
- 11 Best Point and Shoot Film Cameras 2025 – Field Mag
- An Honest Review of the Contax T2 – Shoot It With Film
- Kodak M38 Camera Review – Film Photography EU