The Core Challenges of Film Astrophotography: Reciprocity Failure, Film Selection, and Exposure Strategies in the Pre-Feedback Era
Capturing the night sky on film is a romantic and ultimate challenge for many photography enthusiasts. It lacks the instant playback of digital cameras, has no
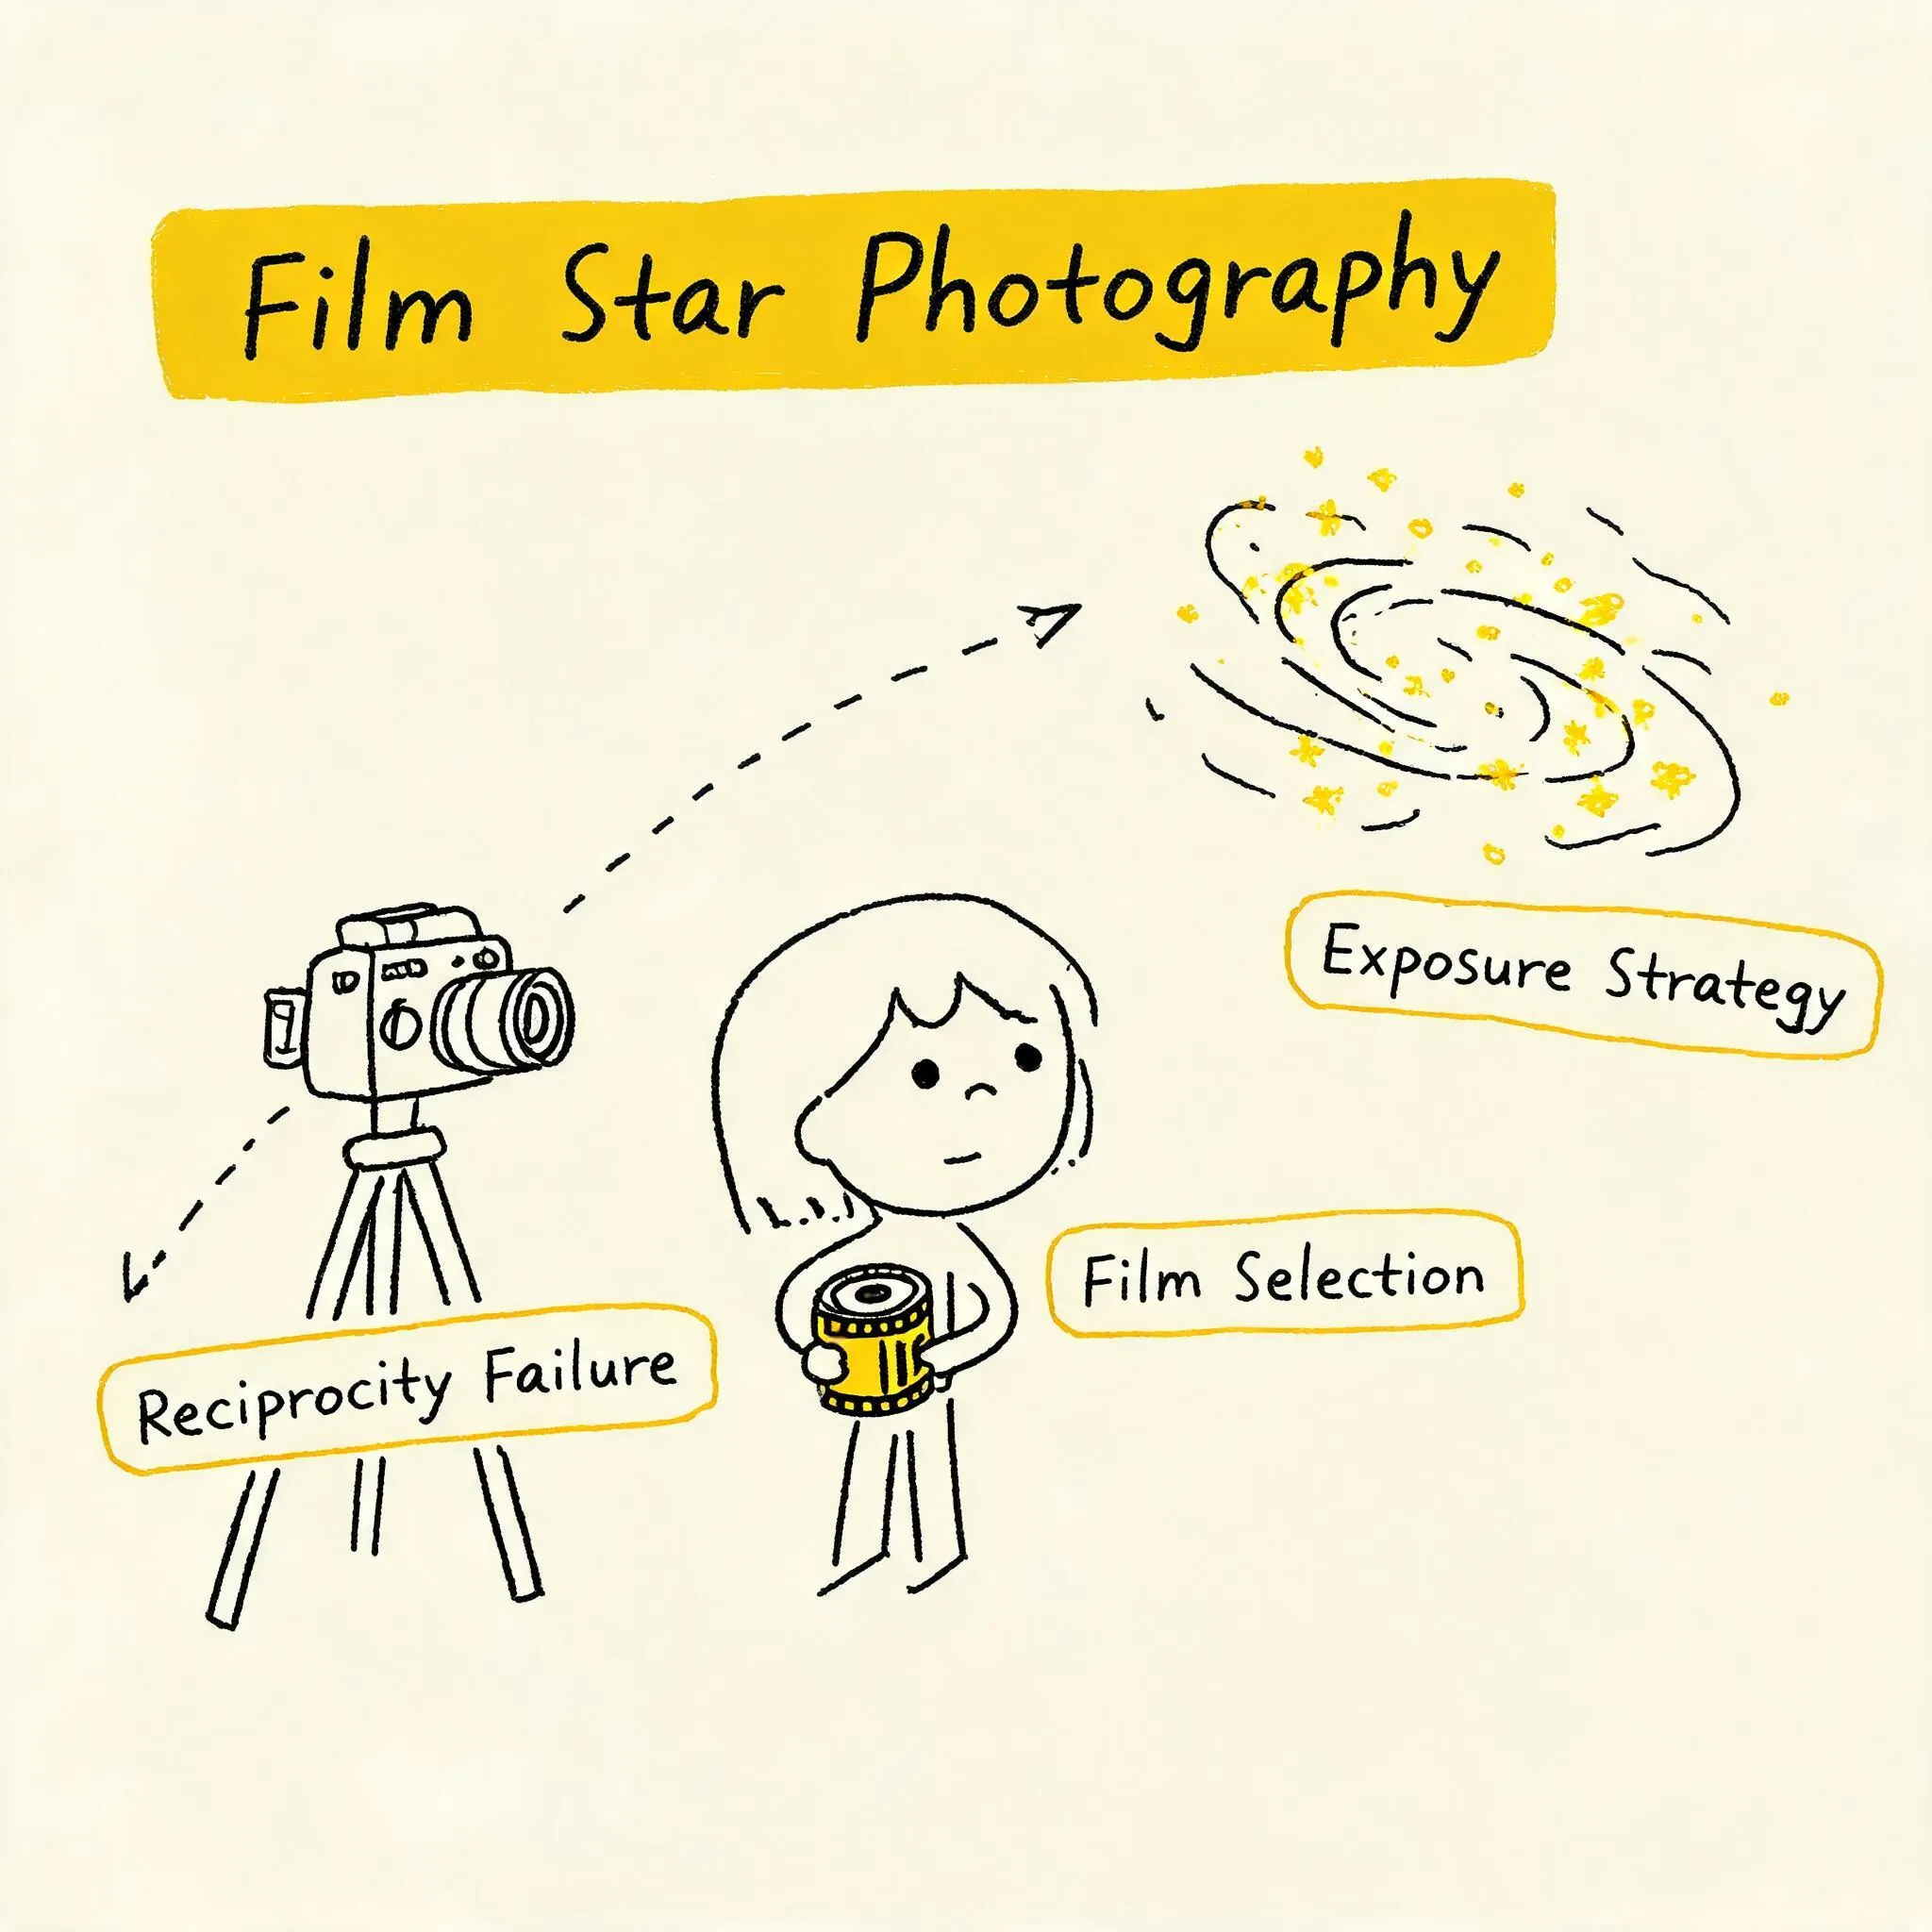
Introduction: When the Night Sky Meets Film, the Greatest Enemy is “Time”
Capturing the night sky on film is a romantic and ultimate challenge for many photography enthusiasts. It lacks the instant playback of digital cameras, has no infinitely adjustable ISO, and offers no screen to immediately confirm if the exposure is accurate. On this path filled with uncertainty, the biggest obstacle isn’t focus or composition, but a physical phenomenon unique to film photography—Reciprocity Failure.
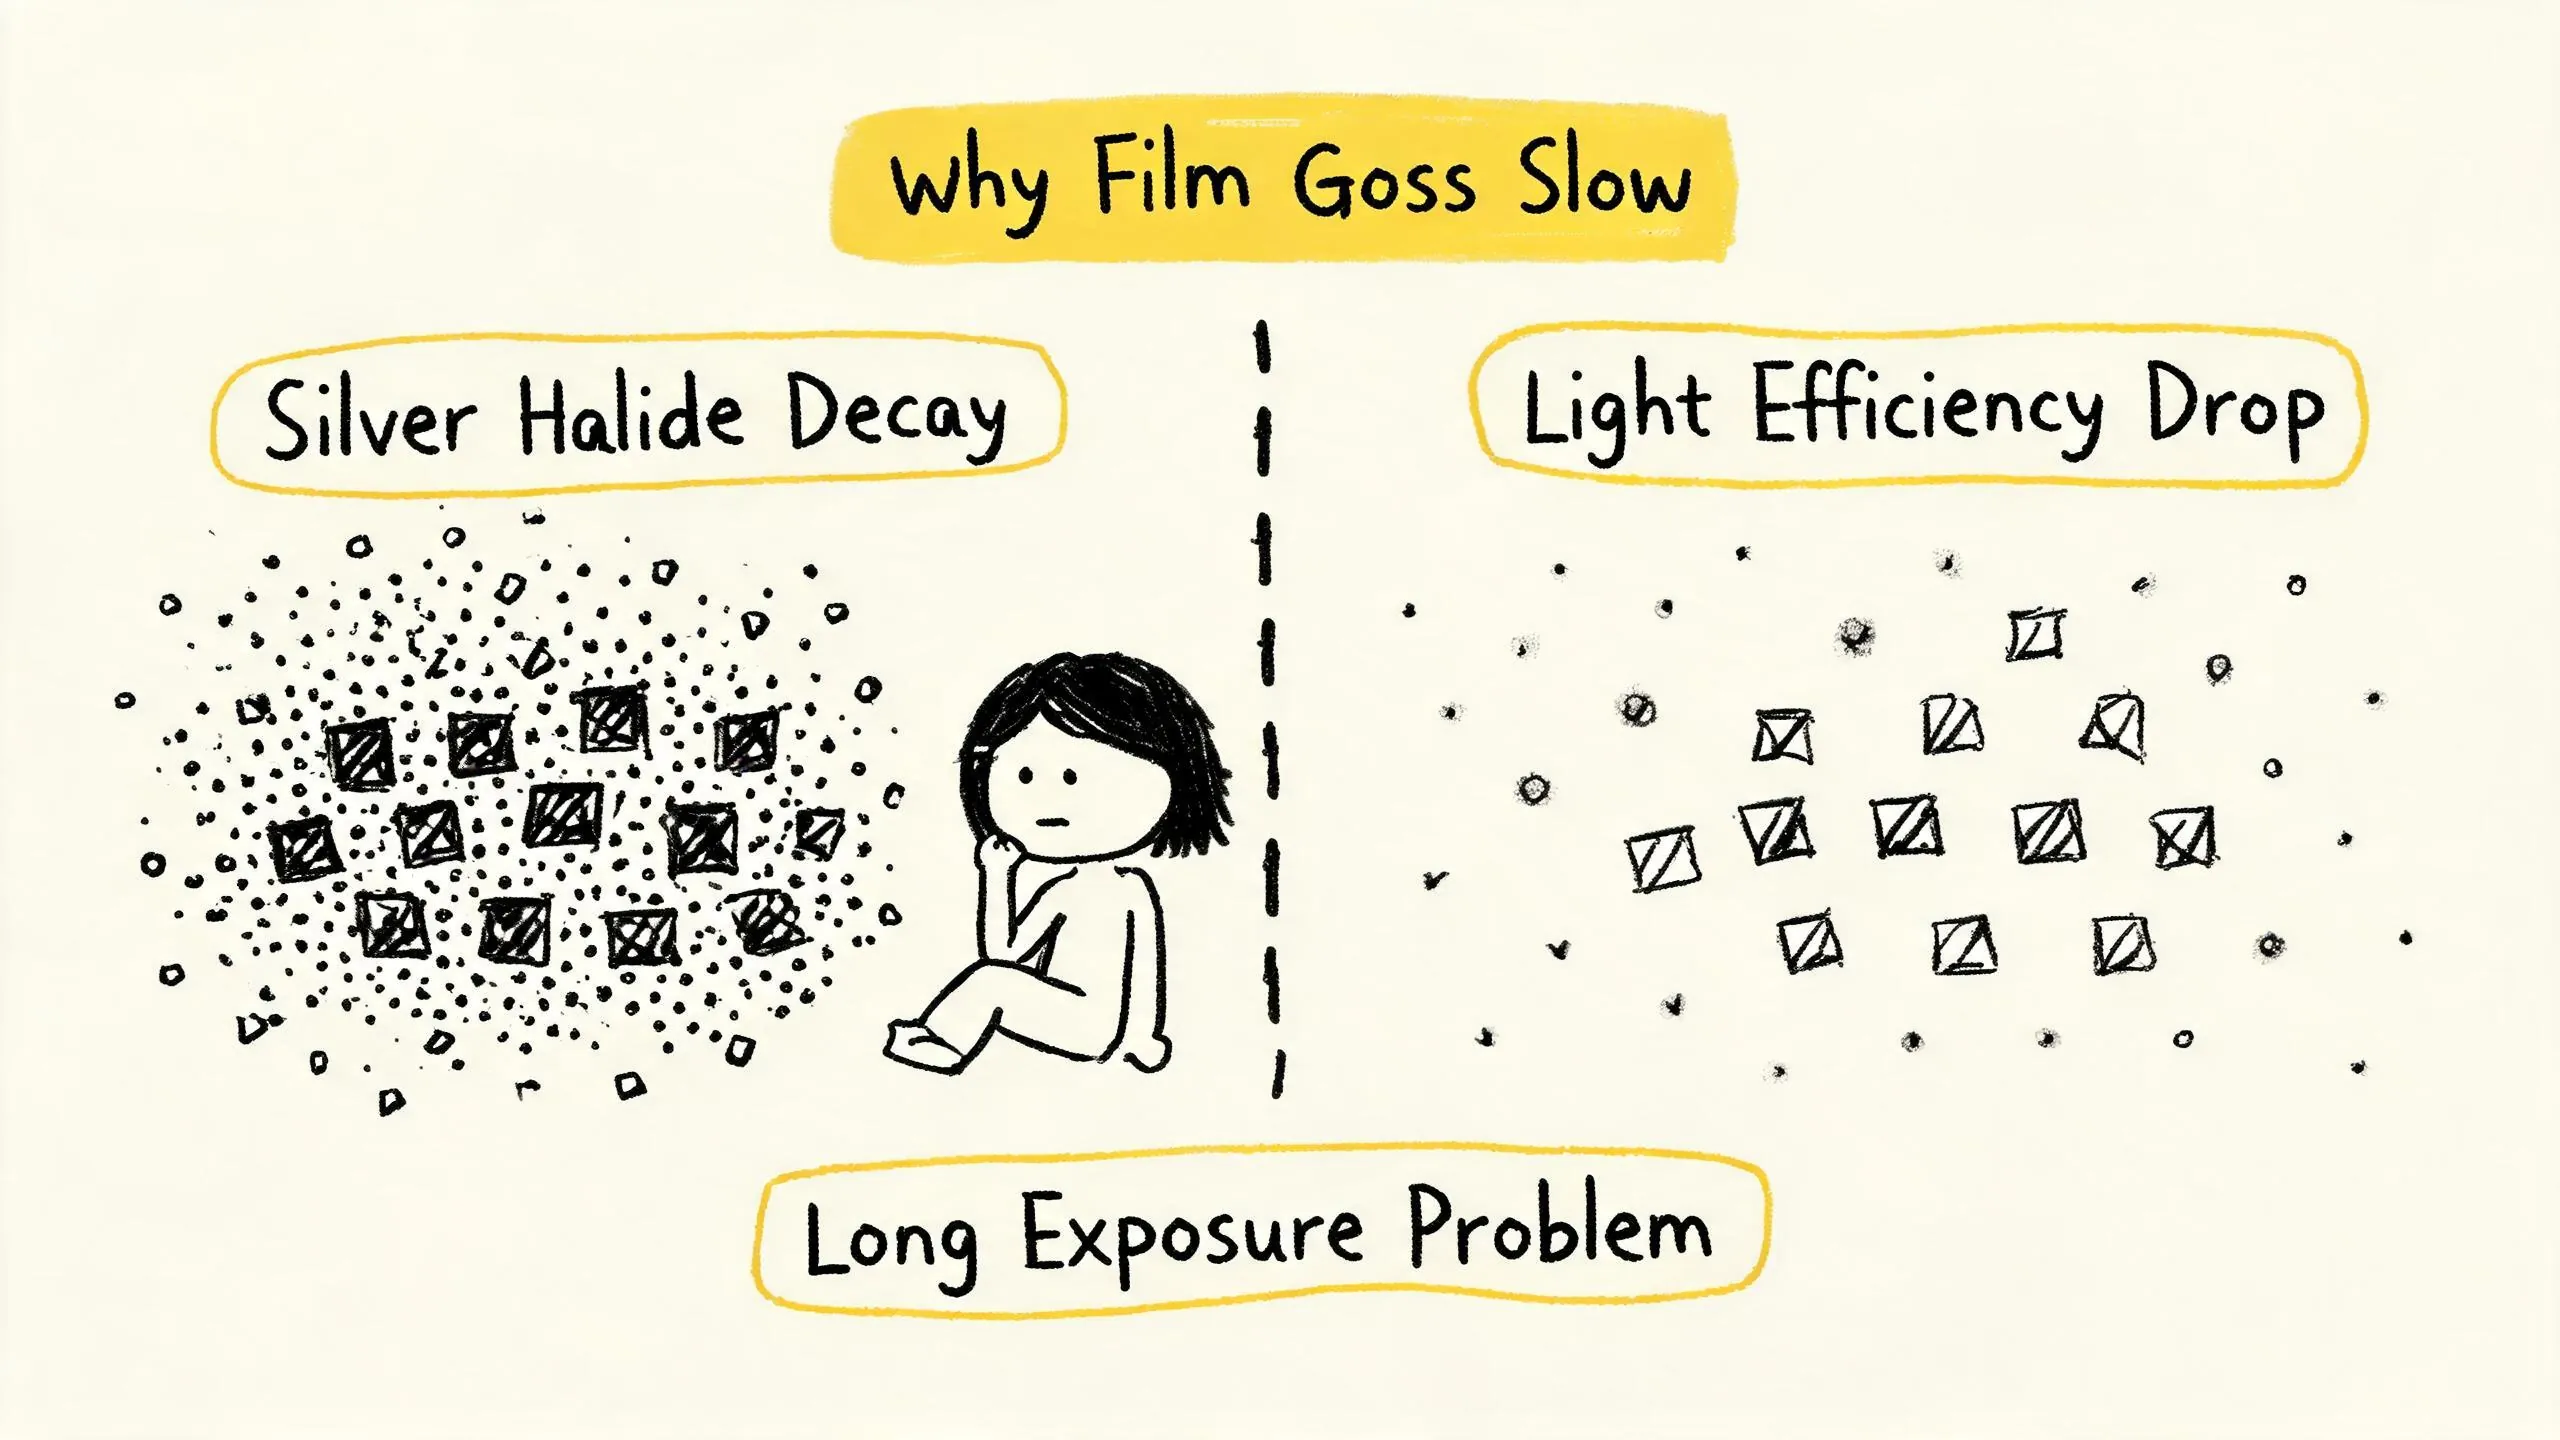
Within the normal exposure range, exposure equals light intensity multiplied by time, a simple linear relationship. However, when exposure times stretch to seconds or even minutes for astrophotography, the silver halide crystals in the film emulsion no longer “behave.” Electrons excited by photons decay before the next photon arrives, causing the film’s sensitivity to plummet. This means the “correct” exposure time calculated by a light meter often results in severe underexposure. The film “fails” during long exposures .
For astrophotography, this is undoubtedly fatal. It not only complicates exposure calculations but also makes film selection, shooting strategy planning, and even post-processing a separate knowledge system requiring specialized learning. This article focuses on this core challenge, from the principles of failure to practical compensation, comparing long-exposure characteristics of different films to shooting planning in the “no instant playback” era, providing a directly applicable workflow for film astrophotography.
1. Reciprocity Failure: The Principle of Film “Failure” During Long Exposures
To address reciprocity failure, one must first understand why it occurs. Its physical essence lies in the non-linearity of the film’s light-sensitive process.
In bright light (e.g., daylight), photons bombard the film emulsion densely, allowing silver halide crystals to quickly accumulate enough energy to form stable latent image centers, a process that follows the reciprocity law. But under extremely low light (e.g., the night sky), the interval between photons is prolonged. After a silver halide crystal receives a photon and generates a photoelectron, if the next photon is delayed, this photoelectron may recombine within the crystal or on its surface, “losing” the opportunity for this exposure .
Simply put, the film becomes “sluggish” during long exposures. A 10-second exposure might only register the effect of a few seconds. This effect becomes significant after exposures exceeding about 1 second and intensifies as exposure time increases. For astrophotography requiring tens of seconds or even minutes of exposure, this directly leads to severe underexposure, dim stars, and lost Milky Way details.
General Compensation Reference (Non-precise values, for trend understanding only): Baidu Baike once provided a rough estimate: 1 second exposure requires a 1-stop increase (actual exposure 2 seconds), 10 seconds requires a 2-stop increase (actual exposure 50 seconds), and 100 seconds requires a 3-stop increase (actual exposure 800 seconds) . However, this is an extremely generalized average. Different films have vastly different reciprocity characteristics, and blind application leads to complete failure. Therefore, understanding the specific characteristics of your film is the first lesson in film astrophotography.
2. Comparison of Reciprocity Characteristics of Mainstream Films: How “Resistant” is Your Film to Failure?
Different films, due to variations in emulsion formulation and structure, have vastly different sensitivities to reciprocity failure. Below is a summary of the long-exposure characteristics of several mainstream films based on extensive test data from Kubus Photo lab and individual photographer tests .
Color Negative Film
-
Kodak Portra 400 (ISO 400)
-
Characteristics: A balanced all-around film with fine grain and soft colors. However, its reciprocity failure is quite pronounced.
-
Compensation Data: Metered 1 second → Actual exposure needed 1.3 seconds; Metered 10 seconds → Actual exposure needed 40 seconds; Metered 60 seconds → Actual exposure needed 6 minutes .
-
Selection Advice: Due to its extremely long compensation times (e.g., 60 seconds requires 6 minutes), it has low practicality for wide-field astrophotography without an equatorial tracker, being more suitable for deep-sky targets or star trail photography with tracking equipment.
-
Kodak Portra 800 (ISO 800)
-
Characteristics: A high-speed film that theoretically allows sufficient exposure in shorter times, mitigating reciprocity failure effects.
-
Compensation Data: Metered 1 second → Actual exposure needed 1.2 seconds; Metered 10 seconds → Actual exposure needed 35 seconds; Metered 30 seconds → Actual exposure needed 2 minutes .
-
Selection Advice: Compared to Portra 400, its reciprocity performance is slightly better, and the higher ISO allows for faster shutter speeds. It’s a relatively better choice among color negatives for astrophotography, though significant compensation is still required.
-
Kodak Ektar 100 (ISO 100)
-
Characteristics: Renowned for its extremely fine grain and vivid, saturated colors, but its low ISO presents dual challenges for astrophotography: reciprocity failure and extremely long exposure requirements.
-
Compensation Data: Kodak has not published specific data . Photographer Timothy Hutto found through testing that reciprocity failure is negligible for exposures under 30 seconds but requires caution beyond that. His rule of thumb: if concerned about failure, meter at ISO 50 (equivalent to adding 1 stop of exposure) as a safety compensation . Blue Moon Camera’s experience is that a 1-minute metered exposure needs compensation to 2 minutes (+1 stop) .
-
Selection Advice: Offers excellent color performance, suitable for photographers seeking rich night sky colors, but requires accepting longer exposure times and preparing for precise compensation. Experienced photographers believe that overexposing Ektar 100 by about 1 stop produces a dense negative that scans better .
-
CineStill 800T (ISO 800)
-
Characteristics: Modified from motion picture film, featuring a unique tungsten-balanced color temperature and pronounced halation effects. Reciprocity performance is average.
-
Compensation Data: Metered 1 second → Actual exposure needed 1.5 seconds; Metered 10 seconds → Actual exposure needed 40 seconds; Metered 30 seconds → Actual exposure needed 2.5 minutes . The manufacturer provides no compensation data .
-
Selection Advice: Its red halation becomes more pronounced during long exposures, potentially overwhelming night sky details, and it has coarser grain. PetaPixel photographer Kai Longridge, in his year of film astrophotography practice, does not recommend CineStill 800T for night sky photography .
Color Reversal/Slide Film
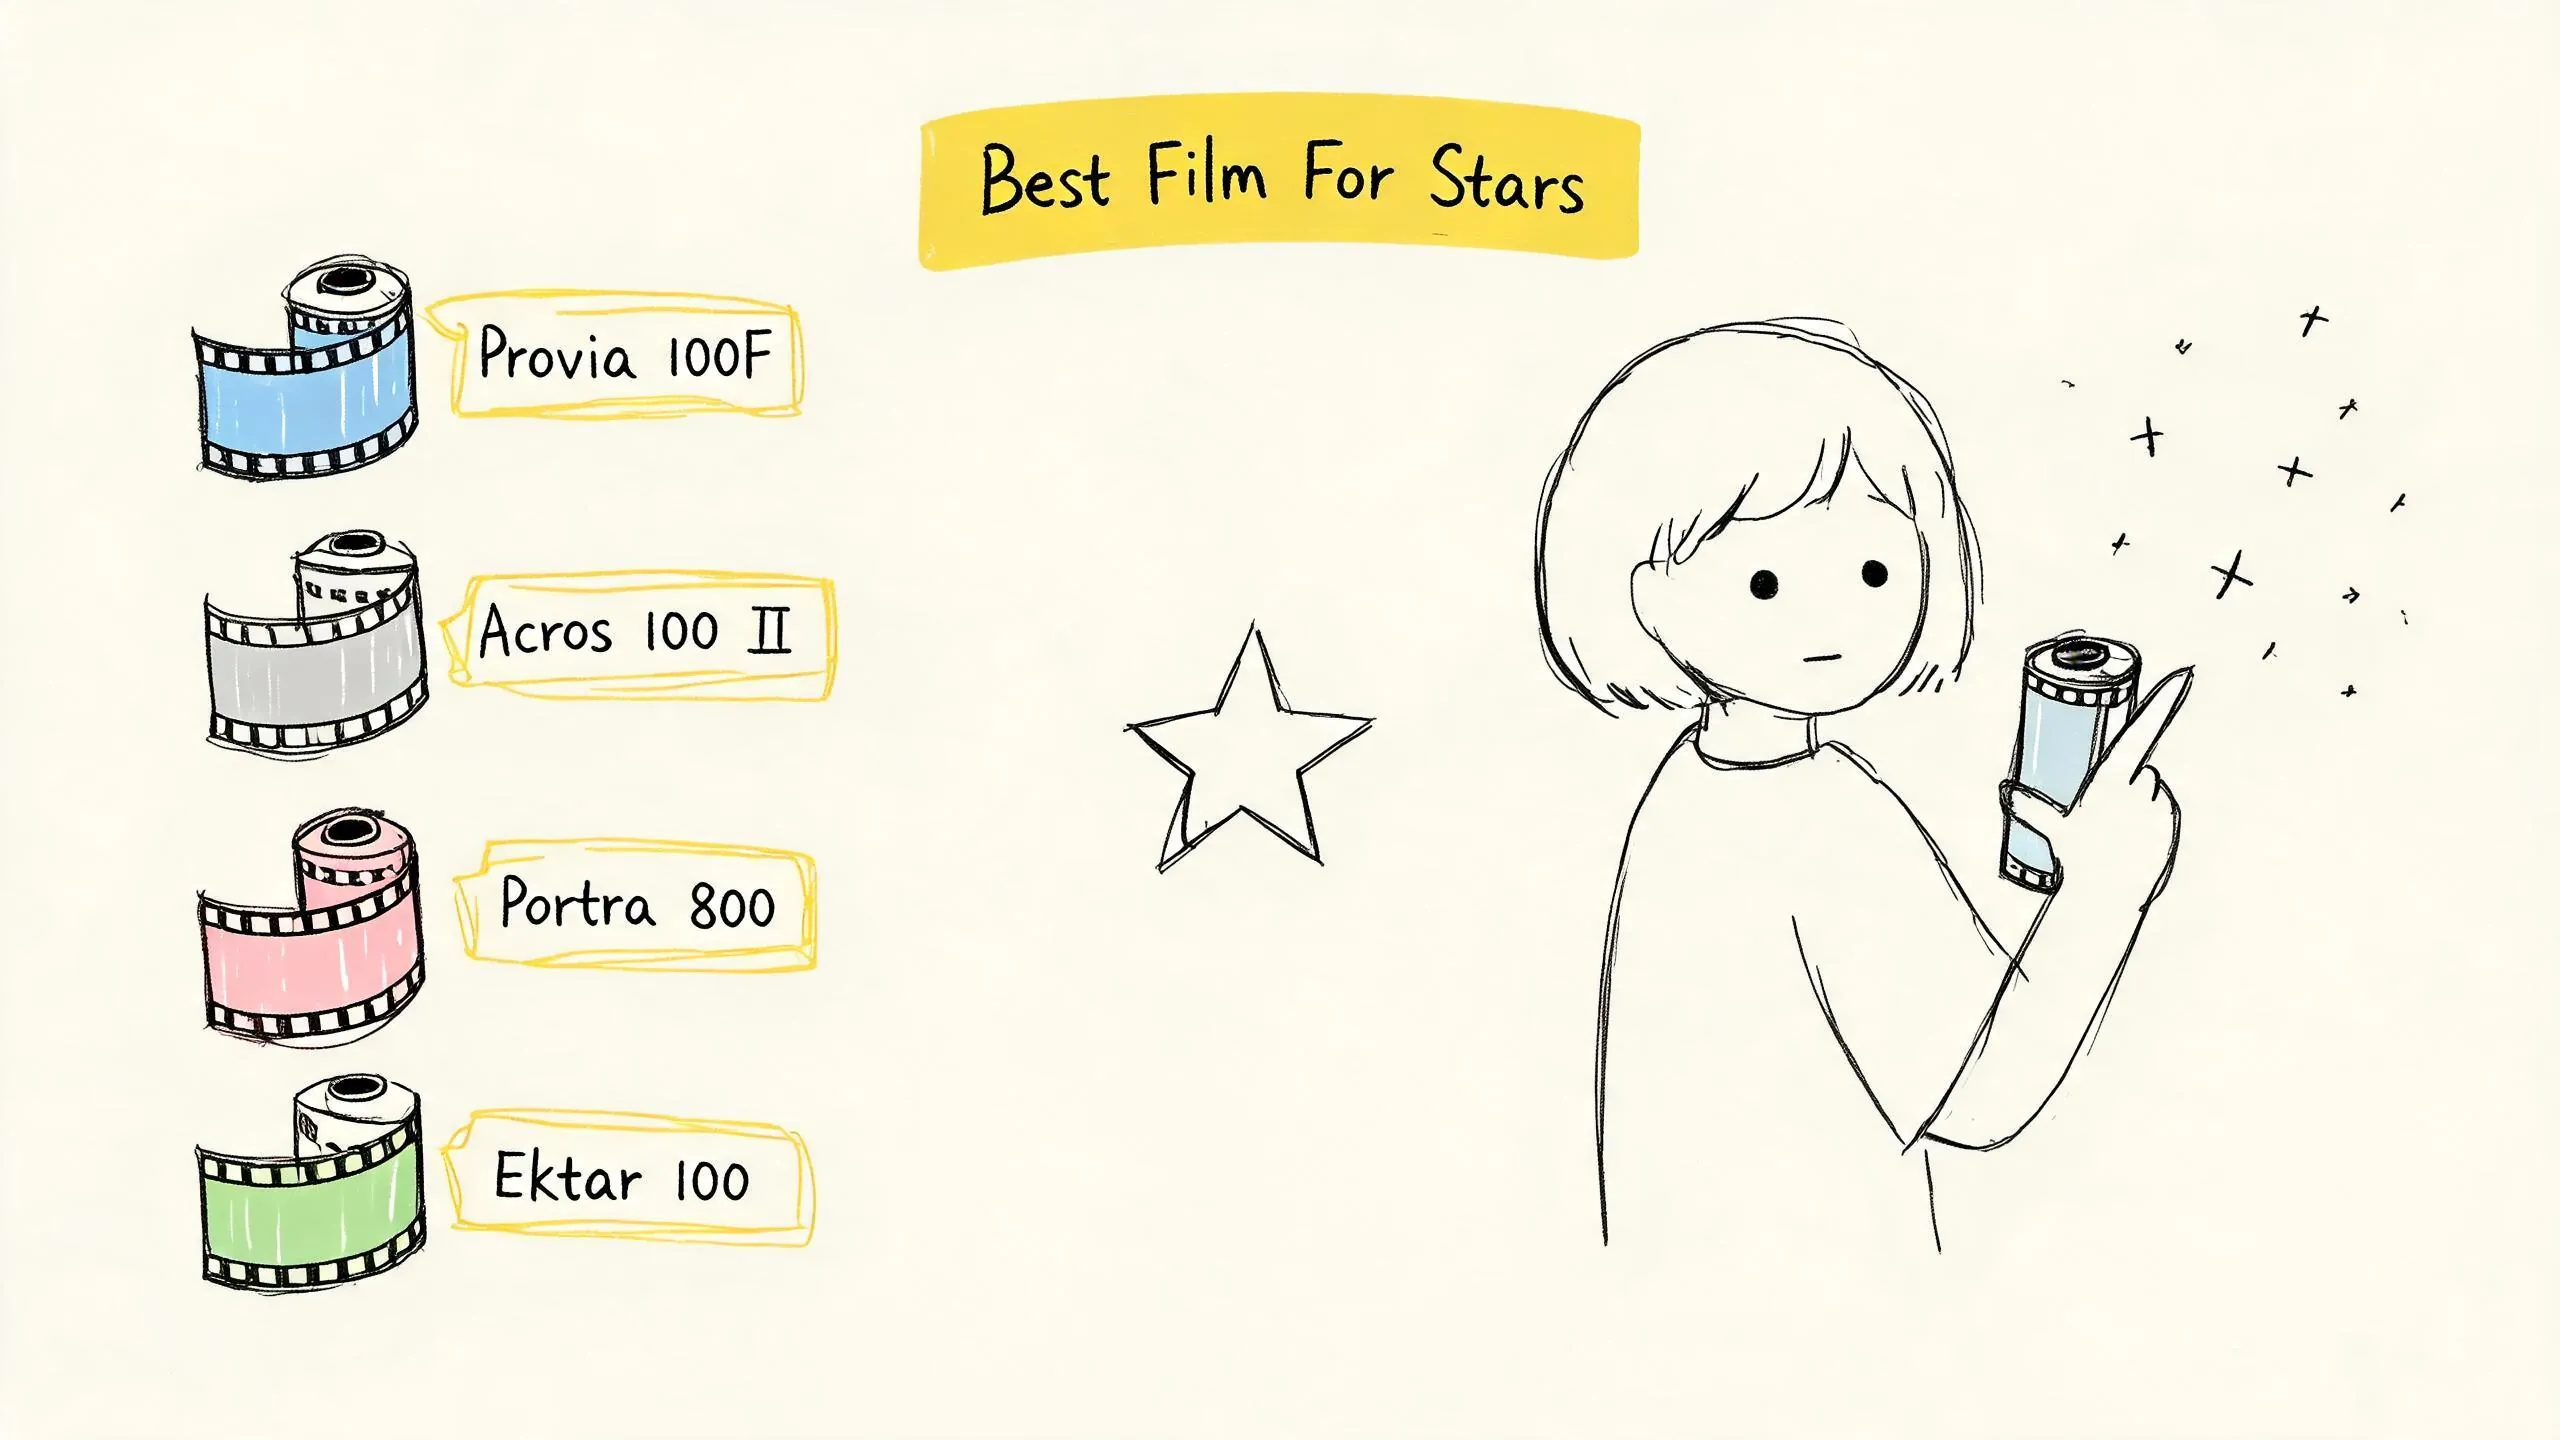
- Fujifilm Provia 100F (ISO 100)
- Characteristics: A standout in reciprocity performance among reversal films, considered by many astrophotographers as the default choice when no other option exists .
- Compensation Data: Fujifilm officially claims no compensation is needed within 4 minutes, but exposures beyond 8 minutes are not recommended due to possible color shifts . Community experience suggests noticeable reciprocity failure begins around 128 seconds . An astrophotography blogger cited an example: a 1-hour exposure actually required 1 hour 13 minutes, while under the same conditions, Ektar 100 would need over 7 hours .
- Selection Advice: Its excellent reciprocity stability and the reversal film’s inherent high contrast and vivid colors make it one of the top choices for film astrophotography, especially for targets like hydrogen-rich nebulae . However, note that reversal film has very narrow exposure latitude, tolerating less than 2 stops of over- or underexposure , demanding high exposure accuracy.
Black & White Negative Film
-
Fujifilm Neopan Acros 100 II (ISO 100)
-
Characteristics: The king of reciprocity performance among black and white films. Extremely fine grain with excellent contrast.
-
Compensation Data: Almost no compensation needed within 120 seconds; even ultra-long exposures from 120 to 1000 seconds require only a 0.5-stop increase .
-
Selection Advice: If you don’t mind black and white tones, Acros 100 II is technically the most hassle-free and reliable choice for night sky film, its stable performance allowing you to focus more on composition and shooting itself .
-
Ilford HP5+ (ISO 400)
-
Characteristics: A classic high-speed black and white film with wide latitude and distinctive grain.
-
Compensation Data: Metered 1 second → Actual exposure needed 1.3 seconds; Metered 10 seconds → Actual exposure needed 30 seconds; Metered 120 seconds → Actual exposure needed 7 minutes .
-
Selection Advice: Its reciprocity failure is much more pronounced than Acros, but its higher ISO and massive overexposure latitude (black and white negatives can tolerate severe overexposure) make it useful in specific scenarios like star trails.
Summary and Selection Framework:
- Pursuing Technical Stability and Hassle-Free Shooting: First choice is Fujifilm Neopan Acros 100 II (Black & White).
- Pursuing Best Color and Reversal Film Quality: First choice is Fujifilm Provia 100F, but requires precise exposure.
- Relatively Balanced Choice Among Color Negatives: Kodak Portra 800, leveraging its high ISO to shorten exposure times.
- Pursuing Ultimate Color and Grain, Unafraid of Long Exposures: Kodak Ektar 100, with thorough compensation testing.
3. Practical Compensation Strategies for Night Sky Exposure on Film: Finding Certainty in Uncertainty
After understanding the characteristics of different films, how to apply this knowledge in actual shooting? The core strategy is to use “certain” methods to deal with “uncertain” results.
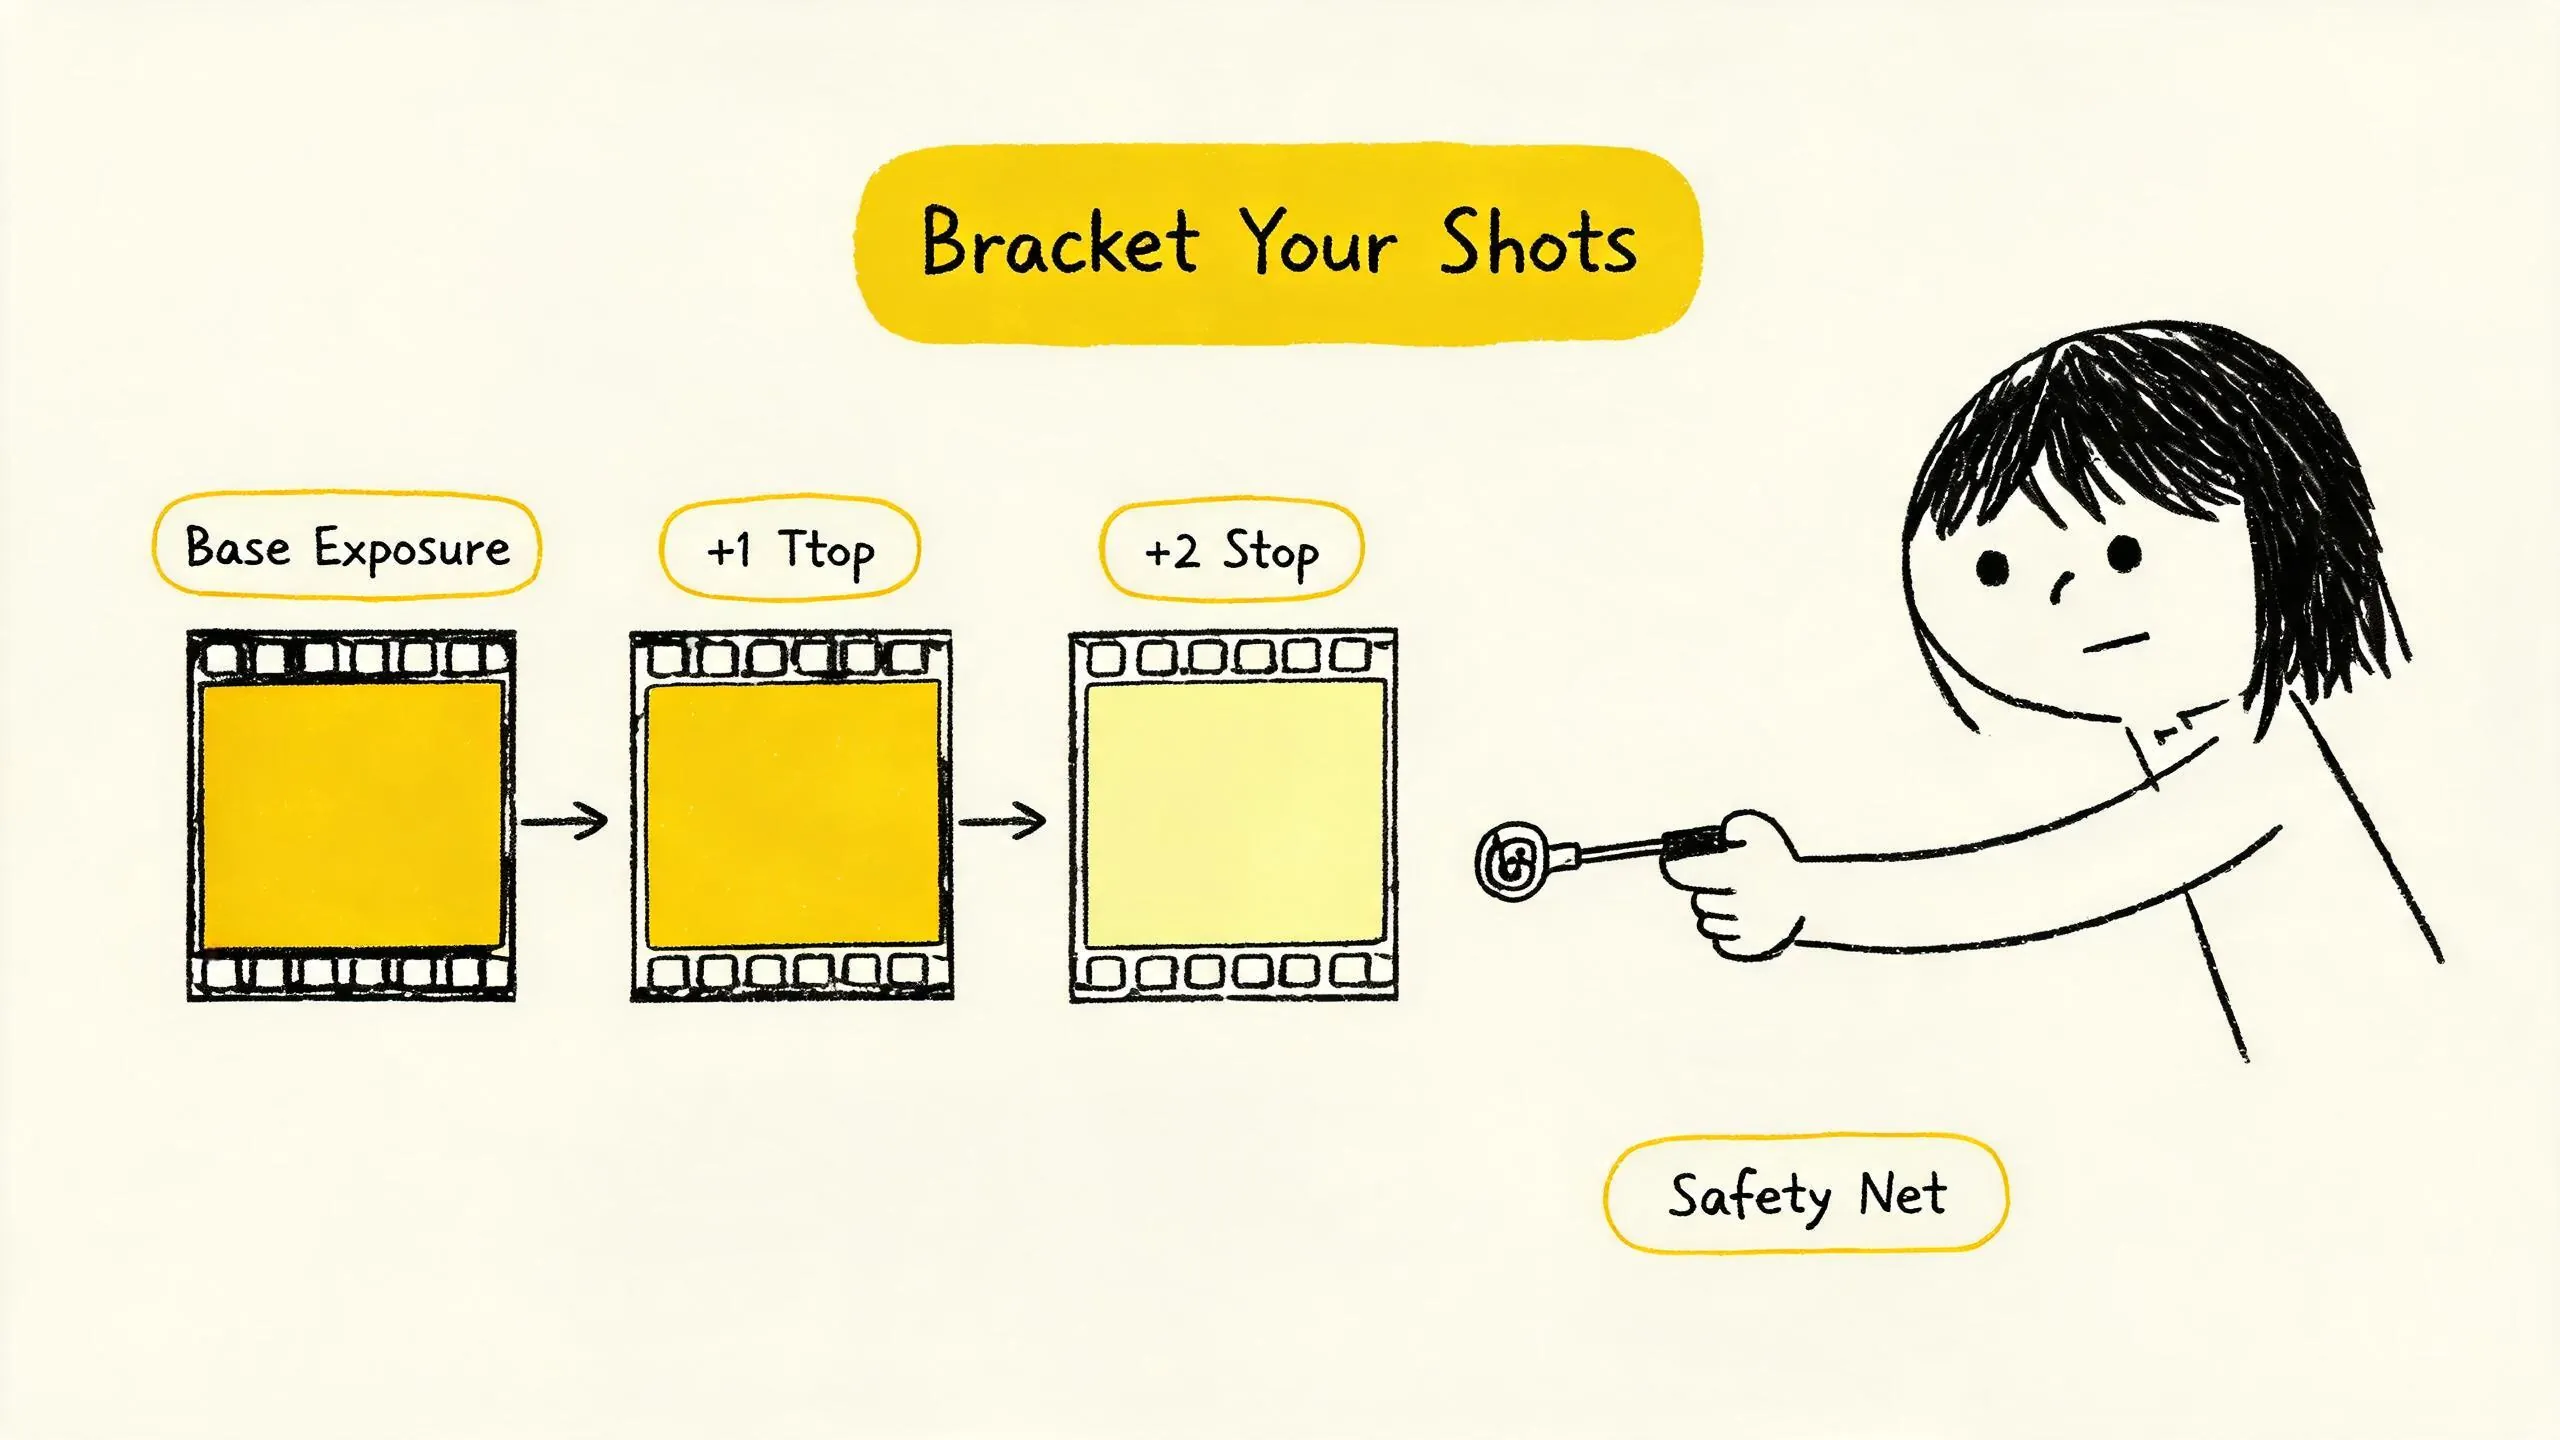
1. Bracketing: The “Safety Net” for Film Astrophotography
This is a widely recommended core strategy . Due to the uncertainty of reciprocity compensation values and variables like foreground brightness and atmospheric transparency, single-shot shooting carries high risk.
- Method: For the same composition, use the metered value (including initial reciprocity compensation estimates) as a baseline, then shoot three (or more) consecutive frames at baseline exposure, +1 stop, and +2 stops.
- Principle: Color negatives have large overexposure latitude (tolerating over 5 stops of overexposure), and slight overexposure is usually easier to correct in post-processing than underexposure . Through bracketing, you can almost ensure at least one negative has appropriate density. Kubus Photo suggests “shooting 2x and 4x your calculated exposure for safety” .
2. Empirical Formulas and the “Better Over Than Under” Principle
- 500 Rule (Avoiding Star Trails): This is an empirical formula to estimate the maximum exposure time to avoid star trailing due to Earth’s rotation: 500 ÷ focal length (mm) = maximum exposure seconds without trailing. For example, with a 24mm lens, maximum exposure is about 21 seconds; with a 50mm lens, about 10 seconds . This time is the starting point for your reciprocity compensation calculation, not the endpoint.
- Dark Frame Metering Technique: The camera’s built-in meter fails in extremely dark environments. Solutions: 1) Use a professional light meter (e.g., Sekonic L-858D); 2) Before shooting, point the camera at a uniformly dark area (e.g., distant dark woods), increase ISO (e.g., ISO 3200) to meter, get a reference shutter speed, then back-calculate based on the actual film ISO and reciprocity .
- “Better Over Than Under” Principle: In film photography, especially with color negatives, it’s better to overexpose than underexpose. Underexposed negatives lose information and are hard to salvage; overexposed negatives have high density, and details can be recovered by adjusting highlights during scanning . For reversal films, this principle requires extreme caution due to their very narrow latitude.
3. Building Your Exposure Calculation Workflow
- Determine Base Exposure: Use the “500 Rule” to calculate the maximum exposure time T without trailing.
- Look Up Film Compensation: Consult the reciprocity compensation table for your film (as per the data above), find the compensation value close to time T, and calculate the compensated actual exposure time T’.
- Apply Bracketing: Using T’ as the baseline, shoot three frames: T’, T’ + 1 stop (i.e., 2×T’), T’ + 2 stops (i.e., 4×T’).
- Record Everything: In your shooting log, detail: film stock, ISO, aperture value, base exposure time T, compensated time T’, bracketed exposure times for the three stops, shooting conditions (moon phase, weather), and composition description.
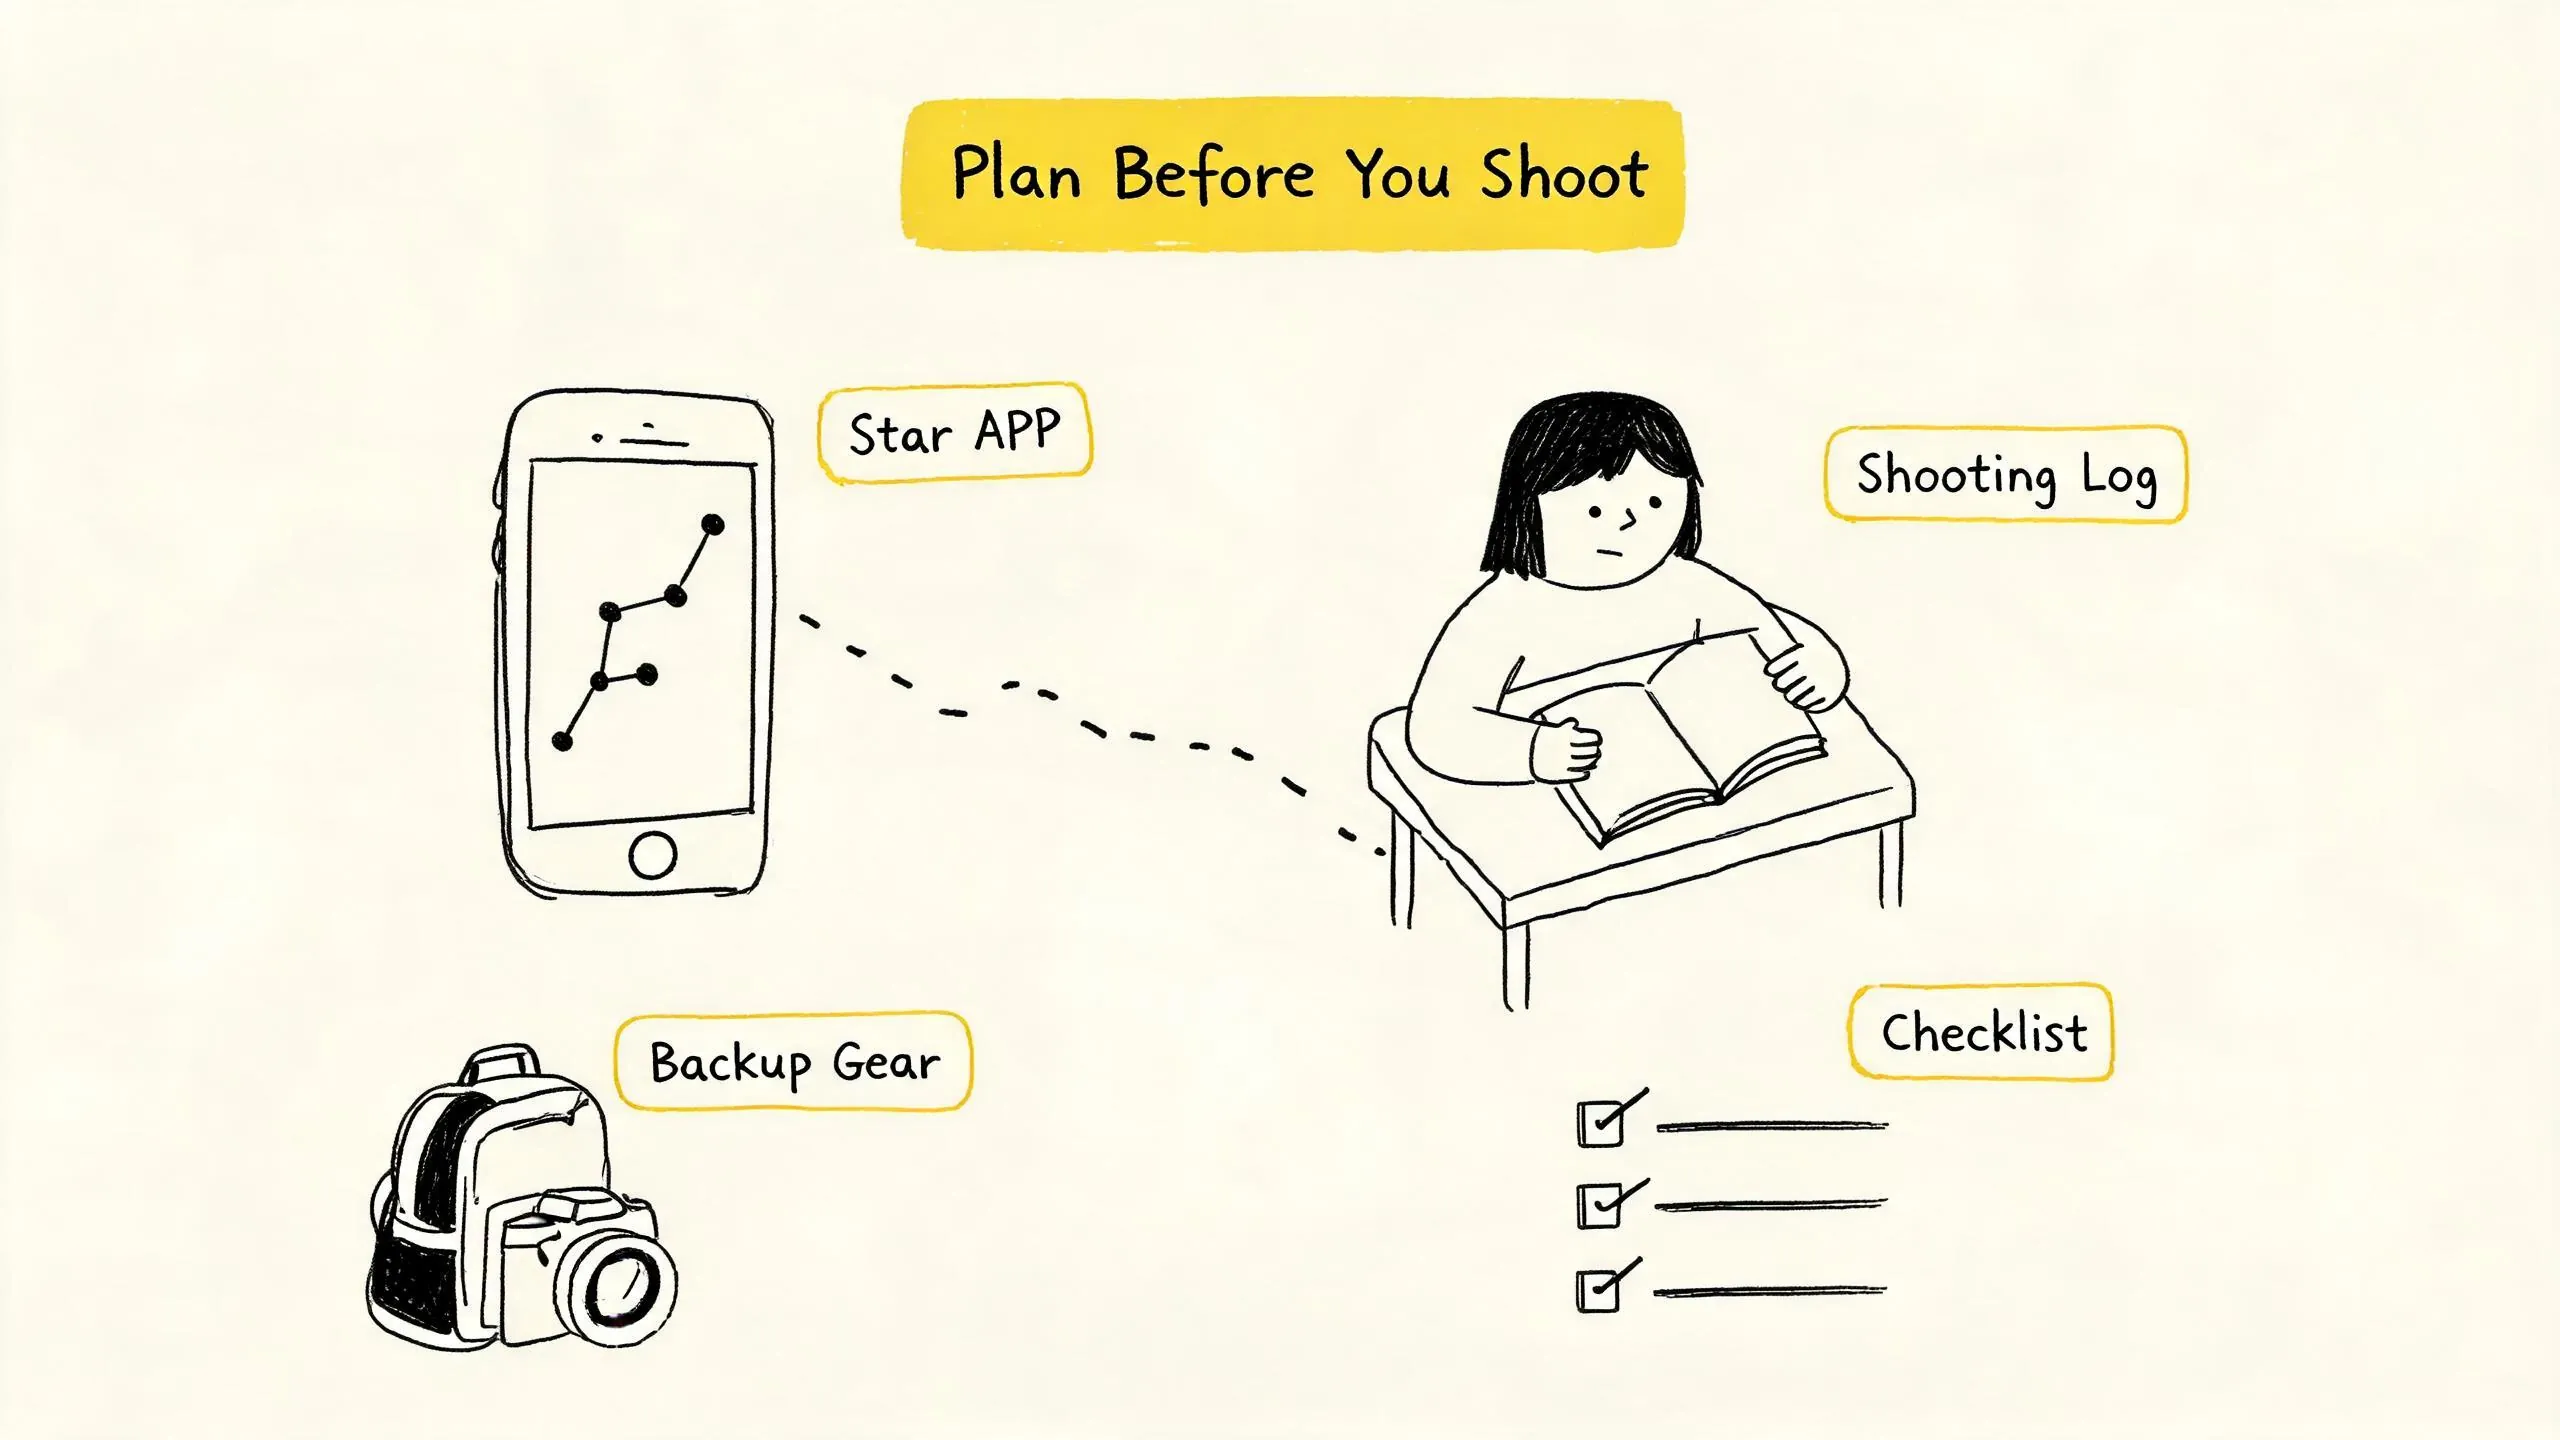
4. Shooting Planning in the Pre-Feedback Era: Combating “Blind Shooting” with Preparation
Digital photography’s instant feedback is a huge advantage, while film photography is a practice of “delayed gratification.” You don’t know the result until days or even weeks later when you get the developed negatives . Therefore, meticulous pre-shoot planning is crucial.
1. Utilize Astronomy Apps for “Rehearsal”
Before setting out, use astronomy prediction apps (e.g., Star Walk, PhotoPills, etc.) for detailed planning .
- Determine Milky Way Position and Timing: Check the rise, transit, and set times of the Milky Way core (galactic center) for your target shooting date, along with its azimuth. This determines your composition and shooting window.
- Simulate Composition: Use the app’s AR feature or map mode to simulate camera orientation on your phone in advance, planning the relative position of foreground elements (e.g., mountains, trees) and the night sky.
- Check Moon Phase: New moon periods are optimal for shooting the Milky Way, as moonlight washes out starlight.
2. Establish Your “Shooting Log” System
This is the most important tool to compensate for the lack of instant feedback. Prepare a notebook or spreadsheet to create an archive for each shoot and each roll of film.
- Content to Record: Besides the exposure parameters above, also record: shooting location (GPS coordinates), altitude, temperature (low temperatures affect battery and film performance), wind speed, photographer’s condition, unexpected situations encountered, etc.
- Comparative Analysis: After getting the developed negatives, strictly compare the log records with the negative results (via scanning or a light box). Which exposure set worked best? Was the compensation value off or just right? Was there any color shift? Digitize these experiences to gradually build your own “experience database” for specific films and equipment.
3. Prepare Backup Plans and Checklists
- Equipment Check: Is the tripod stable? Is the cable release reliable? Are spare batteries (which drain faster in cold) sufficient? Has the film been taken out of the fridge in advance to acclimatize (to avoid condensation)?
- Backup Film: Based on your shooting plan, carry at least twice the expected amount of film, and consider bringing films with different characteristics to handle unexpected situations (e.g., weather changes).
- Lighting Tools: Headlamp (with red light mode to preserve night vision), flashlight (for light painting the foreground during long exposures).
5. From Negative to Starry Sky: Color Correction and Star Sharpening in Scanning and Post-Processing
Shooting is only half the success; converting the latent image on the negative into a stunning night sky image requires critical scanning and post-processing.
1. Communicating with the Scanner: Special Needs for Long-Exposure Negatives
Long-exposure negatives may have different density distributions than normally exposed ones. The default settings of automatic scanners may misjudge highlights and shadows, leading to lost night sky details or overly dark foregrounds .
- Key Communication: When submitting for scanning, always inform the lab that this is a long-exposure astrophotography piece and explain your intent (e.g., you want to retain dark details in the Milky Way or make stars brighter). Request manual adjustments or a wider dynamic range scan file (e.g., TIFF format).
2. Color Correction: Combating Long-Exposure Color Casts
Long exposures disrupt the balance of response in the film’s emulsion layers, causing overall color casts, commonly cyan or magenta shifts .
- Pre-Correction: You can add CC (color correction) filters in front of the lens for physical correction, but this requires precise testing.
- Post-Correction: More commonly done in Photoshop.
- Curves Adjustment: Adjust the curves of the RGB channels separately to restore neutral gray. For example, if the overall cast is magenta, brighten the green channel curve or darken the red and blue channel curves.
- LAB Mode: Switch to LAB color mode and adjust the curves of the a and b channels for finer control of color balance, especially useful for addressing the common red shift in Ektar negative shadow areas mentioned by Alex Burke .
3. Star Sharpening and Noise Reduction
Scanned digital files may show stars as soft or diffuse.
- Sharpening Techniques: Use Photoshop’s “Smart Sharpen” or “High Pass” filter. A common method with High Pass: Duplicate layer → Filter → Other → High Pass (set radius to 1-2 pixels) → Change this layer’s blend mode to “Overlay” or “Soft Light.” This effectively enhances star edge contrast, making them sharper .
- Specialized Tools: For deep-sky targets or ultimate results, consider using astrophotography processing software like Siril. It effectively removes fixed-pattern noise, corrects color casts and gradients, and performs professional star enhancement .
Conclusion: A Well-Planned Romantic Adventure
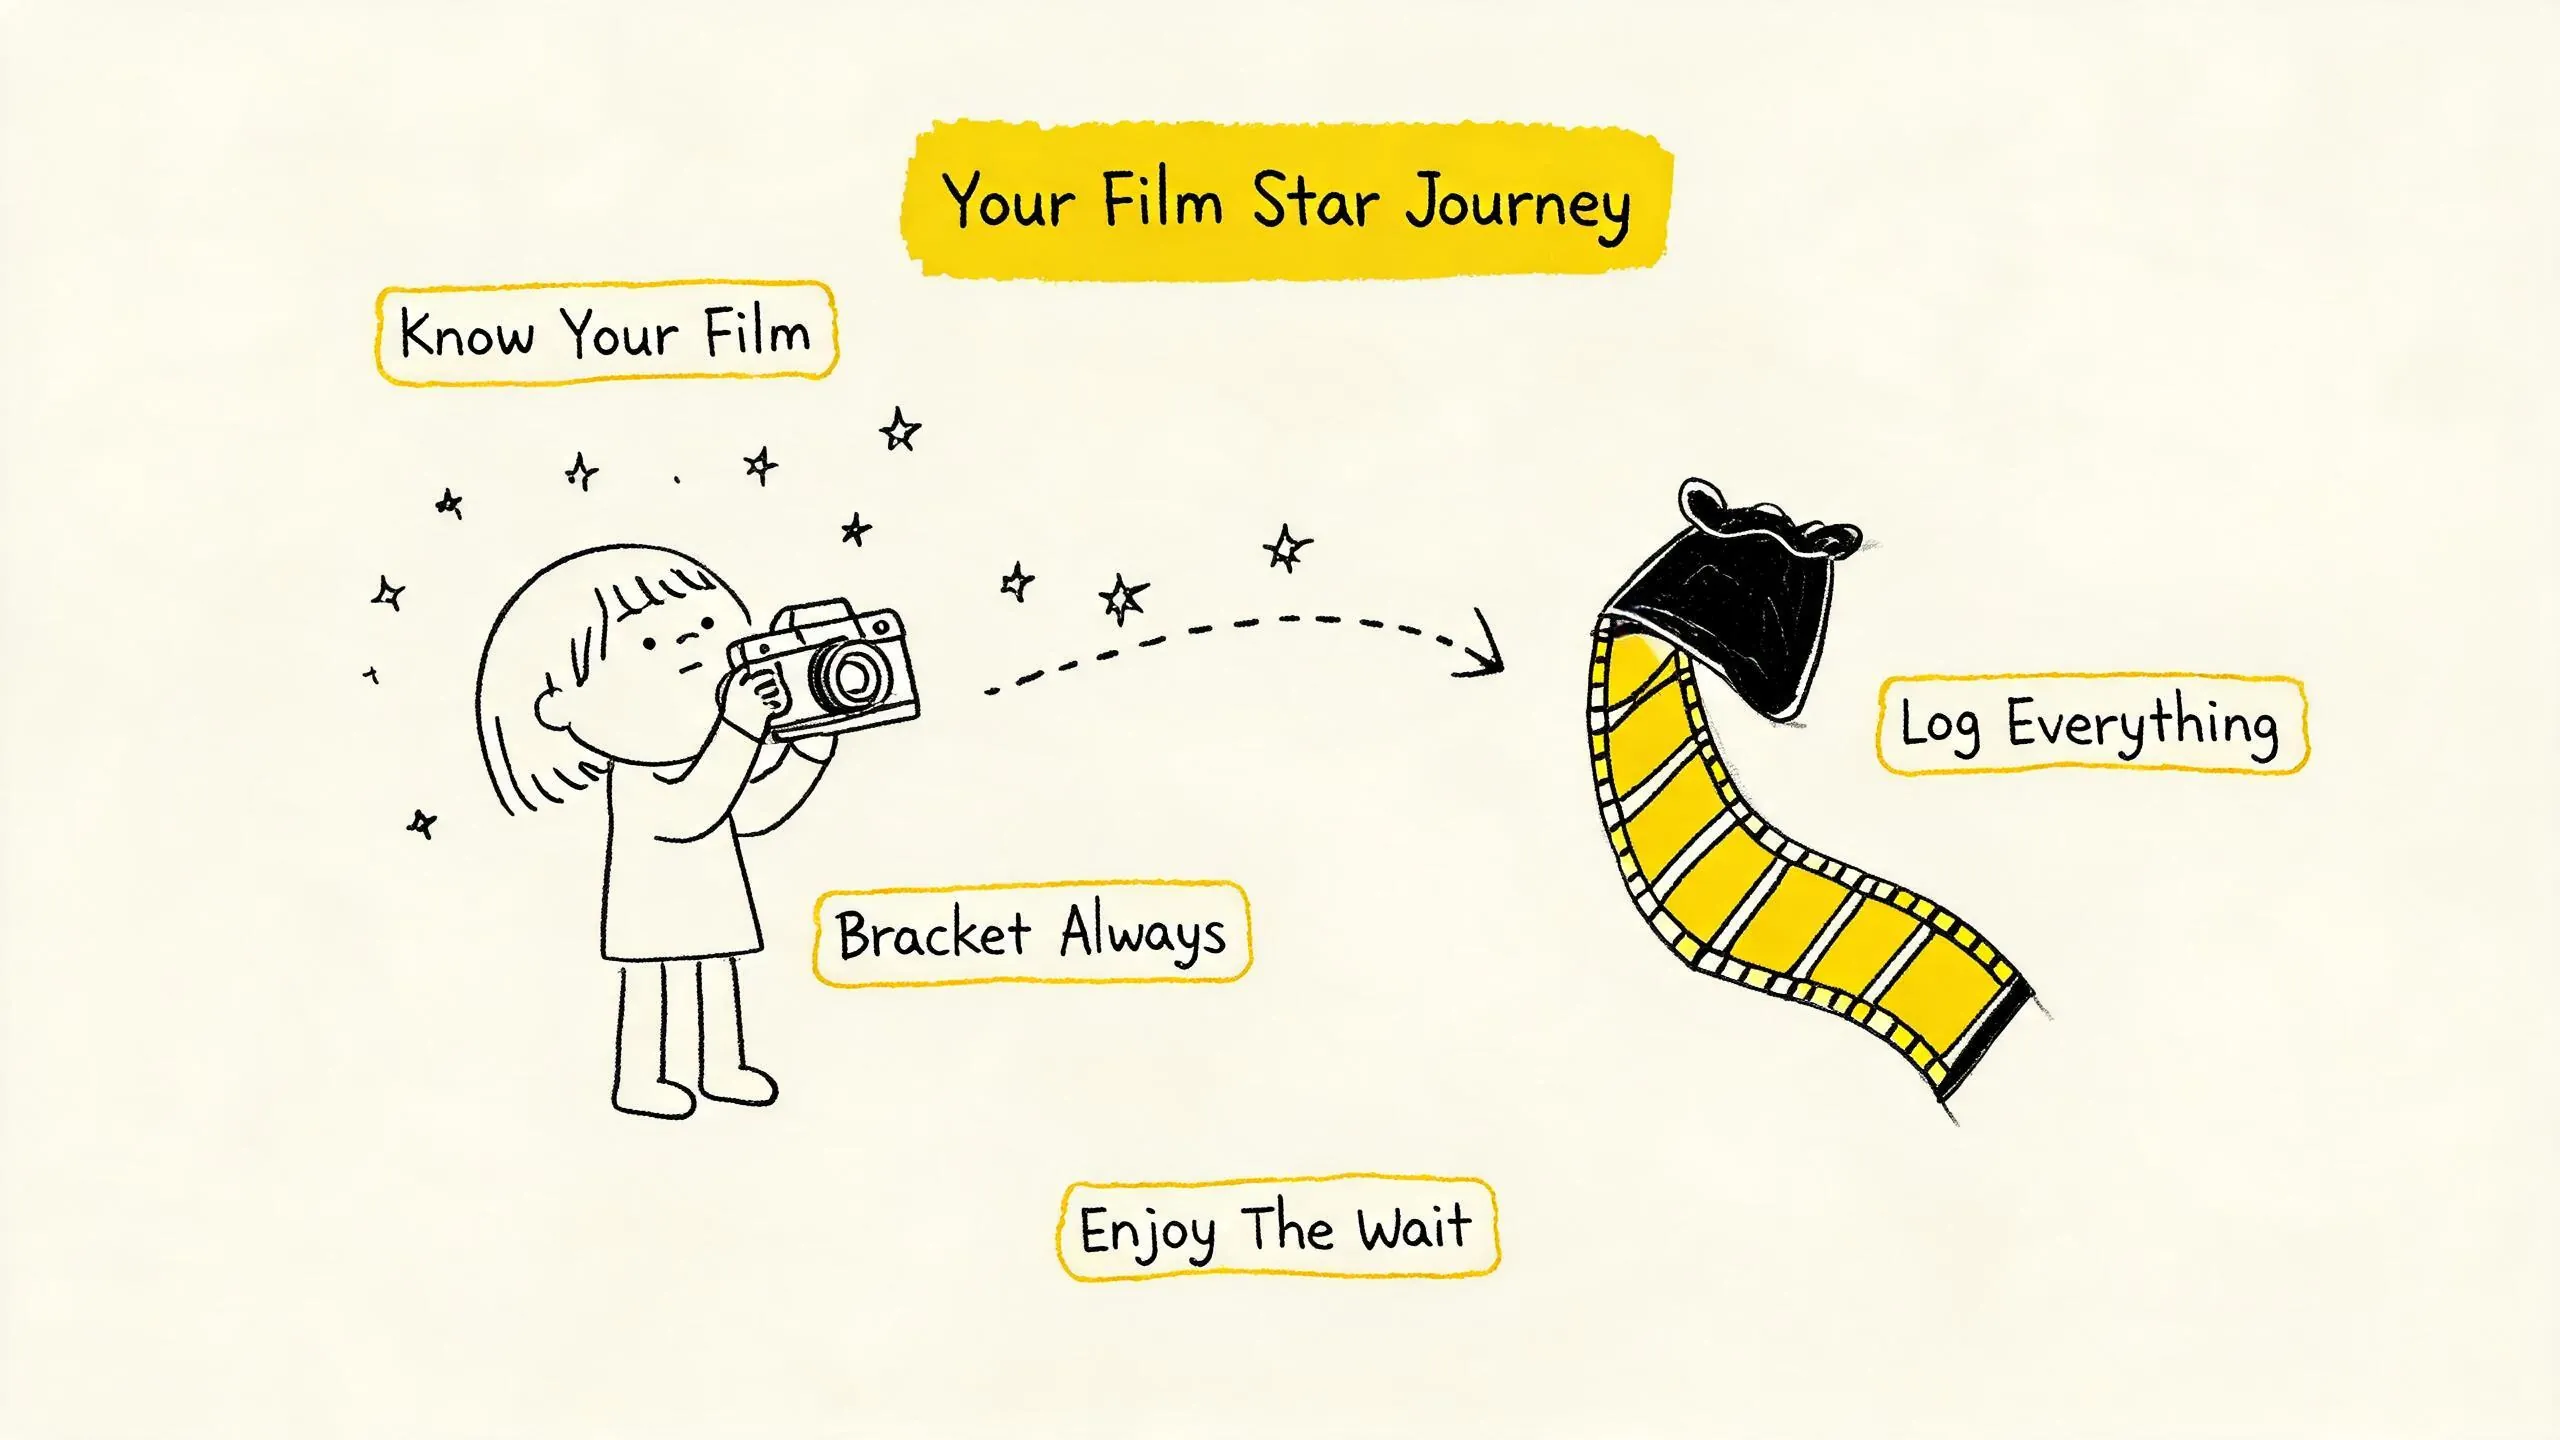
Shooting the night sky on film is a romantic adventure of wrestling with physical laws, uncertainty, and time itself. Reciprocity failure is the core technical challenge of this adventure, but it is not insurmountable. By deeply understanding the personality of your film, rigorously executing bracketing strategies, and using astronomy apps and shooting logs for meticulous “blind shooting” planning, you can significantly increase your success rate within the constraints of no instant feedback.
Remember, the charm of film astrophotography lies not only in the final grainy, uniquely toned image of the night sky but also in the focus, patience, and anticipation of the unknown throughout the entire process. From planning to pressing the shutter to waiting for the development results, every step is part of the creation. Now, take your camera, your film, and this guide, and go record your own piece of the starry sky.
References
- Long Exposure Film Photography: Reciprocity Failure & Night Techniques | Kubus Photo
- I Shot Astrophotography on Film for a Year: Here’s What I Learned | PetaPixel
- [Reciprocity (photography) - Wikipedia](https://en.wikipedia.org/wiki/Reciprocity_(photography)
- Understanding Reciprocity Failure in Film Photography | Shoot It With Film
- Photographing the Milky Way on Film | Lonely Speck
- Reciprocity failure and Kodak Ektar 100 | Timothy Hutto
- Kodak Ektar 100 Reciprocity Failure — Timothy Hutto (续)
- 胶片相机拍摄星空,知道这个参数就够了!| 知乎
- 用大画幅胶片进行广域深空摄影 | grapeot.me
- Reciprocity for Fujifilm Provia 100F | lucas.dev