Backlit Portraits on Film: How to Make "Bright Faces" More Compelling Than Silhouettes — A Practical Guide to Fill Light, Metering, and Film Selection
In the film photography community, backlighting is often closely associated with silhouettes. Using high contrast to render the subject as a dark outline agains
Why Aren’t We Satisfied with Silhouettes in Backlit Portraits?
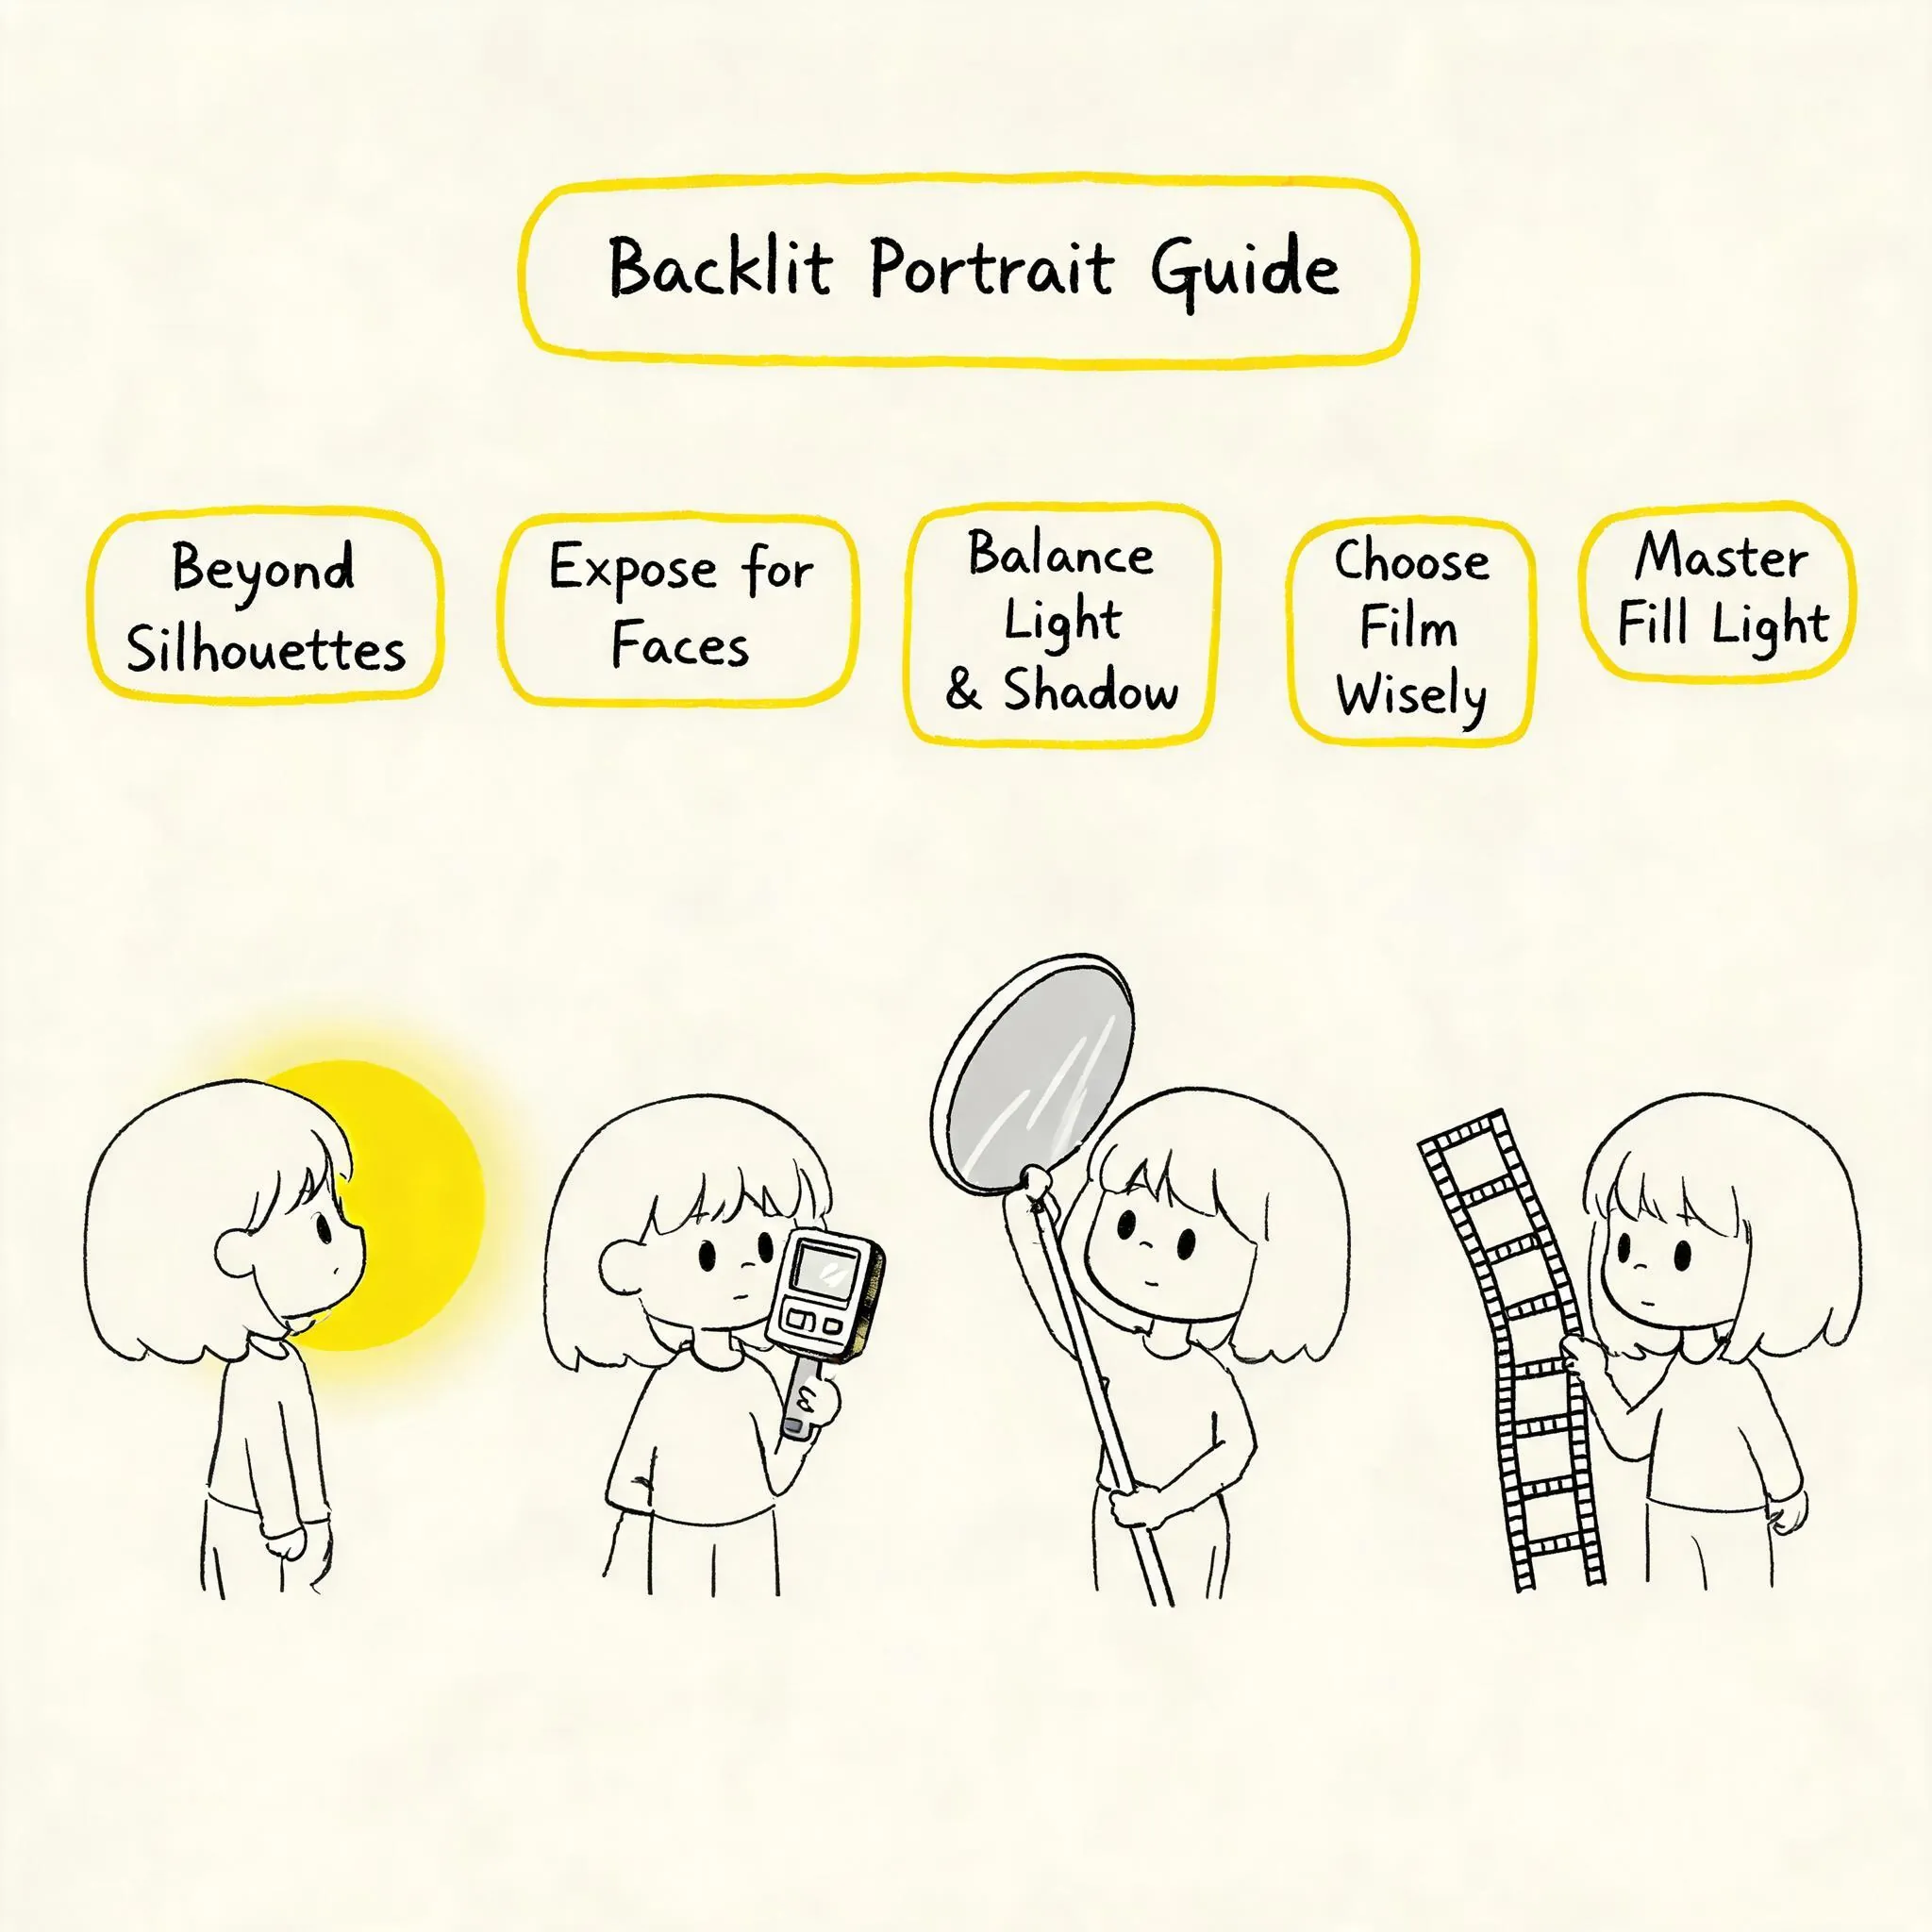
In the film photography community, backlighting is often closely associated with silhouettes. Using high contrast to render the subject as a dark outline against a bright, luminous background is a classic and highly dramatic creative technique. However, for portrait photography, our goals often extend beyond this. We aim to capture facial expressions and subtle emotions while preserving the unique atmosphere that backlighting provides—the halo around the hair, the bokeh in the background, and that translucent, warm quality. This is the core of this tutorial: how to use film selection, precise metering, and active fill light in backlit conditions to make “bright faces” more captivating than silhouettes.
This isn’t to diminish the value of silhouettes but to offer another possibility for portrait creation. When facing a backlit subject, the question shouldn’t just be “should I shoot a silhouette?” but rather “how can I retain both the light and the person within this high-contrast scene?”
Film Dynamic Range in Practice: Choosing the Right Film is Half the Battle
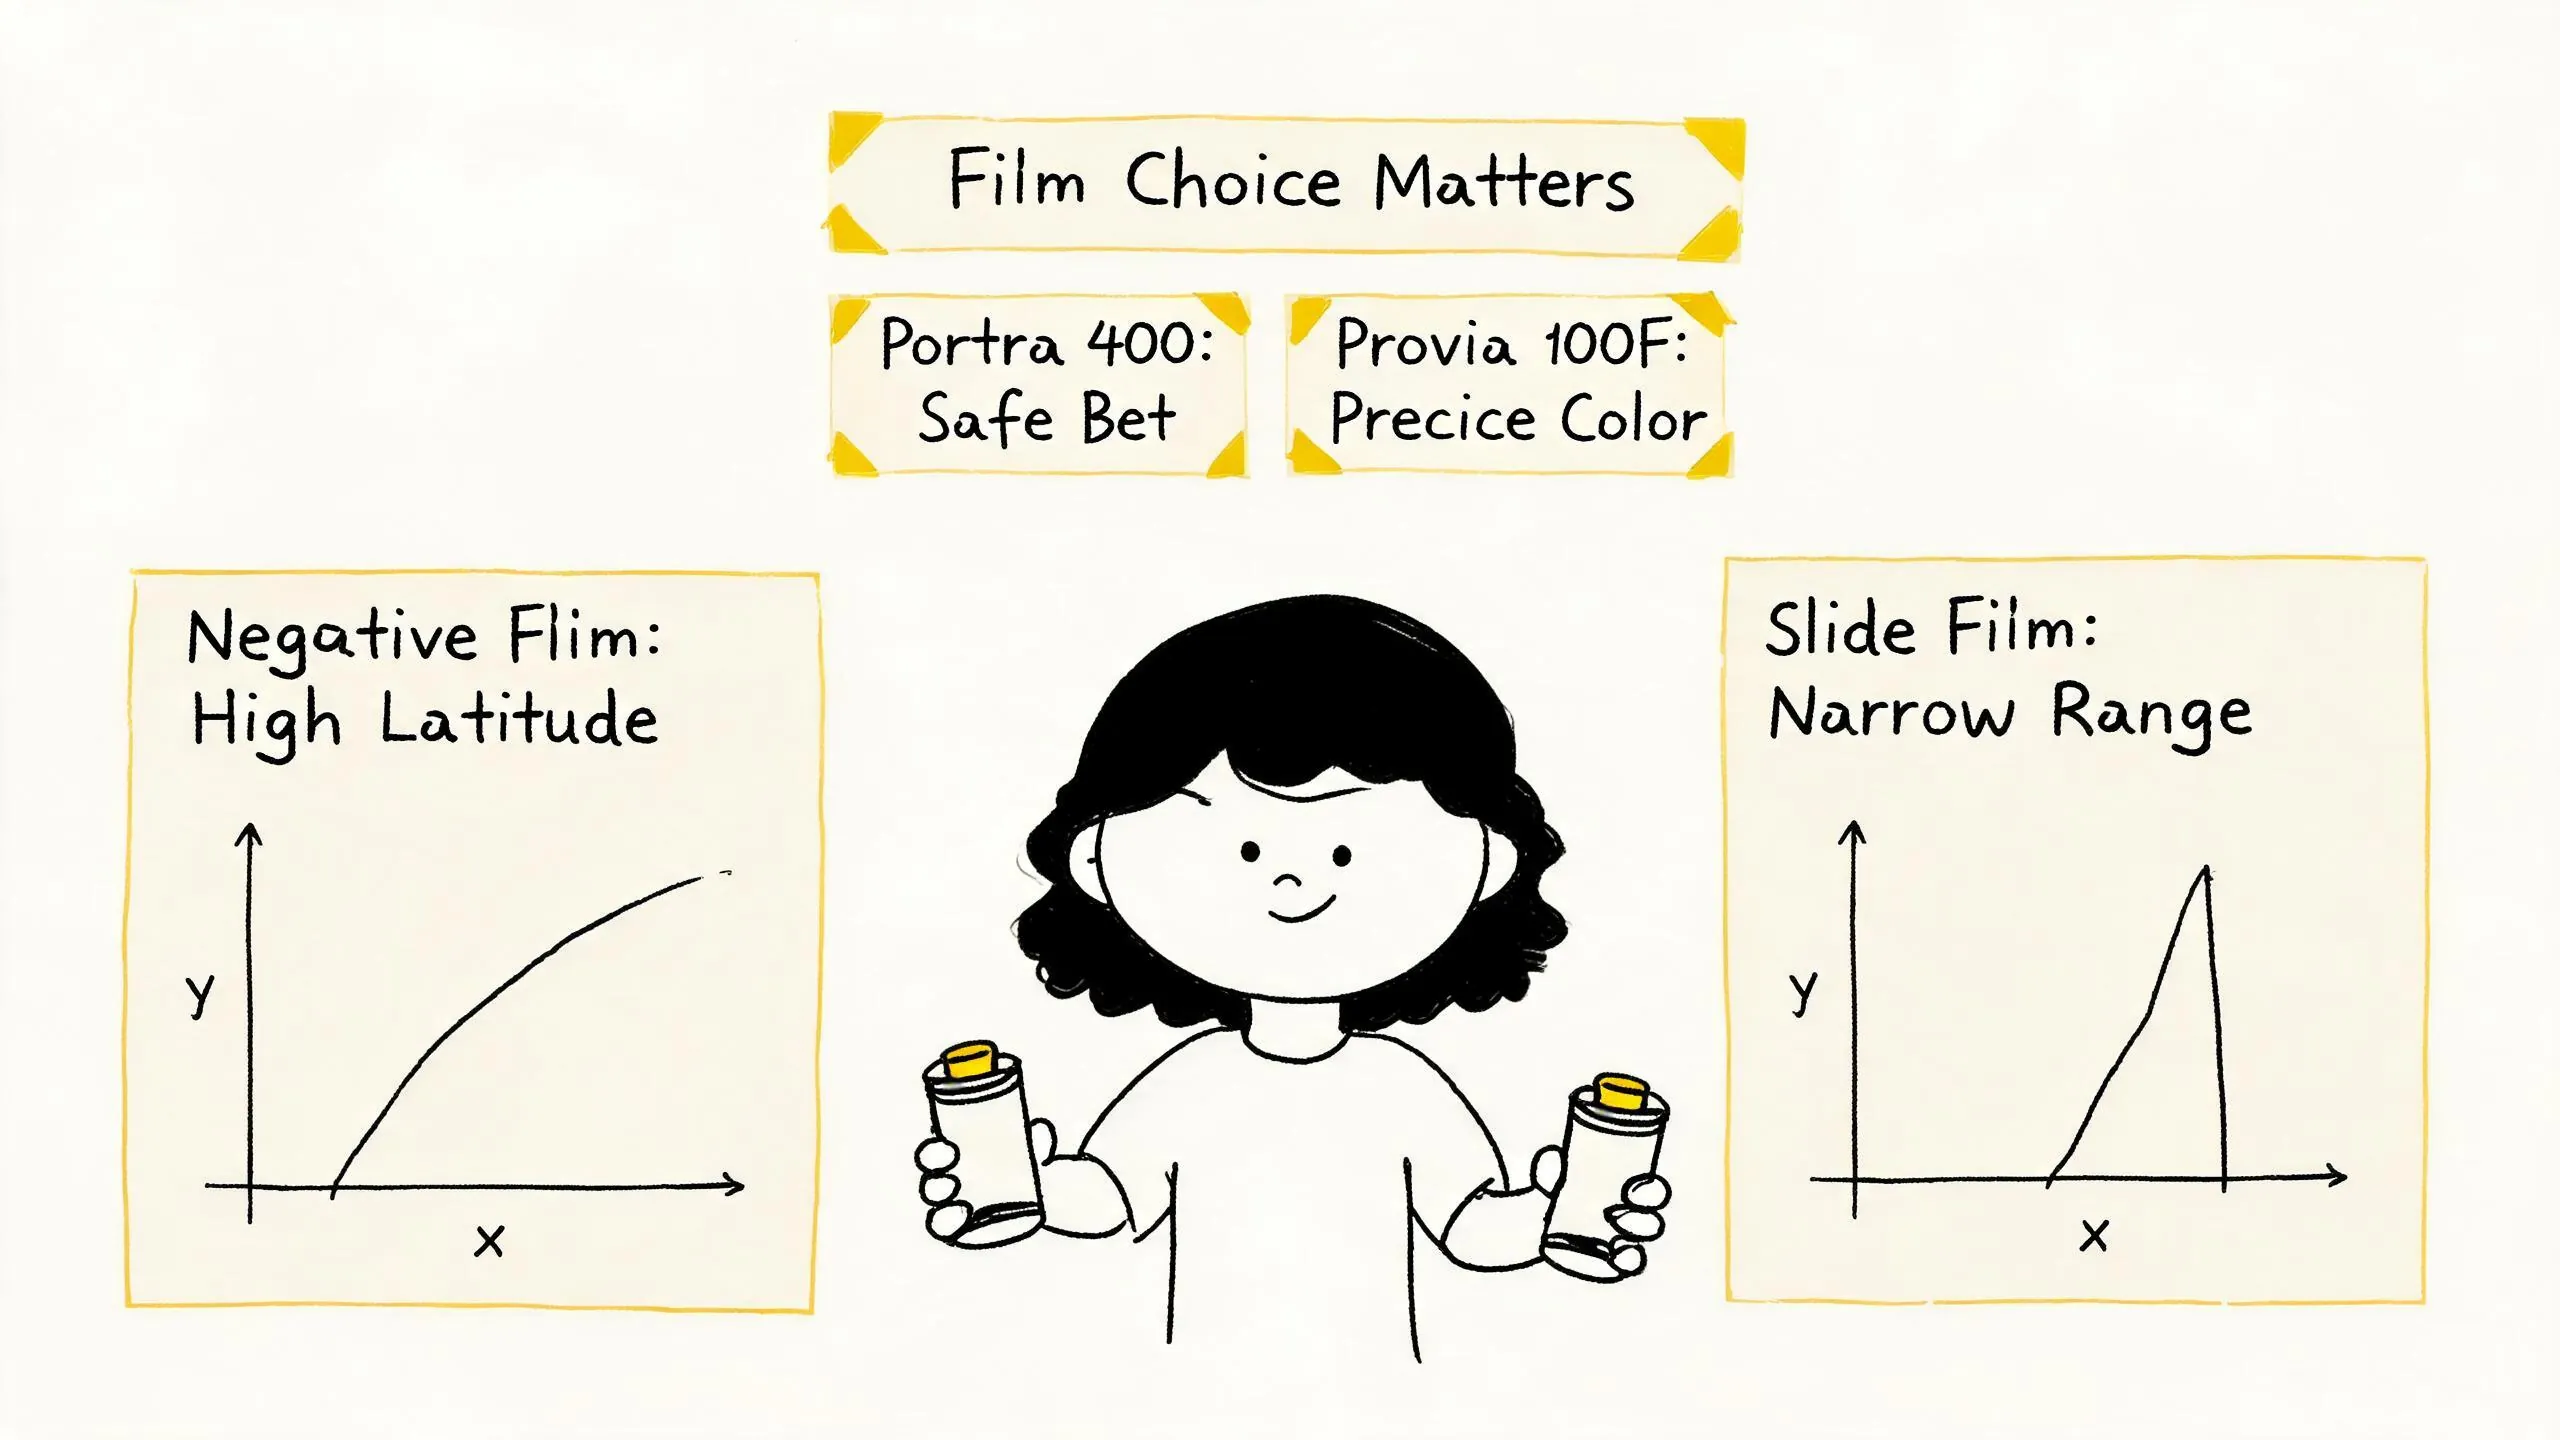
In film photography, dynamic range—the film’s ability to record detail in both the brightest and darkest parts of a scene—directly determines the outcome of high-contrast backlit shots. Different types of film vary greatly in latitude (exposure tolerance), a crucial upfront decision that digital photographers, with their instant review and adjustment, don’t have to make.
Negative Film: Latitude is the Ace
Negative film is renowned for its wide latitude, especially its excellent performance in overexposure. This means that in backlit scenes, even if the background highlights are overexposed, negative film is more likely to retain detail rather than becoming completely “blown out.” At the same time, there’s some leeway to recover shadow areas (like the subject’s face).
- Kodak Portra 400: This portrait film is a staple in backlit scenarios. Designed for complex lighting conditions, it offers excellent skin tone reproduction and extremely high latitude. In backlight, even if the face is slightly underexposed, the shadows can be easily lifted during scanning while the highlight transitions remain smooth and natural. It provides a huge margin for error in backlit portraits.
- Kodak Gold 200 / Kodak ColorPlus 200: As entry-level daylight films, their latitude isn’t as wide as professional negatives, but they still offer decent dynamic range in good light. Their warm, saturated color characteristics can render a rich, atmospheric feel in backlight, making them suitable for shooting vibrant, emotionally bright backlit portraits.
- Fujifilm C200: This discontinued film (or its successors) is known for its clean, slightly cyan-green tones. In backlight, it creates a unique sense of airiness and a fresh, Japanese-style aesthetic. Its latitude is average, so exposure needs to be more precisely controlled to avoid losing shadow detail.
Film Selection Strategy: For complex, high-contrast backlit portraits, prioritize a high-latitude professional negative like Portra 400. If you’re aiming for a specific style (like vintage warmth or Japanese freshness), Gold 200 or C200 can also work, but metering must be more careful.
Slide Film: Challenge and Ultimate Color
Slide film (reversal film) is celebrated for its vibrant colors, fine grain, and high sharpness, but its dynamic range is much narrower than negative film. In high-contrast backlit scenes, slide film demands extreme exposure accuracy; a slight error can result in blown-out highlights or crushed shadows.
- Fujifilm Provia 100F: As a professional daylight slide film, Provia 100F offers accurate color reproduction and fine grain. In backlight, it can capture beautiful highlight and shadow gradations, but only if the exposure is precise. It’s suited for photographers seeking ultimate image quality and controllable color, and it requires higher standards for metering and processing.
- Kodak Ektar 100: Although Ektar 100 is a negative film, its ultra-fine grain and vivid colors are often compared to slide film. It has high saturation and rich color, creating strong visual impact in backlight. While its latitude isn’t as wide as the Portra series, it’s among the best for negative films, offering more leeway than slide film for backlit portraits.
Film Selection Strategy: Shooting backlit portraits on slide film is a test of technical skill. It’s recommended to use a light meter for precise metering and to consider slight overexposure (for slide film, overexposing by 1/3 to 2/3 stop is often advised to preserve shadow detail), but always stay within the film’s latitude. If you’re a beginner, start with negative film to practice backlit shooting.
The Three Pillars of Backlit Metering: Let Your Light Meter Be Your Third Eye
Metering in backlit scenes is one of the most challenging aspects of film photography. The camera’s automatic metering system (if available) is easily fooled by the large bright background, leading to severe underexposure of the subject’s face. Therefore, mastering manual metering strategies is crucial.
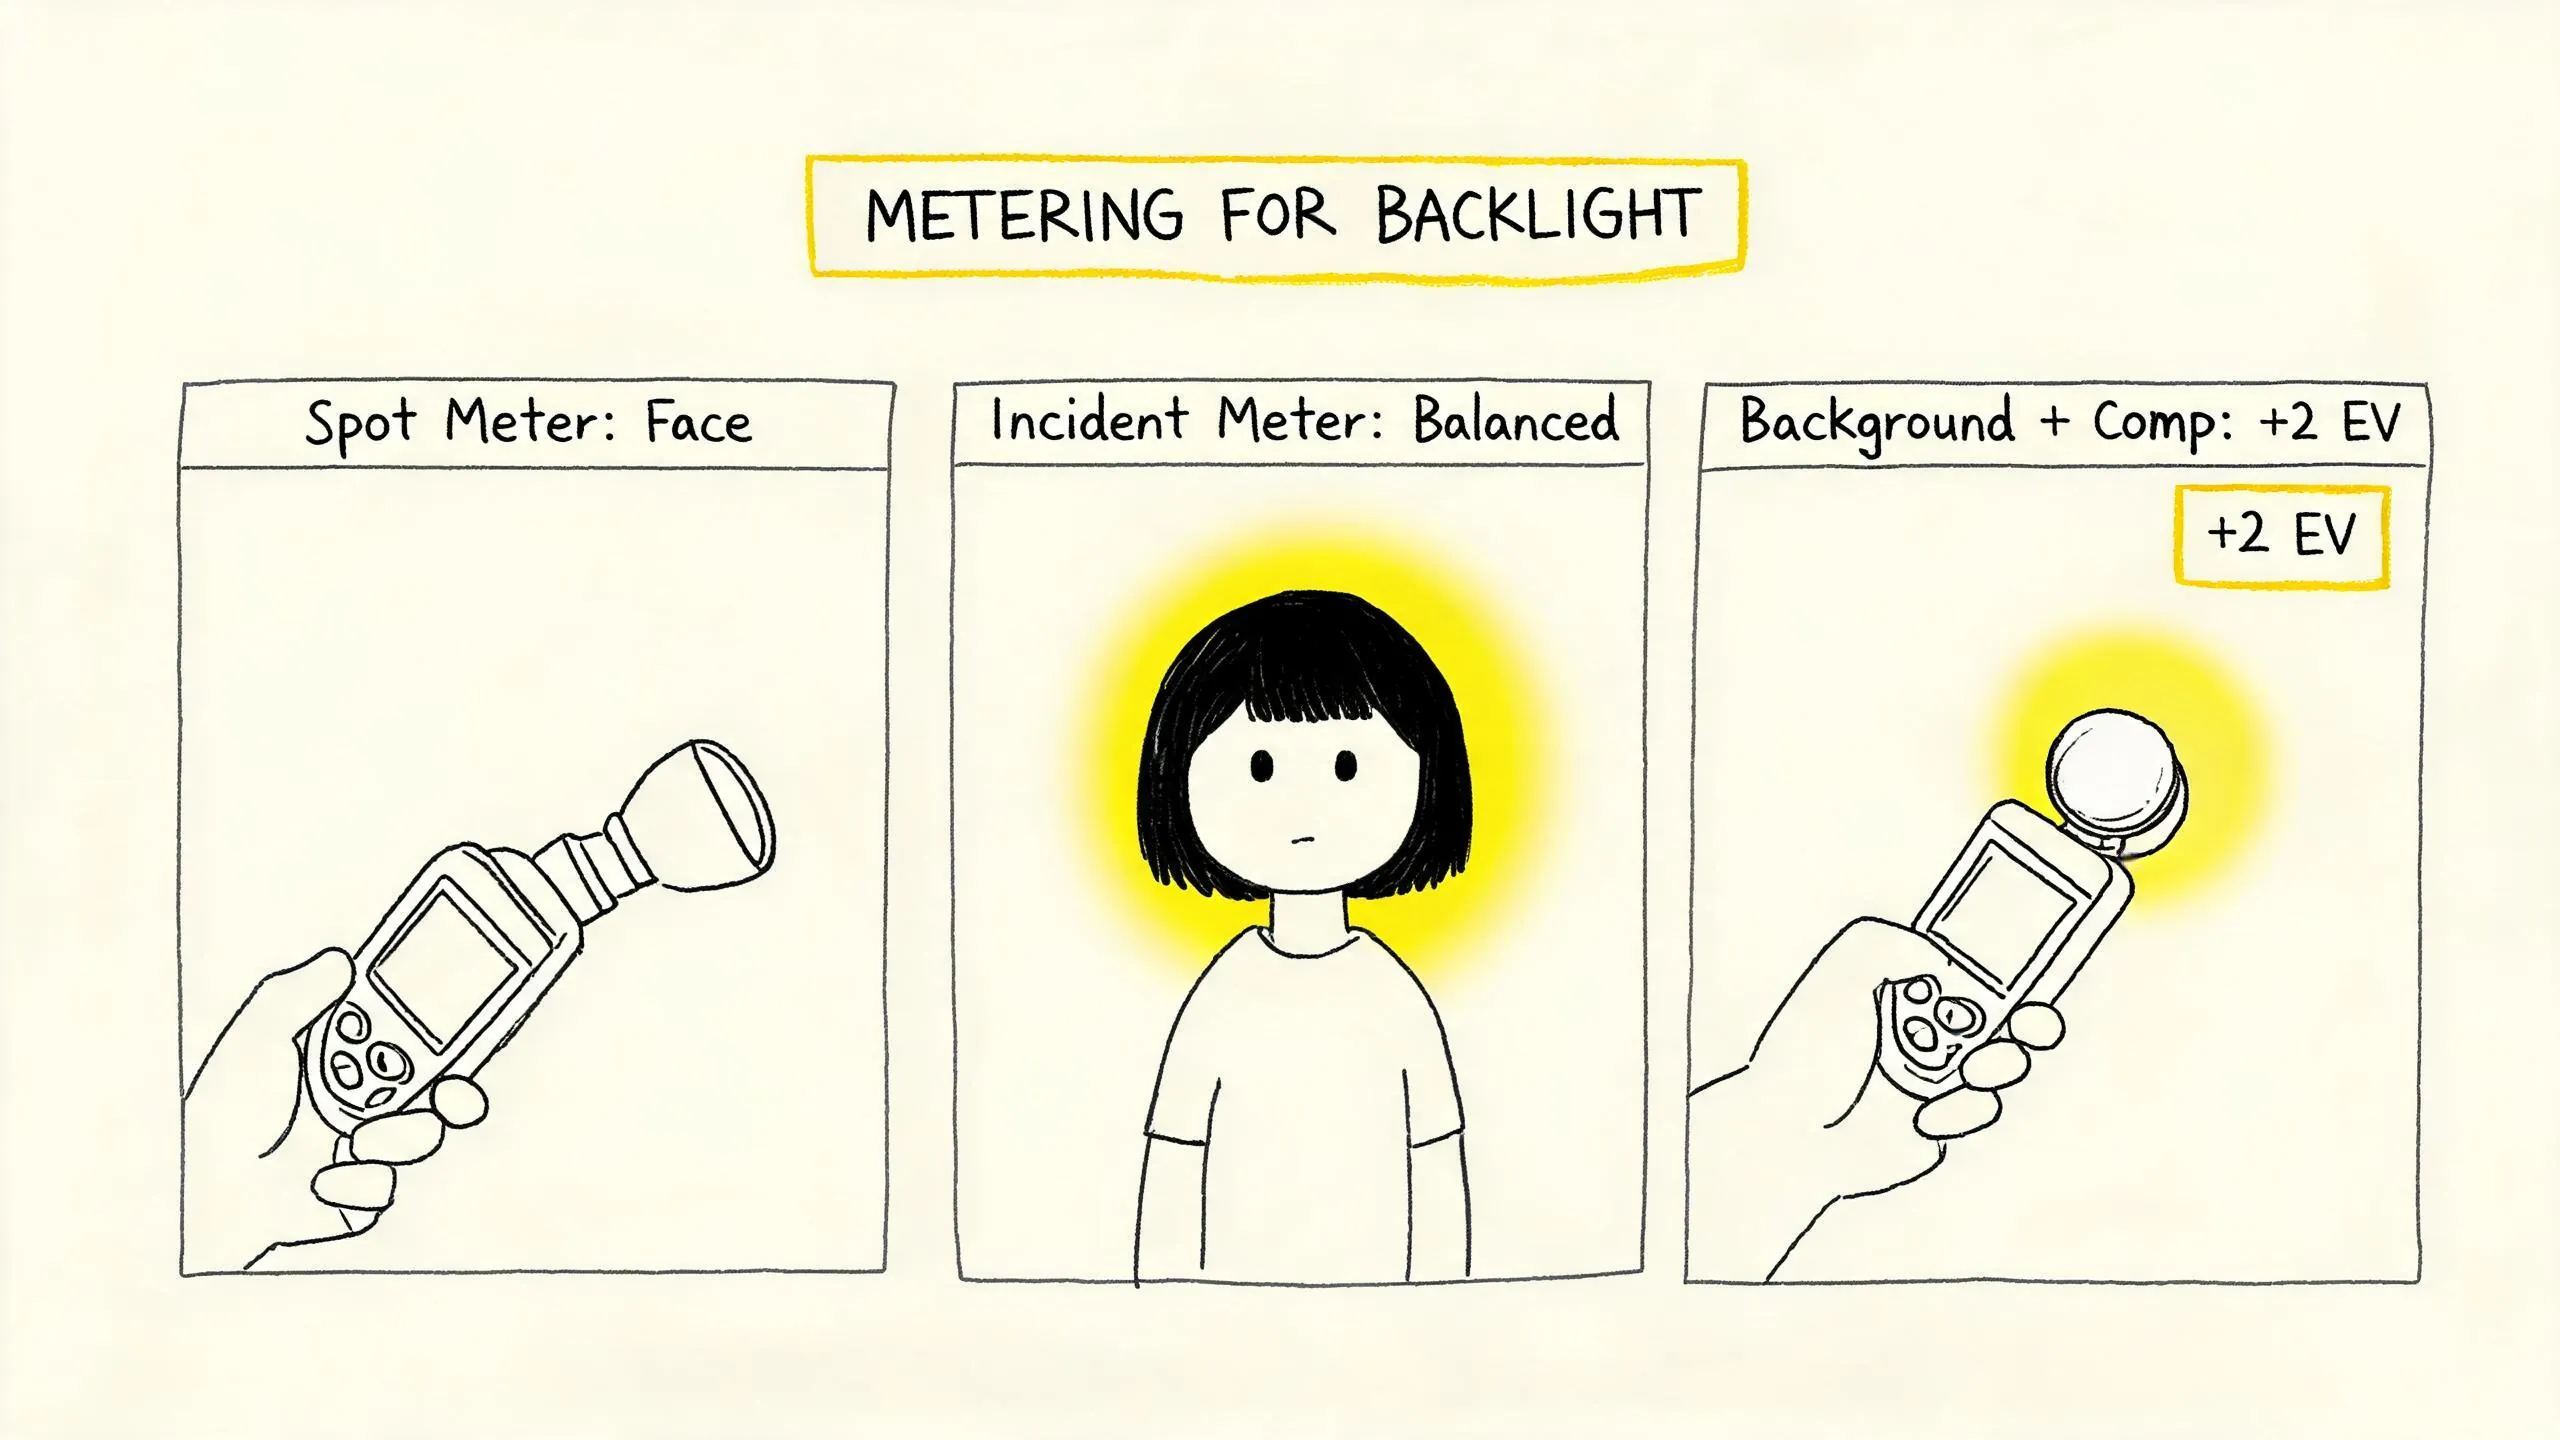
Method 1: Spot Meter on the Face (Most Direct and Effective)
This is the most reliable method for achieving “bright face” backlit portraits. Use the spot metering function on a handheld light meter or a smartphone metering app (like LightMeter) to meter directly on the subject’s face (typically the cheekbone or forehead).
- Steps:
- Switch the light meter or app to spot metering mode.
- Aim the metering area at the mid-tone area of the face (avoiding highlights and deep shadows).
- Read the metering value and set your camera’s aperture and shutter speed accordingly.
- Principle: This method directly ensures the face is correctly exposed, with the background rendering naturally based on the film’s latitude. For negative film, even if the background is slightly overexposed, it’s usually acceptable.
- Suitable Scenarios: When the face has even lighting and the contrast with the background isn’t extremely high.
Method 2: Meter the Background with Compensation (Preserve Atmosphere)
When the backlighting atmosphere in the background (like halos or bokeh) is a key element you want to emphasize, use this strategy.
- Steps:
- Meter on a bright area in the background where you want to retain detail (e.g., the sky, water reflections).
- After getting the reading, manually add 1.5 to 2.5 stops of exposure compensation (the exact value depends on experience or test shots). This is because the light meter will try to render the metered area as 18% gray, but the background is usually much brighter, requiring increased exposure to appear bright.
- Principle: This method prioritizes the background’s brightness, which may leave the face underexposed, creating an effect between a silhouette and normal exposure. It’s excellent for portraits with a strong sense of ambient light.
- Suitable Scenarios: When you want to emphasize the backlight effect and can accept a slightly darker face or plan to lift it in post-processing (scanning).
Method 3: Incident Light Metering (The Most Accurate “Middle Ground”)
Using the incident light metering function on a handheld light meter is the most accurate way to obtain an overall average exposure value for the scene.
- Steps:
- Stand in the subject’s position.
- Point the light meter’s white dome (lumisphere) toward the camera lens.
- Press the metering button and read the value.
- Principle: Incident light metering measures the intensity of light falling on the subject, not the light reflected by it, so it’s unaffected by the subject’s color or background brightness. It provides a balanced exposure value that allows both the face and background to be reasonably exposed.
- Suitable Scenarios: When lighting conditions are complex, or you want a “safe” exposure baseline. This is the preferred method for many professional portrait photographers in backlight.
Practical Advice: In the film era, it’s recommended to carry a handheld light meter (like the Sekonic series) and be proficient in its spot and incident functions. Smartphone apps can serve as convenient aids, but their accuracy and reliability are generally inferior to professional light meters.
Fill Light in Practice: Shaping Light to Illuminate the Face
Metering alone sometimes isn’t enough to achieve ideal facial detail and gradation on film, especially in extreme midday backlight or indoor window backlight scenarios. Here, active fill light becomes the finishing touch.
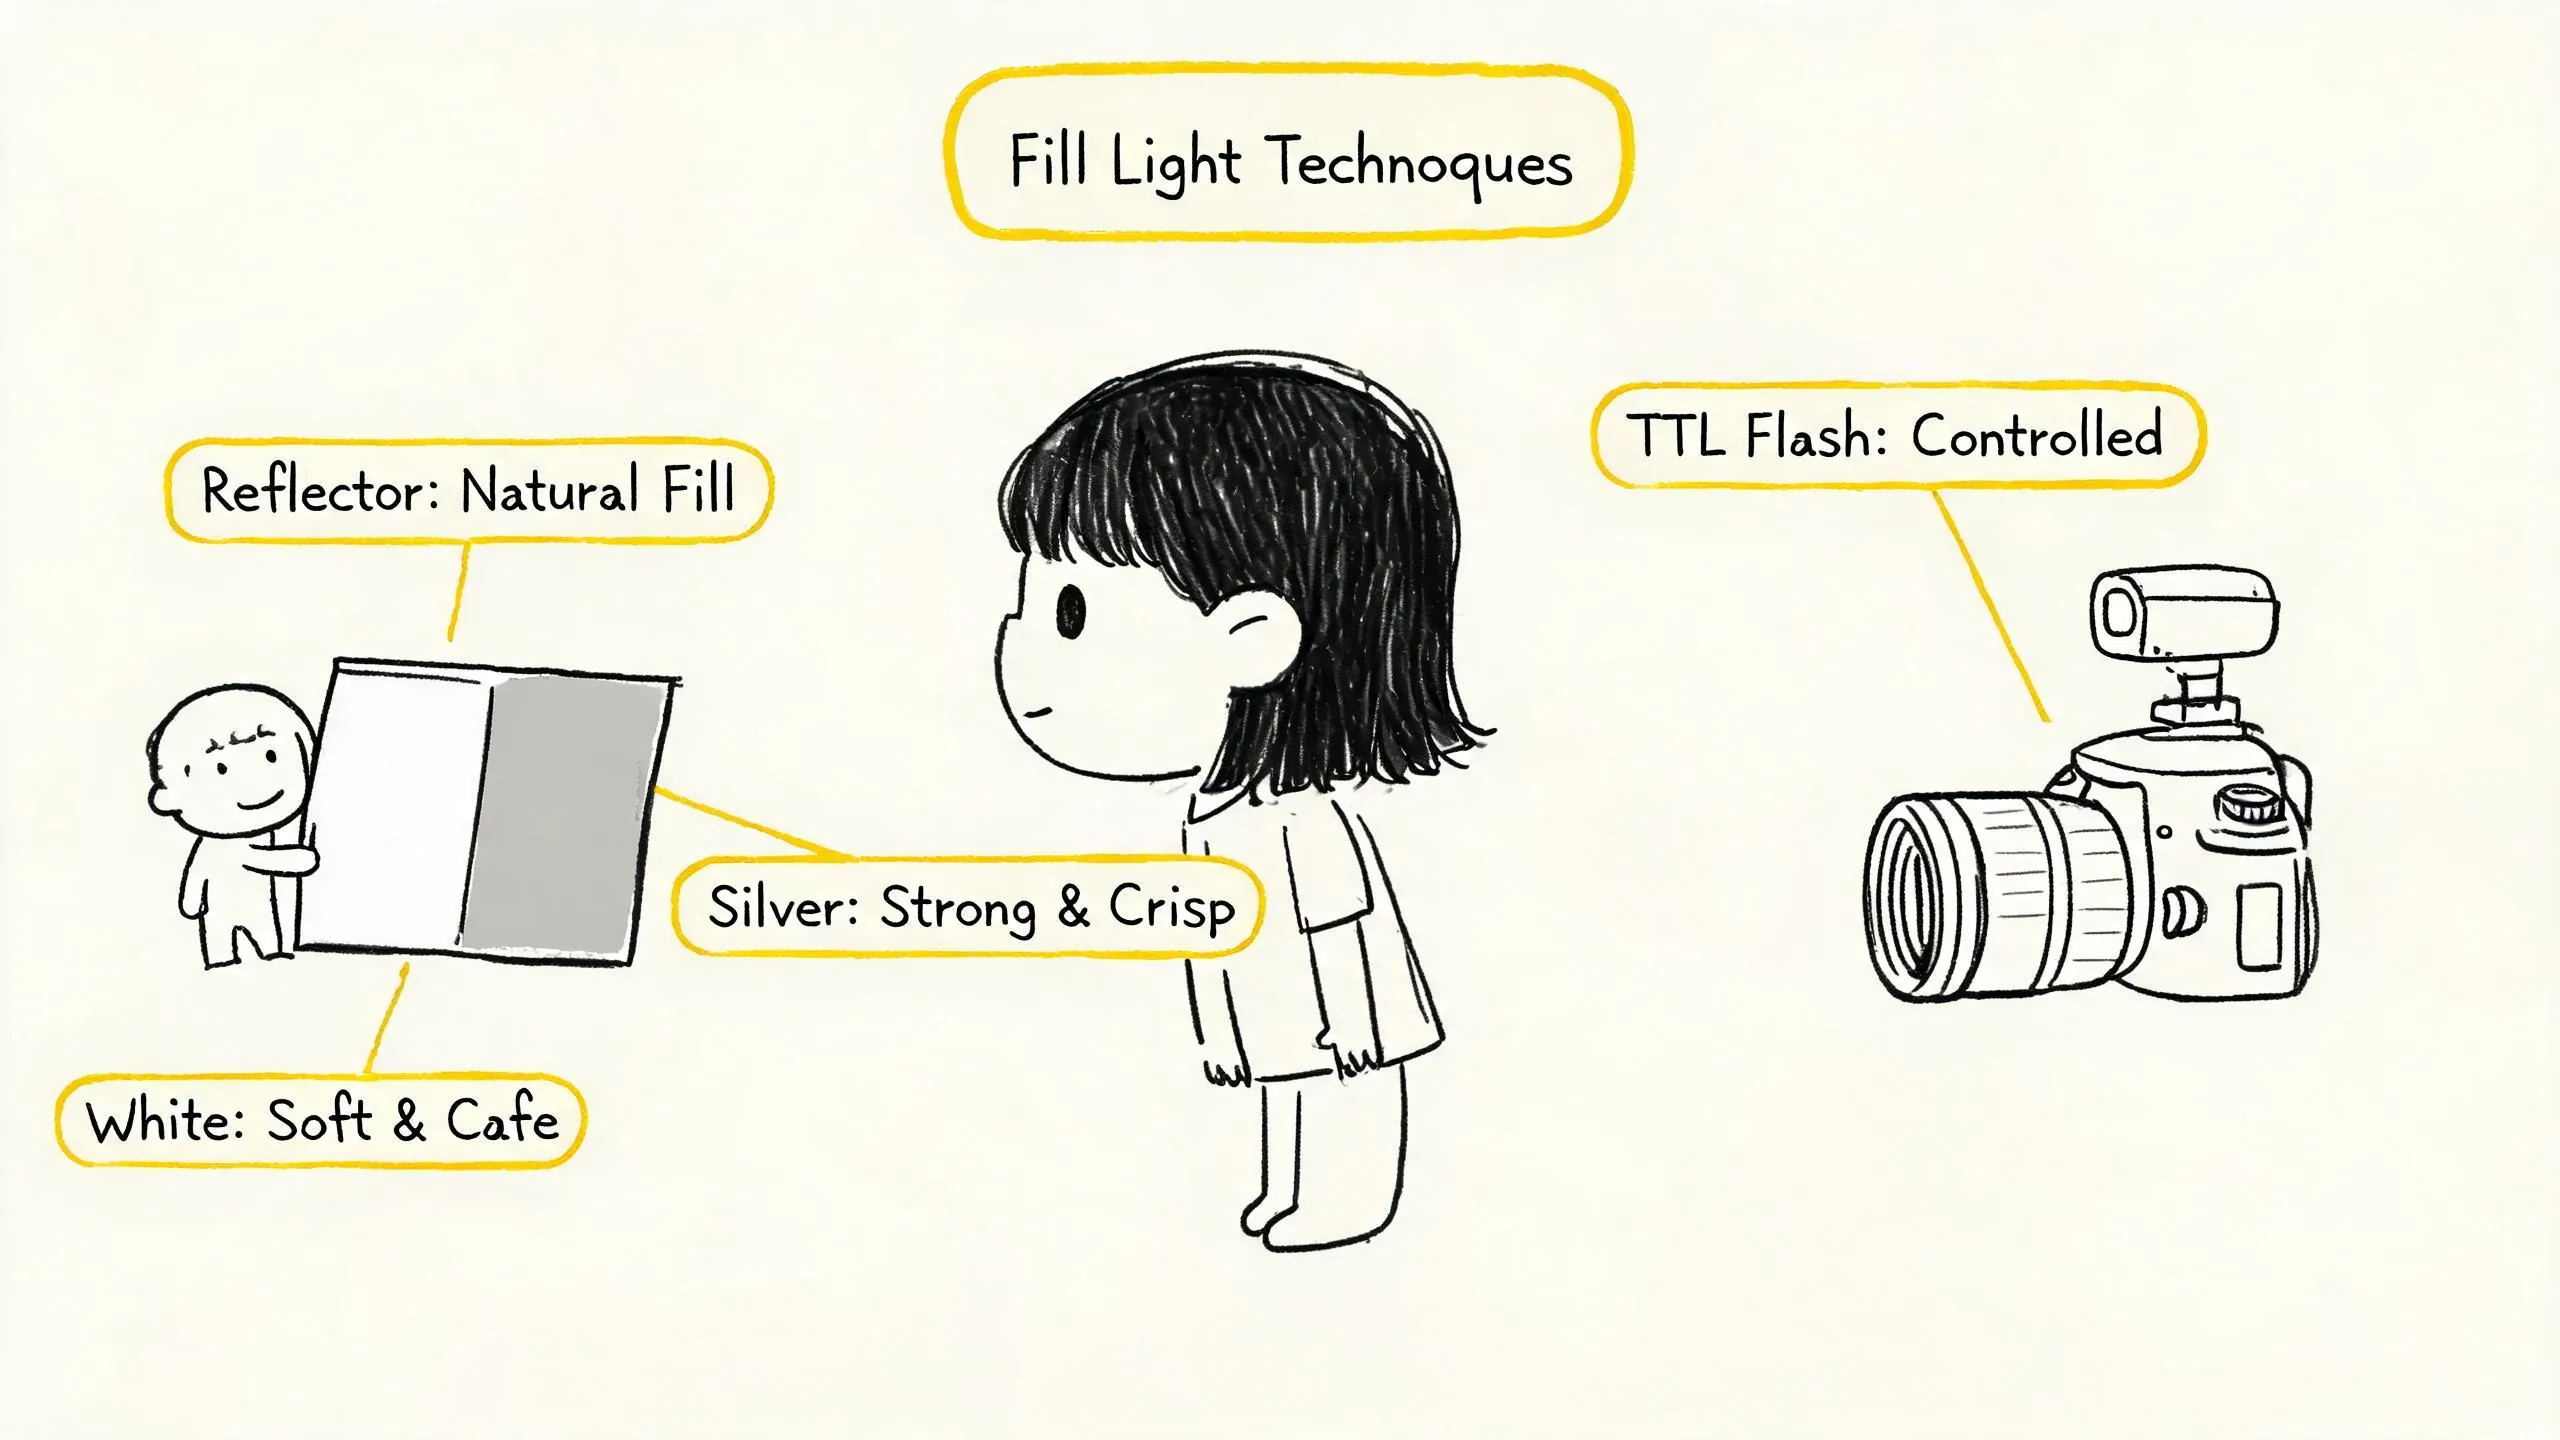
Technique 1: Reflector Bounce Fill
The reflector is the most classic and natural fill light tool for backlit portraits. It reflects ambient light (usually the backlight) onto the shadow side of the subject (the face), balancing the contrast and adding detail.
- Material Selection:
- Silver Reflector: High reflectivity, harder light, creates distinct highlights and shadows on the face, good for sculpting dimension, but requires careful control to avoid overexposure.
- White Reflector: Soft, even reflected light with natural transitions, the safest and most common choice, effectively brightens the face without creating harsh shadows.
- Gold Reflector: Reflects warm-toned light, simulating sunset or candlelight effects, adding a warm, romantic atmosphere to backlit portraits.
- Key Steps:
- Have an assistant (or yourself) stand to the side-front of the subject, holding the reflector.
- Adjust the reflector’s angle to bounce the backlight onto the shadowed areas of the face.
- Observe the light pattern on the face, adjusting distance and angle until the desired fill effect is achieved.
- Effect on Film: Reflector fill is natural and blends perfectly with backlight. On negative film, it effectively lifts shadow detail while preserving the highlight atmosphere. On slide film, use it with extra caution to avoid overexposing the face.
Technique 2: On-Camera Flash TTL Fill
When ambient light is insufficient or a reflector can’t provide enough fill, an on-camera flash can serve as an effective fill light source. Many modern film cameras (especially later models) support TTL (Through-The-Lens) automatic flash, greatly simplifying operation.
- Steps:
- Mount the flash on the camera’s hot shoe and enable TTL mode.
- Set the camera’s flash sync speed according to the flash’s instructions (typically 1/125s or 1/250s; check the camera manual).
- Apply flash exposure compensation (FEC) on the flash, slightly reducing the output (e.g., -0.7EV) to make it a soft fill light rather than the main light.
- Press the shutter; the camera and flash will automatically calculate the required flash output to balance ambient light and flash.
- Principle: TTL flash meters through the lens, automatically adjusting output to ensure the subject (face) is correctly exposed while preserving the background’s backlight atmosphere.
- Suitable Scenarios: Indoor backlight in low light, evening backlight, or scenes where freezing subject motion is needed. Flash provides stable, controllable fill.
- Effect on Film: TTL fill flash ensures accurate facial exposure, but the light quality may not be as natural as a reflector. On negative film, the effect is usually good; on slide film, flash output must be carefully controlled.
Selection Advice: In bright outdoor backlight, prioritize using a reflector for a more natural effect. In low light or when quick reaction is needed, TTL flash is more reliable. The two can also be combined, e.g., using a reflector as the main fill and the flash as a subtle supplement.
Comprehensive Practice: The Complete Workflow from Metering to Final Image
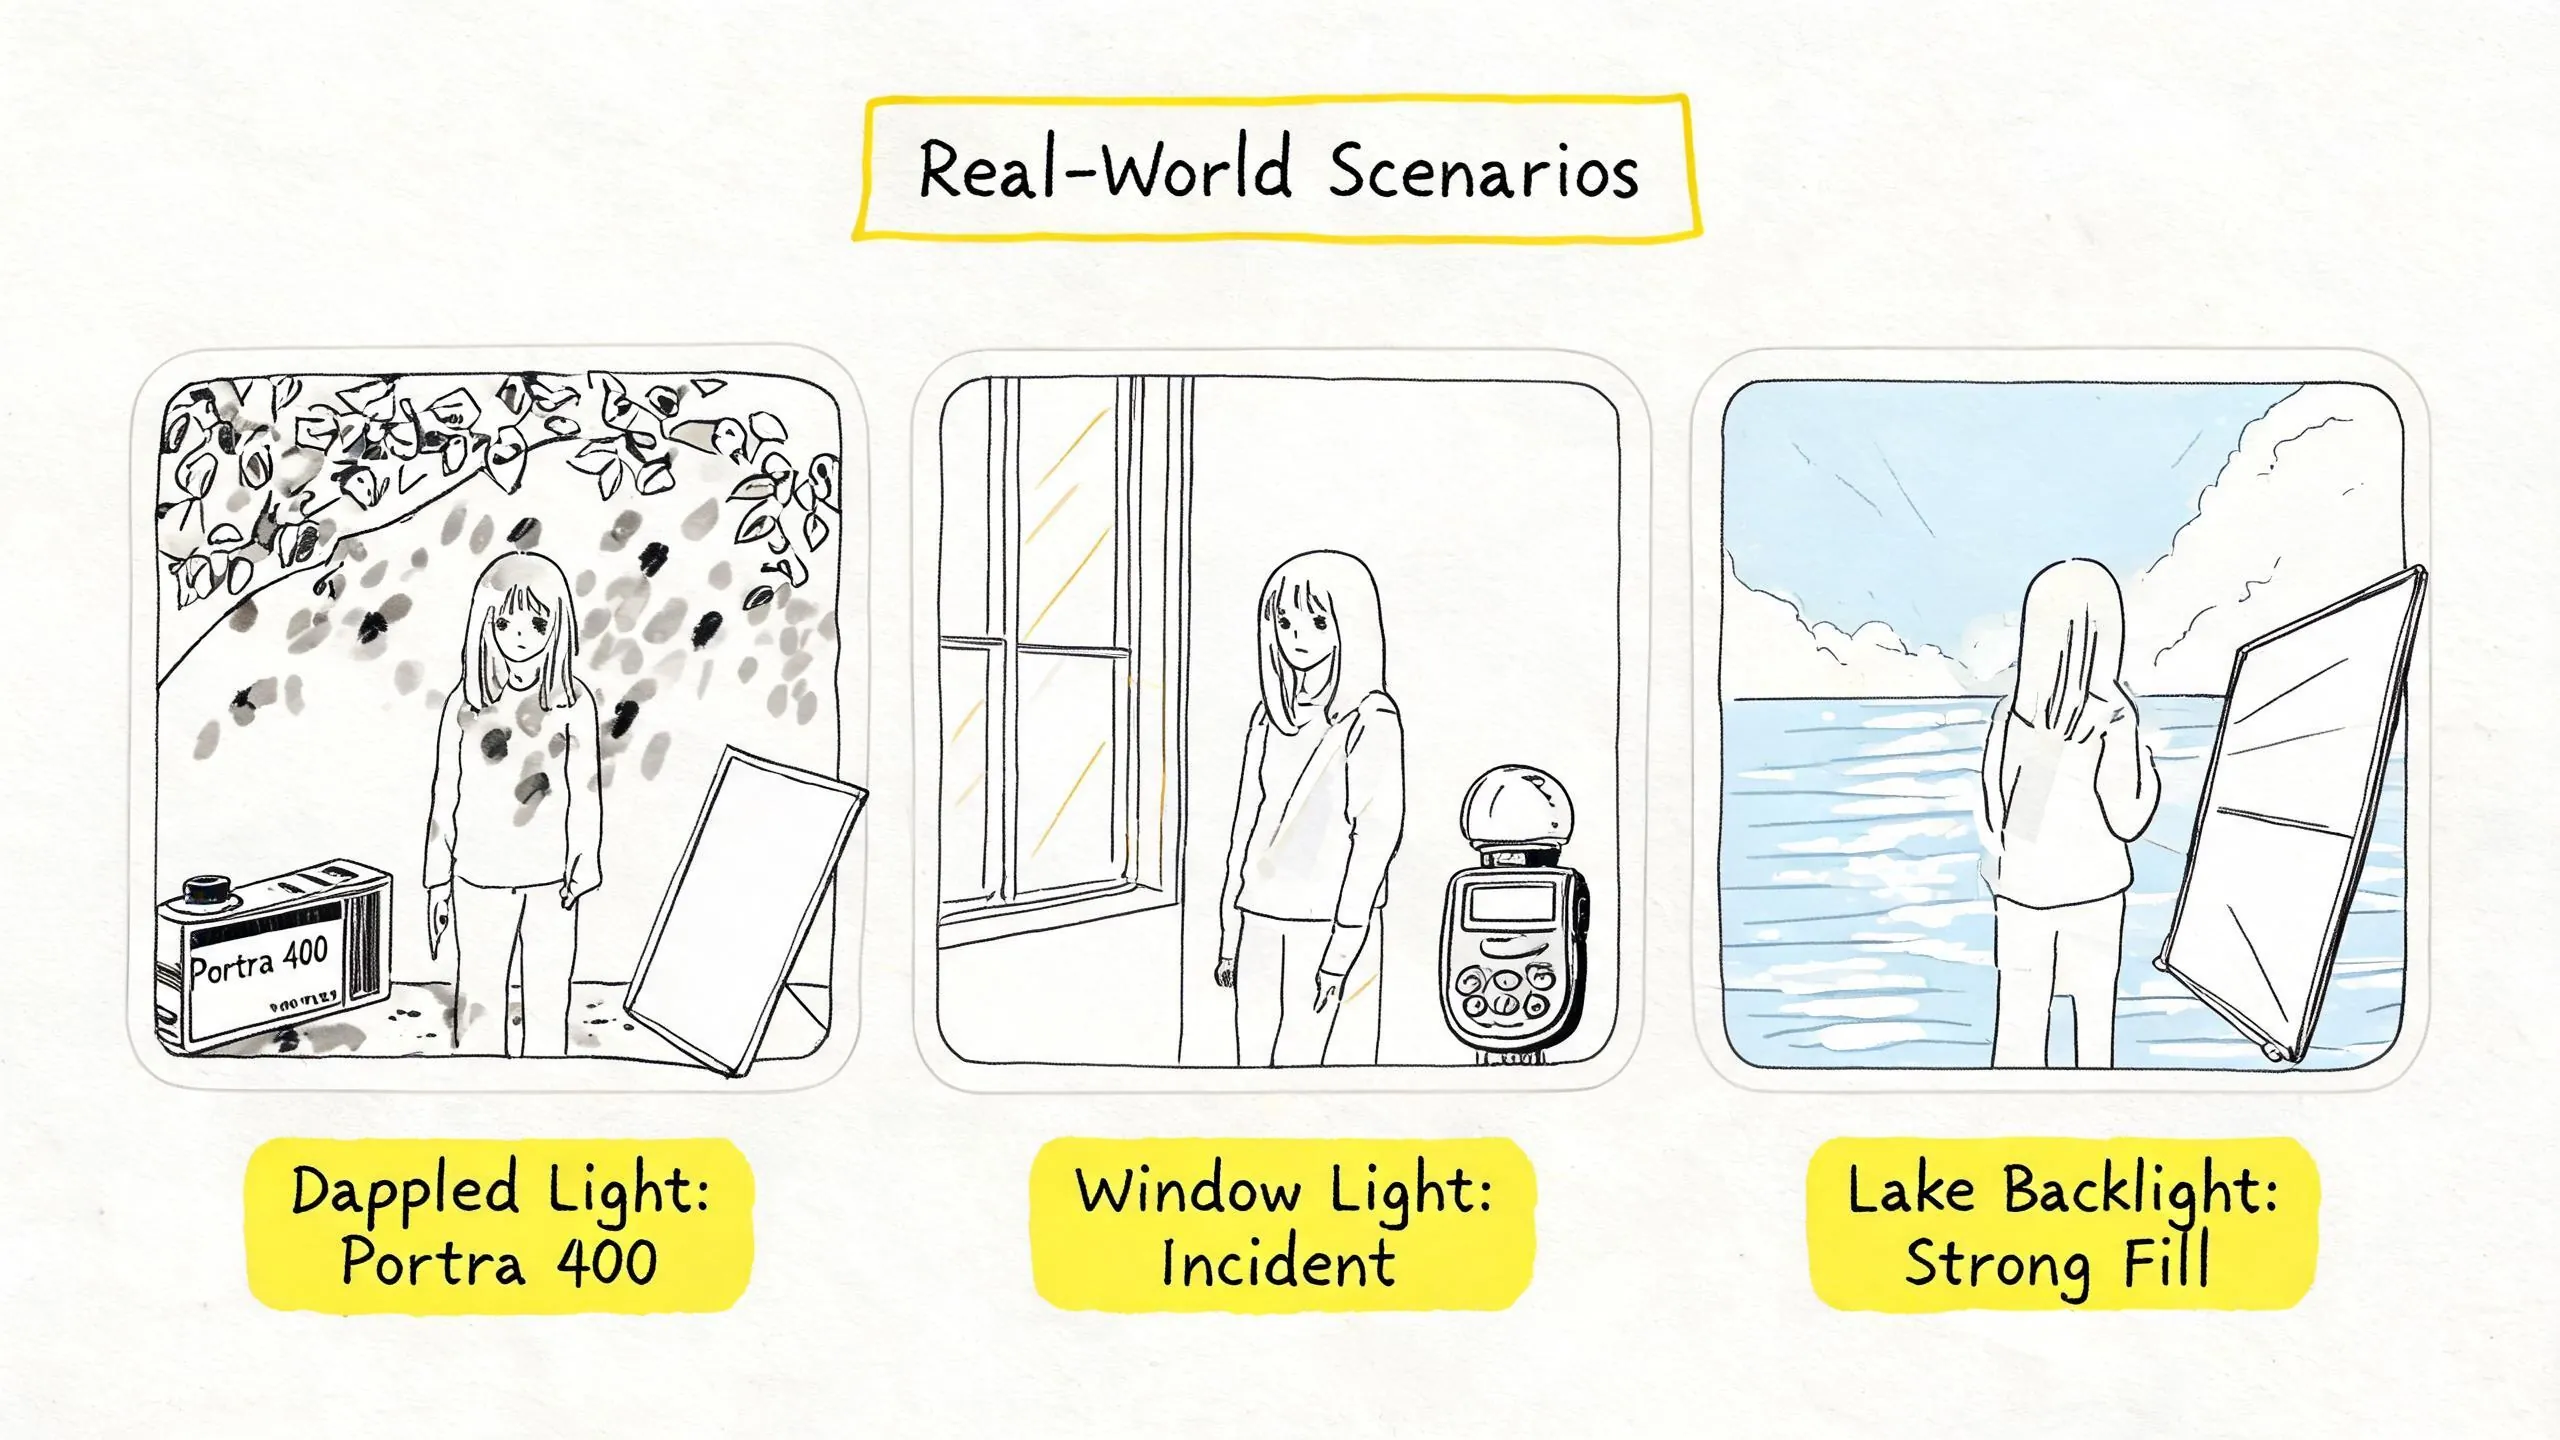
Let’s connect the knowledge above through three common backlit portrait scenarios, examining the complete thought process from metering to the final image.
Scenario 1: Dappled Light Through Trees (Complex Bokeh, High Contrast)
- Analysis: Light filters through leaf gaps, creating dappled bokeh. The face may have both bright spots and deep shadows, while the background is relatively bright. High contrast, easy to lose detail.
- Film Selection: Kodak Portra 400. Its ultra-high latitude can handle both the face’s highlights and shadows, as well as the bright background, leaving huge room for scanning adjustments.
- Metering: Use spot metering on the mid-tone area of the face (e.g., nose or cheek) to ensure the face is correctly exposed. Background bokeh may overexpose, but negative film can handle it.
- Fill Light: Use a white reflector to softly fill the shadowed areas of the face from the side, reducing the contrast caused by the dappled light and making the facial lighting more even.
- Expected Result: Rich facial detail, natural skin tones; bright but not overly harsh background bokeh, overall atmosphere translucent and lively.
Scenario 2: Side Backlight from a Window (Controllable Contrast, Strong Atmosphere)
- Analysis: Subject faces sideways to the window, with backlight coming from one side, creating a clear rim light and facial shadows. Indoor ambient light is dimmer, but contrast is more controllable than the tree scenario.
- Film Selection: Fujifilm Provia 100F (for ultimate color) or Kodak Gold 200 (for warm atmosphere). Slide film requires precise metering; negative film is more forgiving.
- Metering: Use incident light metering, standing in the subject’s position with the meter facing the camera to get a balanced exposure value. Alternatively, use spot metering on the face, then add slight exposure compensation based on experience (e.g., +0.7EV) to brighten the face.
- Fill Light: Since it’s indoors with soft light, no fill may be needed, or just a slight reflection from a white foam board on the shadow side. If a brighter face is desired, use TTL flash with significantly reduced output (e.g., -1.3EV) as a subtle fill.
- Expected Result: Soft shadow transitions on the face, clear rim light outlining hair and shoulders, rich indoor atmosphere. Slide film delivers rich colors; negative film offers warm tones.
Scenario 3: Backlit Lake Surface (Extremely Bright Background, Extreme Contrast)
- Analysis: The background is a sparkling lake or sea surface with extremely high brightness, while the subject faces away from the light, with the face in deep shadow. This is one of the most extreme contrast scenarios.
- Film Selection: Kodak Portra 400. This is one of the few films that can handle both an extremely bright background and an extremely dark face. Even if the face is underexposed, scanning can significantly lift shadow detail.
- Metering: Use the meter the background with compensation strategy. Meter on the brightest part of the water, then add 2 to 2.5 stops of exposure. This will make the background appear bright and translucent, while the face may be quite dark, creating an atmospheric silhouette or semi-silhouette effect. If you insist on a “bright face,” strong fill light is essential.
- Fill Light: Must use a silver reflector or on-camera flash for strong fill. The silver reflector can bounce the intense backlight onto the face, while the flash provides a stable light source. In this case, metering should be based on the face (spot meter the face), and the fill intensity must be sufficient to balance the background’s brightness.
- Expected Result: If using the “meter background + fill” strategy, you can achieve a high-quality backlit portrait with a clear face and bright background. If metering the background without fill, you’ll get a silhouette or semi-silhouette with strong atmosphere.
Conclusion: Technique Serves Creativity
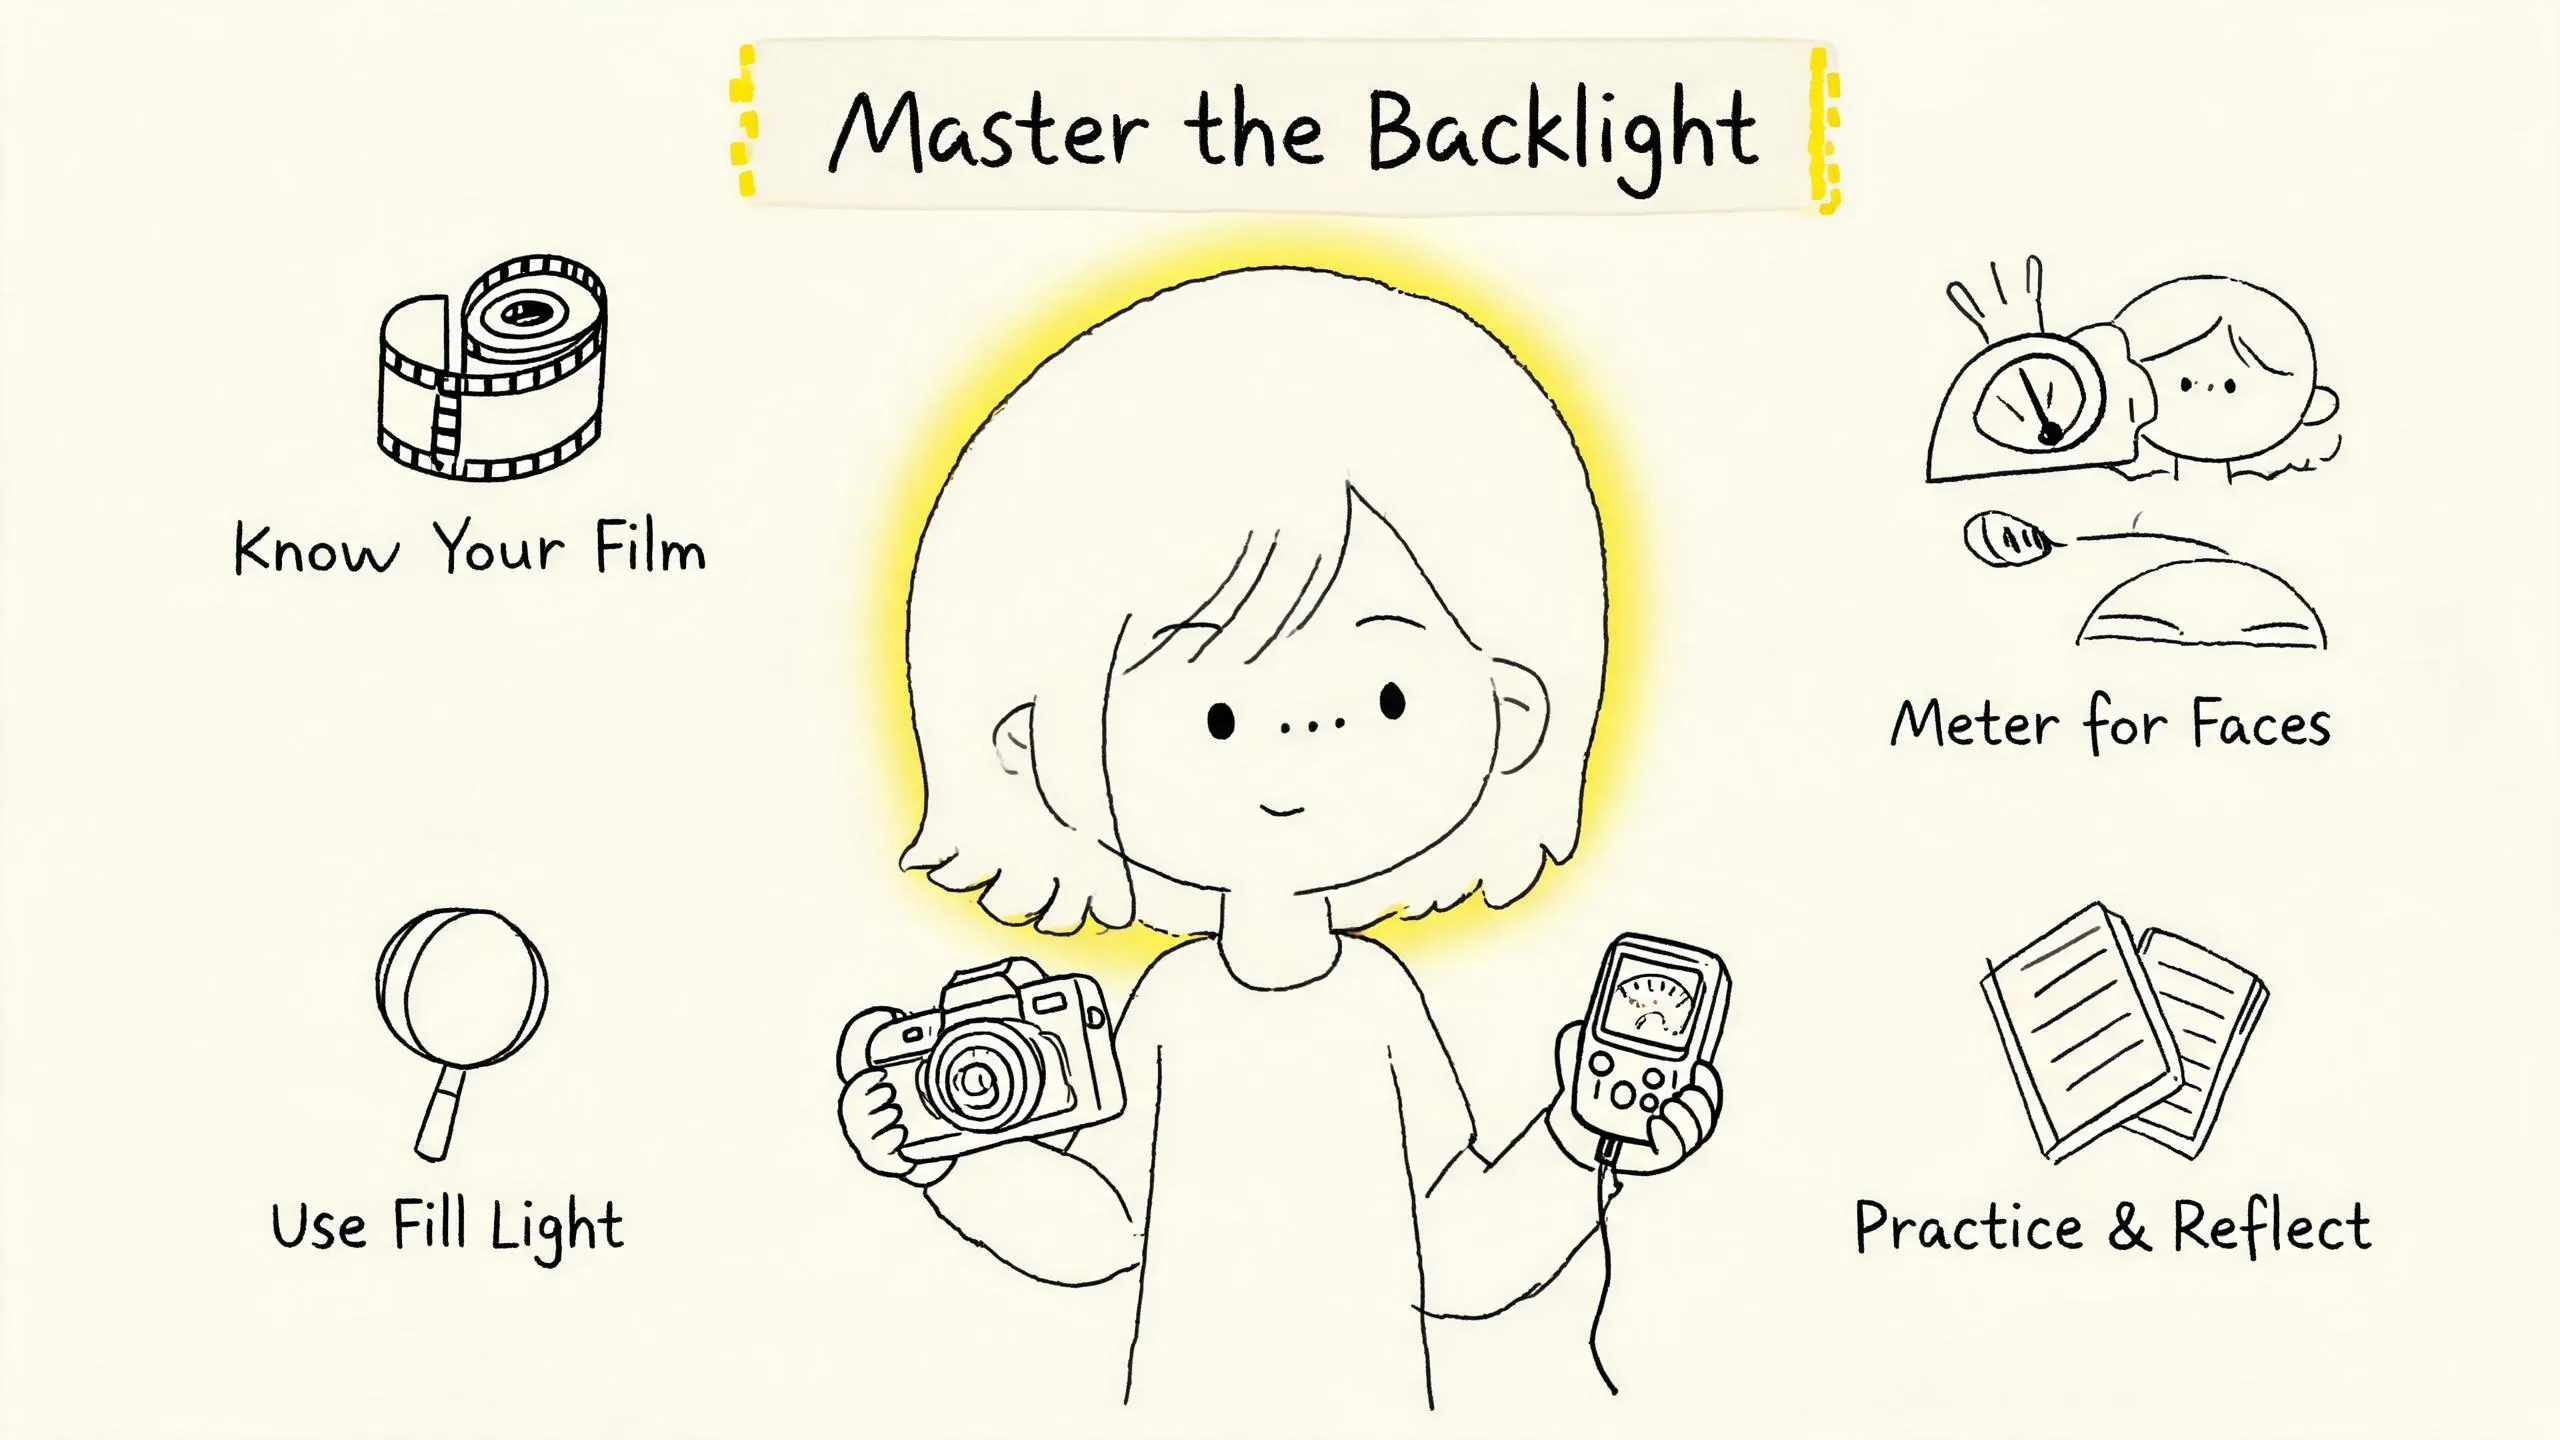
The allure of backlit portraits lies in their simultaneous challenge to the photographer’s technique and creativity. In film photography, this challenge is amplified because every shutter press is an irreversible decision.
- Understand Your Film: Negative film’s latitude is a “safety net” for backlight shooting; slide film is a “tightrope walk” for ultimate color. Choose the right film based on your creative intent and lighting conditions.
- Precise Metering: Abandon reliance on automatic metering and master manual methods like spot metering and incident light metering. In backlight, always prioritize metering accuracy for the area you want correctly exposed (usually the face).
- Active Fill Light: Reflectors and flashes aren’t “cheating” but essential tools for shaping light and balancing contrast. They allow you to preserve the backlight atmosphere while achieving perfect facial detail.
- Practice and Reflect: Film photography encourages you to slow down and think. After each shoot, review your metering decisions, fill light settings, and final results, continuously accumulating experience.
Ultimately, whether you choose to shoot silhouettes or “bright faces” is your creative expression as a photographer. This tutorial aims to provide you with the complete technical toolkit to achieve the specific creative goal of “bright faces.” Master these, and you’ll be free to choose in backlight, capturing those bright and moving moments on film.