Cross Processing Film: A Beginner's Guide to E→C and C→E Color Experiments
In the world of film photography, the standard process is synonymous with precision and predictability. E-6 processing yields transparent slides, while C-41 pro
Introduction: Embracing the “Wrong” Chemical Magic
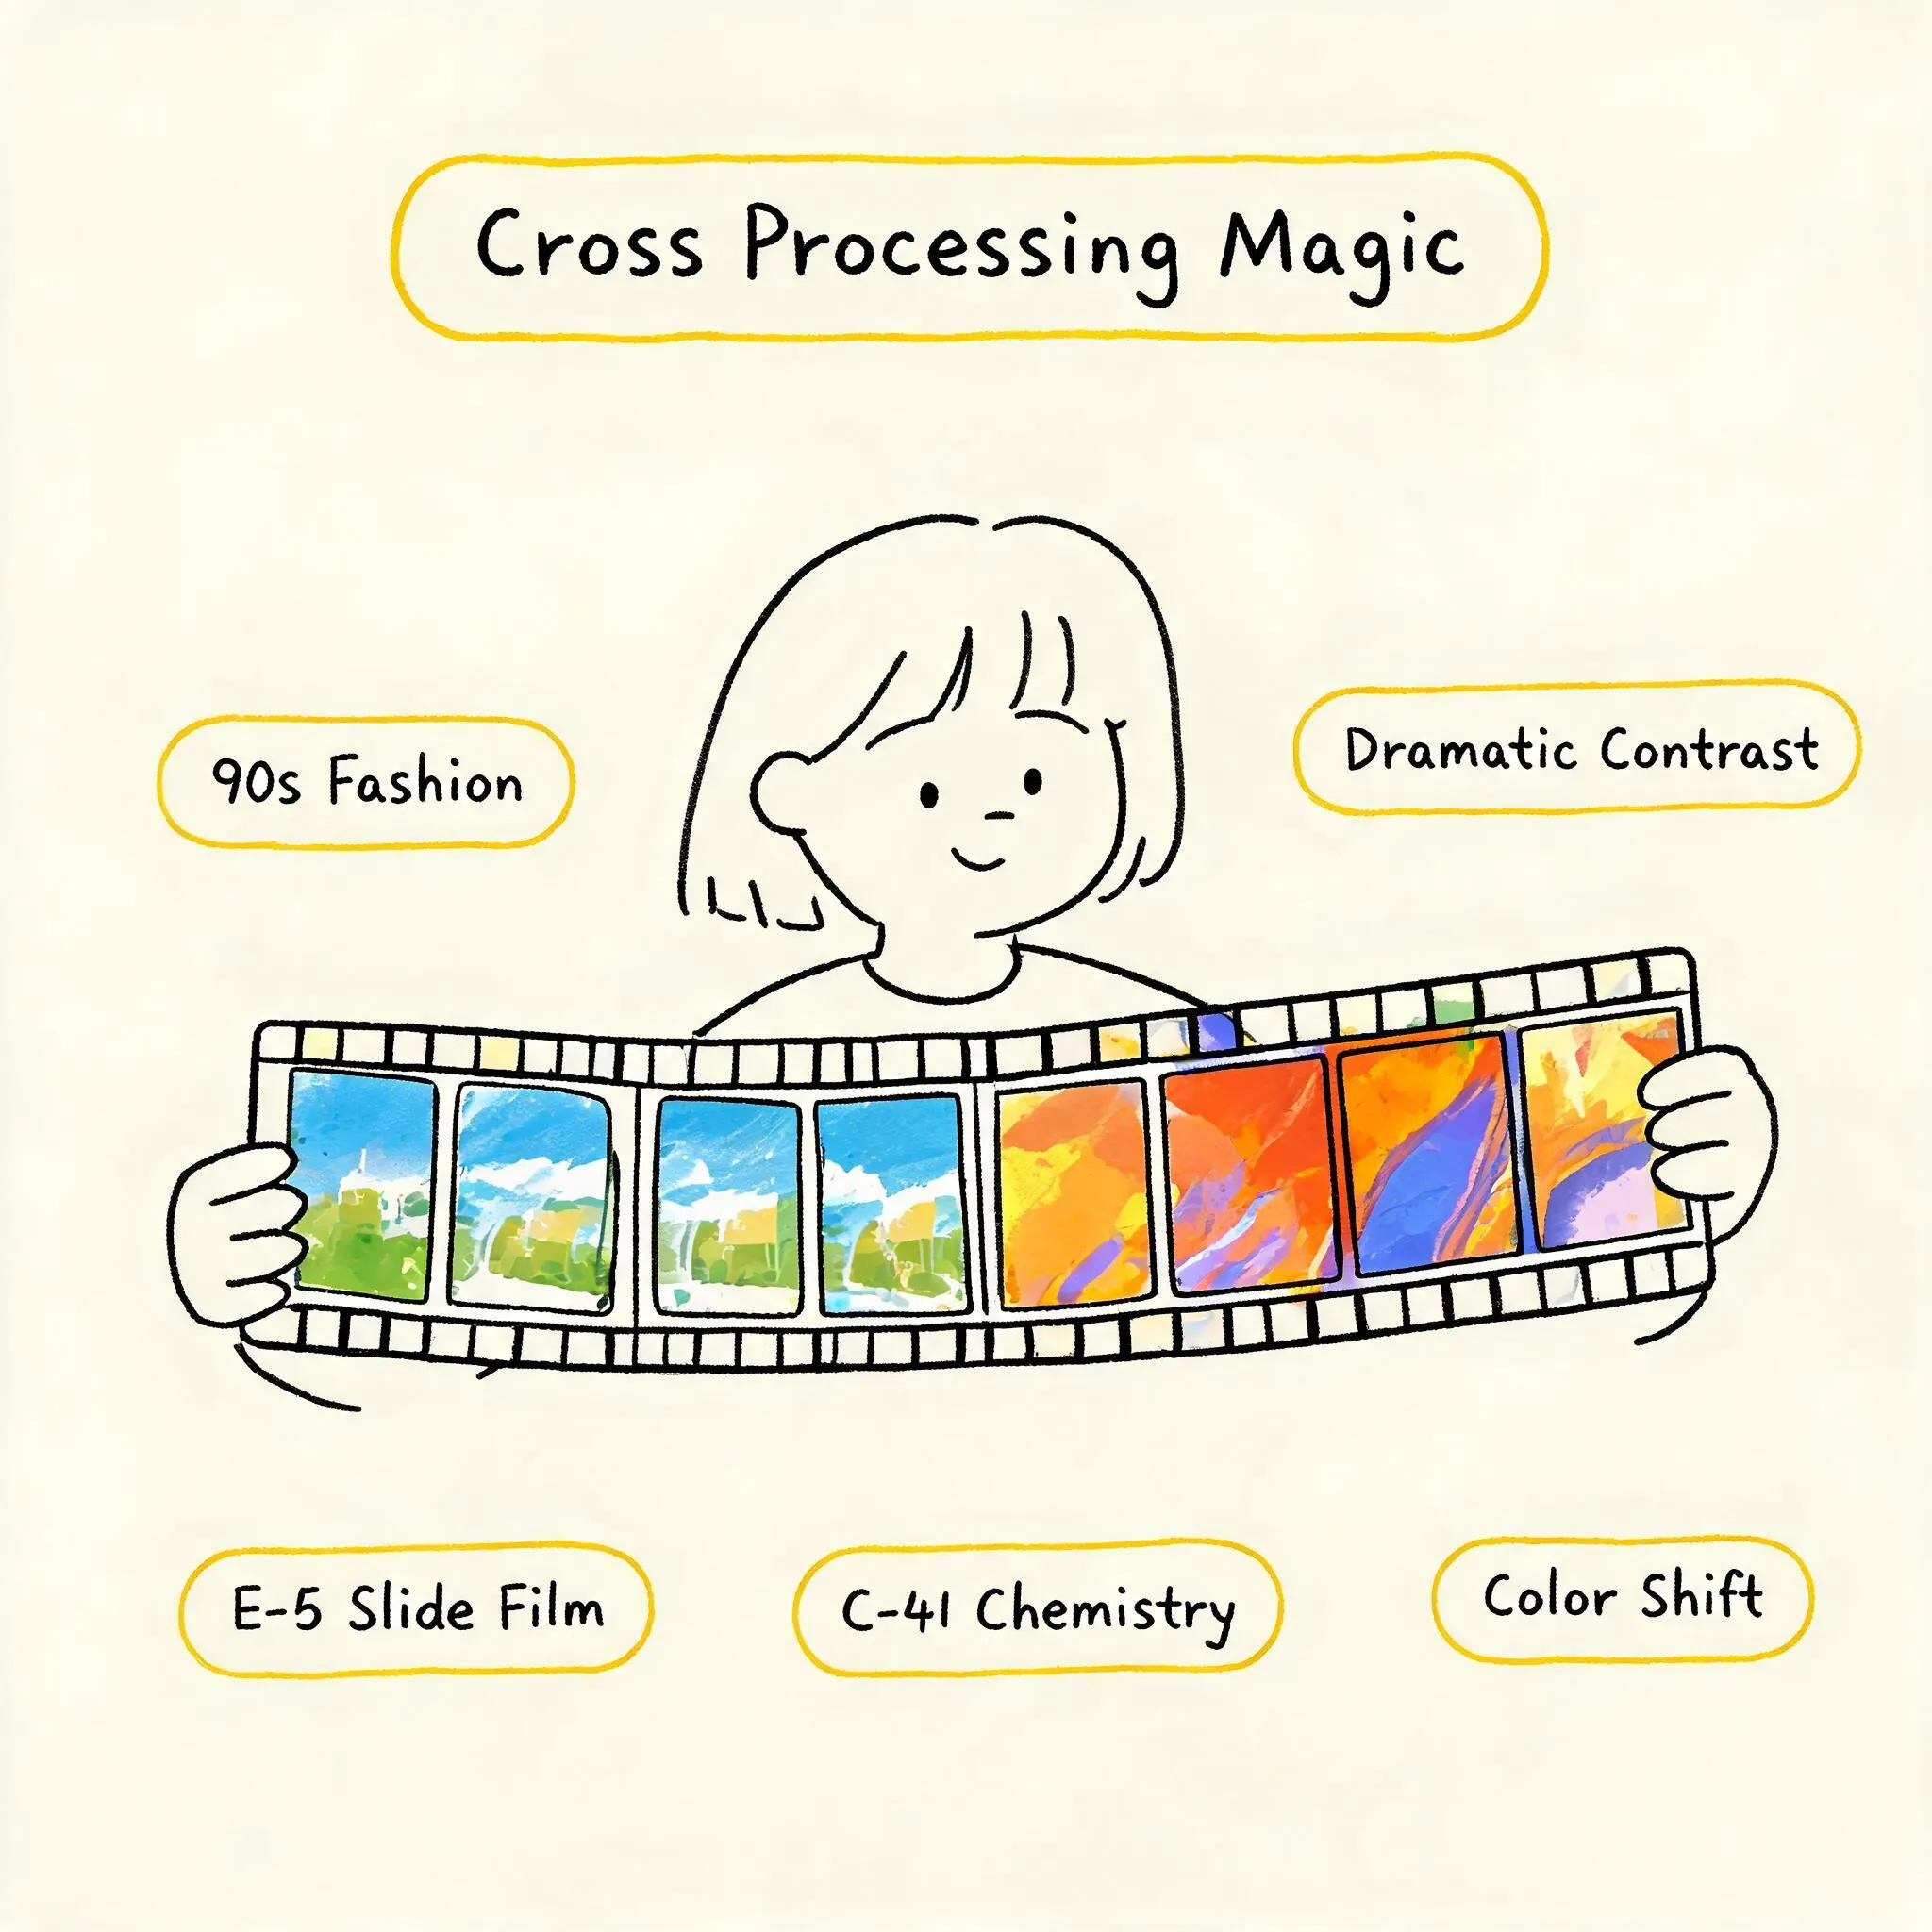
In the world of film photography, the standard process is synonymous with precision and predictability. E-6 processing yields transparent slides, while C-41 processing produces color-balanced negatives. But there’s a technique built precisely on the deliberate violation of this “correctness”—Cross Processing. It’s not a mistake, but a “controlled accident,” a chemical experiment chosen by the photographer. The goal is to use the “wrong” chemical system to unlock intense color shifts and dramatic contrast hidden within the film emulsion, effects that the standard process cannot replicate. Originating from accidental discoveries but elevated to classic status in 90s fashion photography and the Lomography movement, cross processing remains one of the ultimate pleasures for film enthusiasts exploring the limits of color. This tutorial will take you deep into the core of cross processing, from theory to practice, guiding you through a complete E→C (slide film processed in C-41) experiment to create your own LOMO aesthetic source in the darkroom.
Part 1: The Principle Revealed—Why Does “Wrong” Produce Wonderful Colors?
The core of cross processing lies in the mismatch of chemical systems. To understand this, we need to briefly review the fundamental differences between the two mainstream color processing methods.
- E-6 Process (for Slide Film): This is a complex, multi-step process. It typically includes first development (converting exposed silver halides into metallic silver, forming a negative latent image), reversal (using a chemical reversal agent or light exposure to convert unexposed silver halides into a developable state), and color development (where color developing agents react with couplers to form the color image), ultimately yielding a positive transparency (slide).
- C-41 Process (for Negative Film): This is a relatively simplified, integrated color development process. Its core steps are color development and bleach-fix (blix). It directly processes exposed negative film, resulting in a color negative with an orange mask on the base.
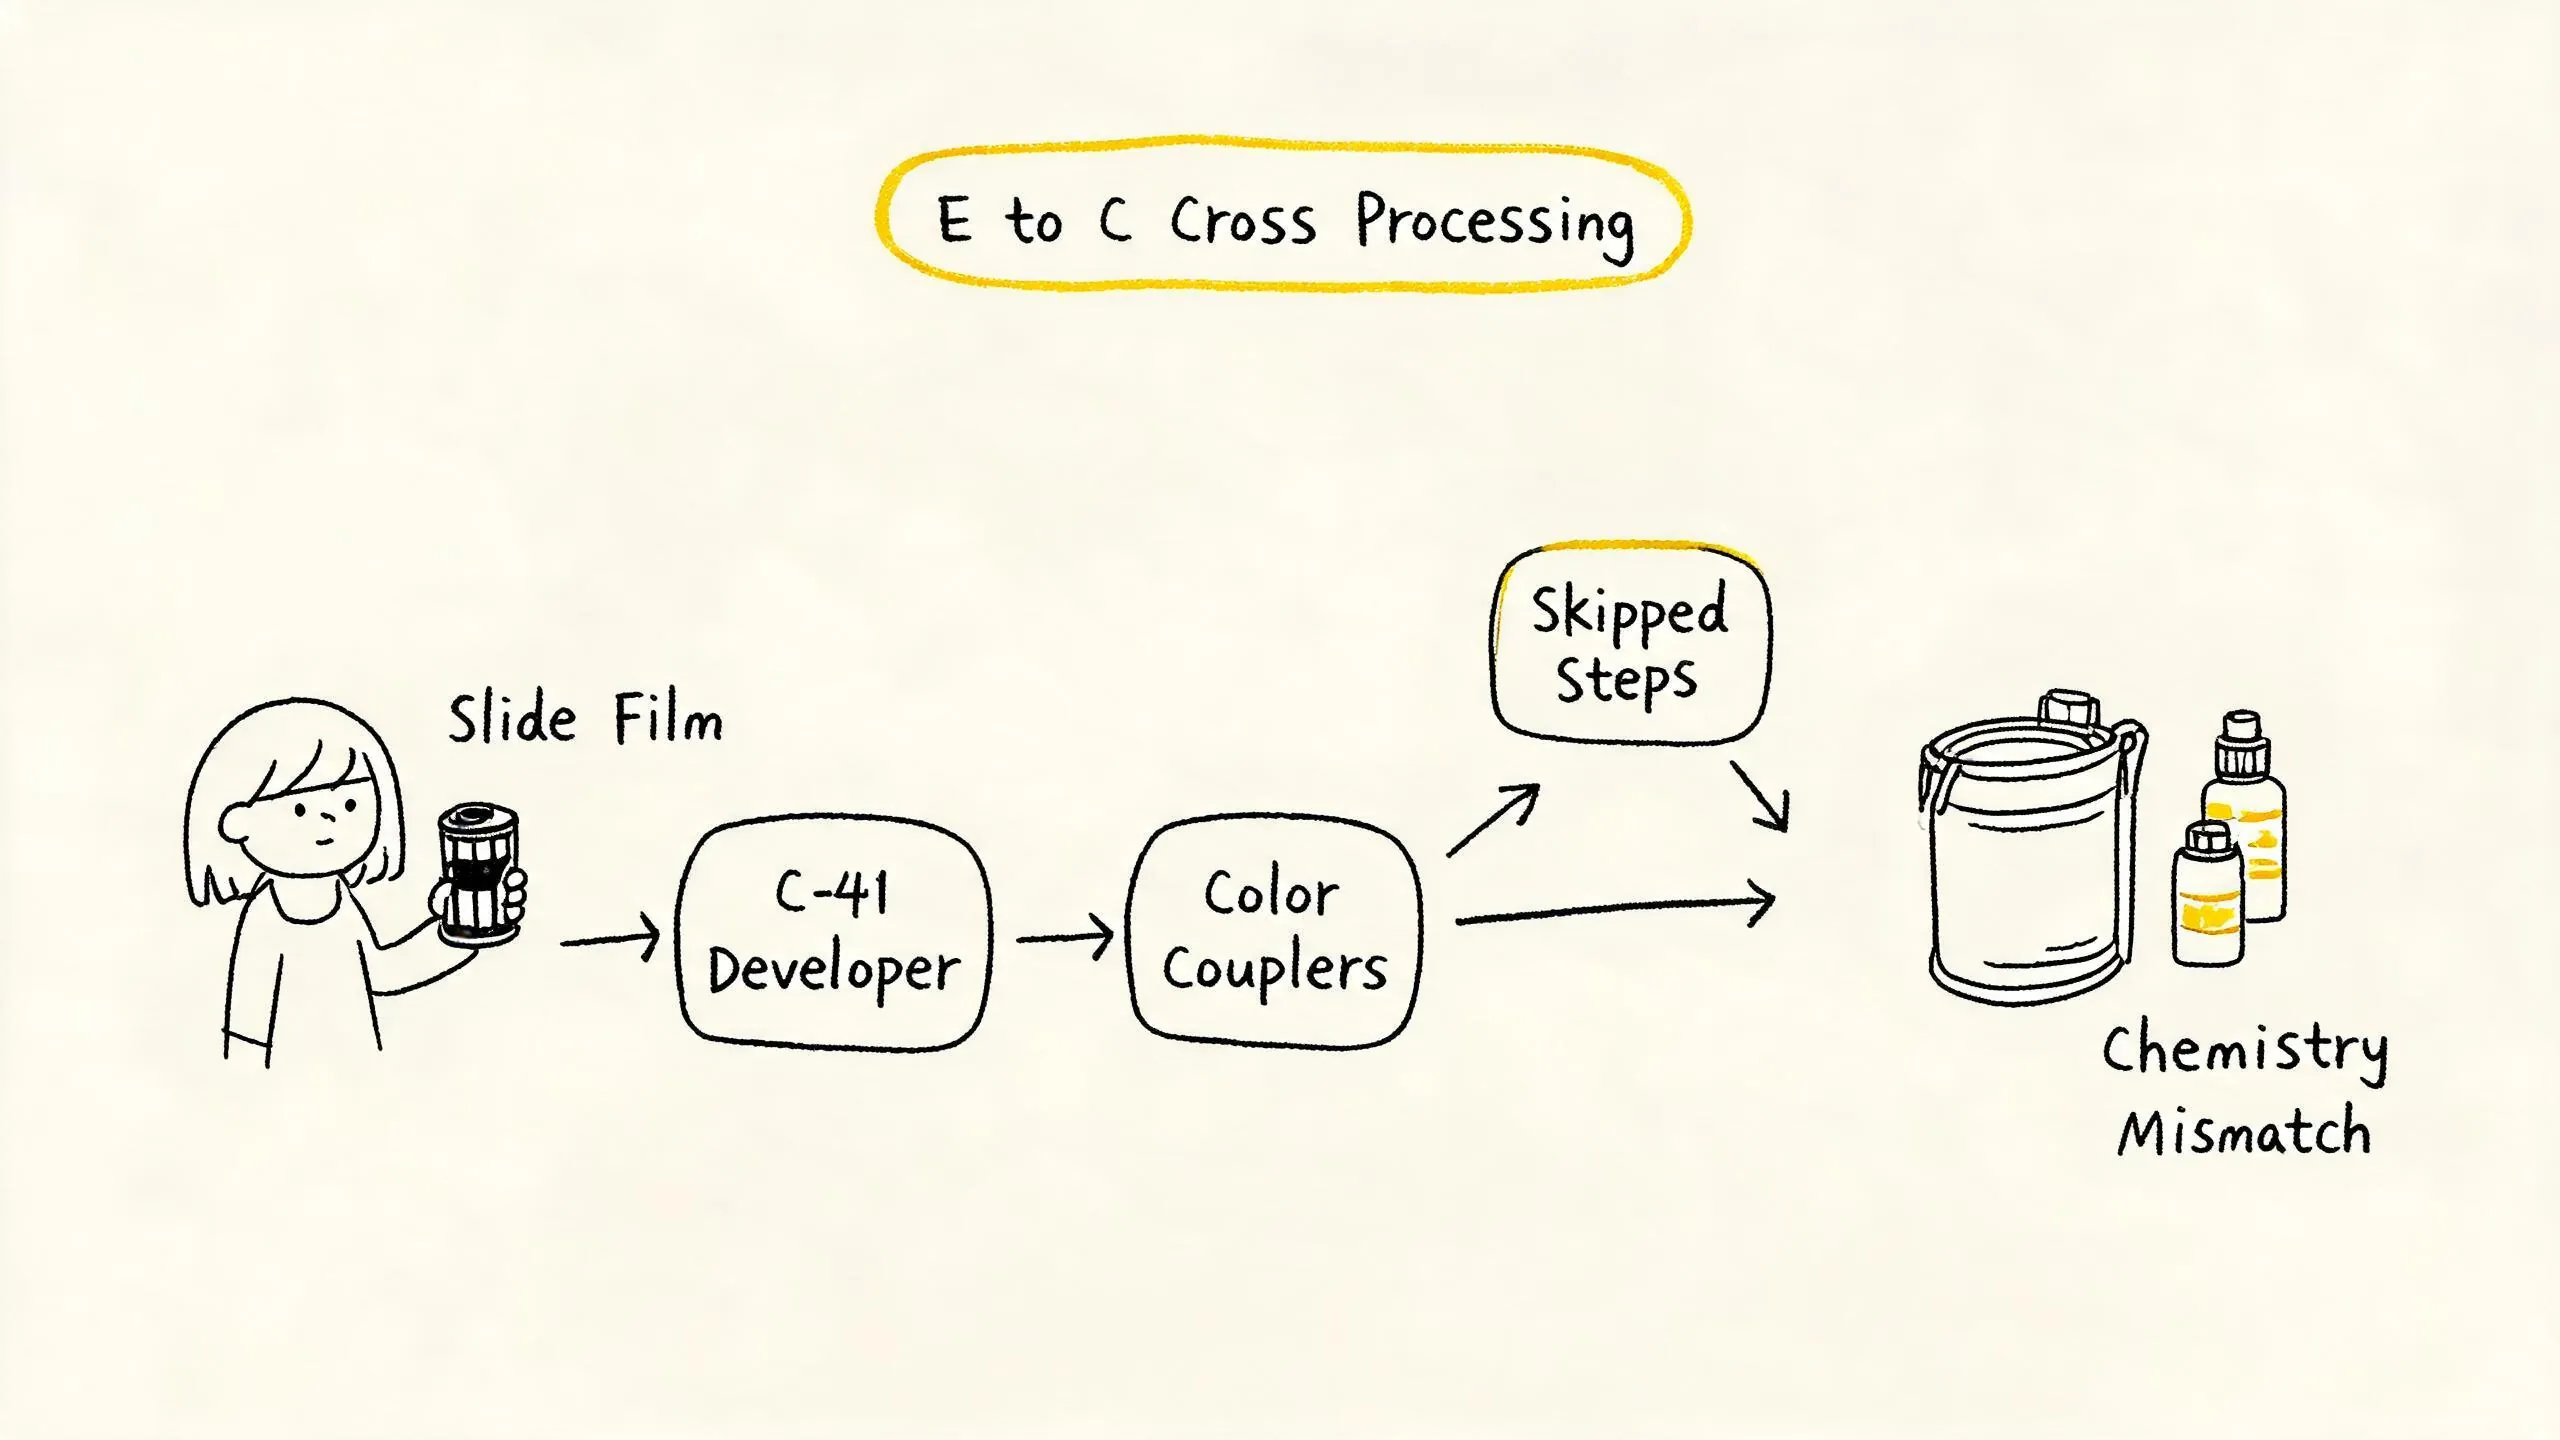
How Does Cross Processing Work? The most common and controllable direction is E→C (Slide Film Processed in C-41): We take color slide film designed for E-6 processing and develop it directly in C-41 chemicals. In this process, the slide film skips the crucial first development and reversal steps of the E-6 process and is treated directly with C-41’s color developer. Since the emulsion layers of E-6 slide film (photosensitive layer structure, couplers) are meticulously designed for E-6’s multi-step chemical reactions, when it is “roughly” subjected to C-41’s single-step color development, the chemical reaction pathways between the chemicals and the emulsion layers become fundamentally misaligned. This misalignment causes the color image to deviate significantly from the film’s original design—this is the chemical essence of the intense color shifts produced by cross processing.
The other direction is C→E (Negative Film Processed in E-6), which involves developing C-41 negative film in E-6 chemicals. While theoretically possible, the results are often disappointing: extremely low contrast, dull colors, severe interference from the negative’s orange mask, and significantly extended processing times. Therefore, most labs do not offer this service, and it is far less popular than E→C.
Part 2: Guide to Choosing Film for E→C Processing: Not All Slide Films Are Suited for the “Adventure”
The results of cross processing are highly dependent on the original characteristics of the chosen film. Different brands and models of slide film have varying emulsion formulas, leading to completely different directions of color shift and contrast changes after cross processing. Choosing the right film is half the battle.
Recommended Films and Their Color Tendencies
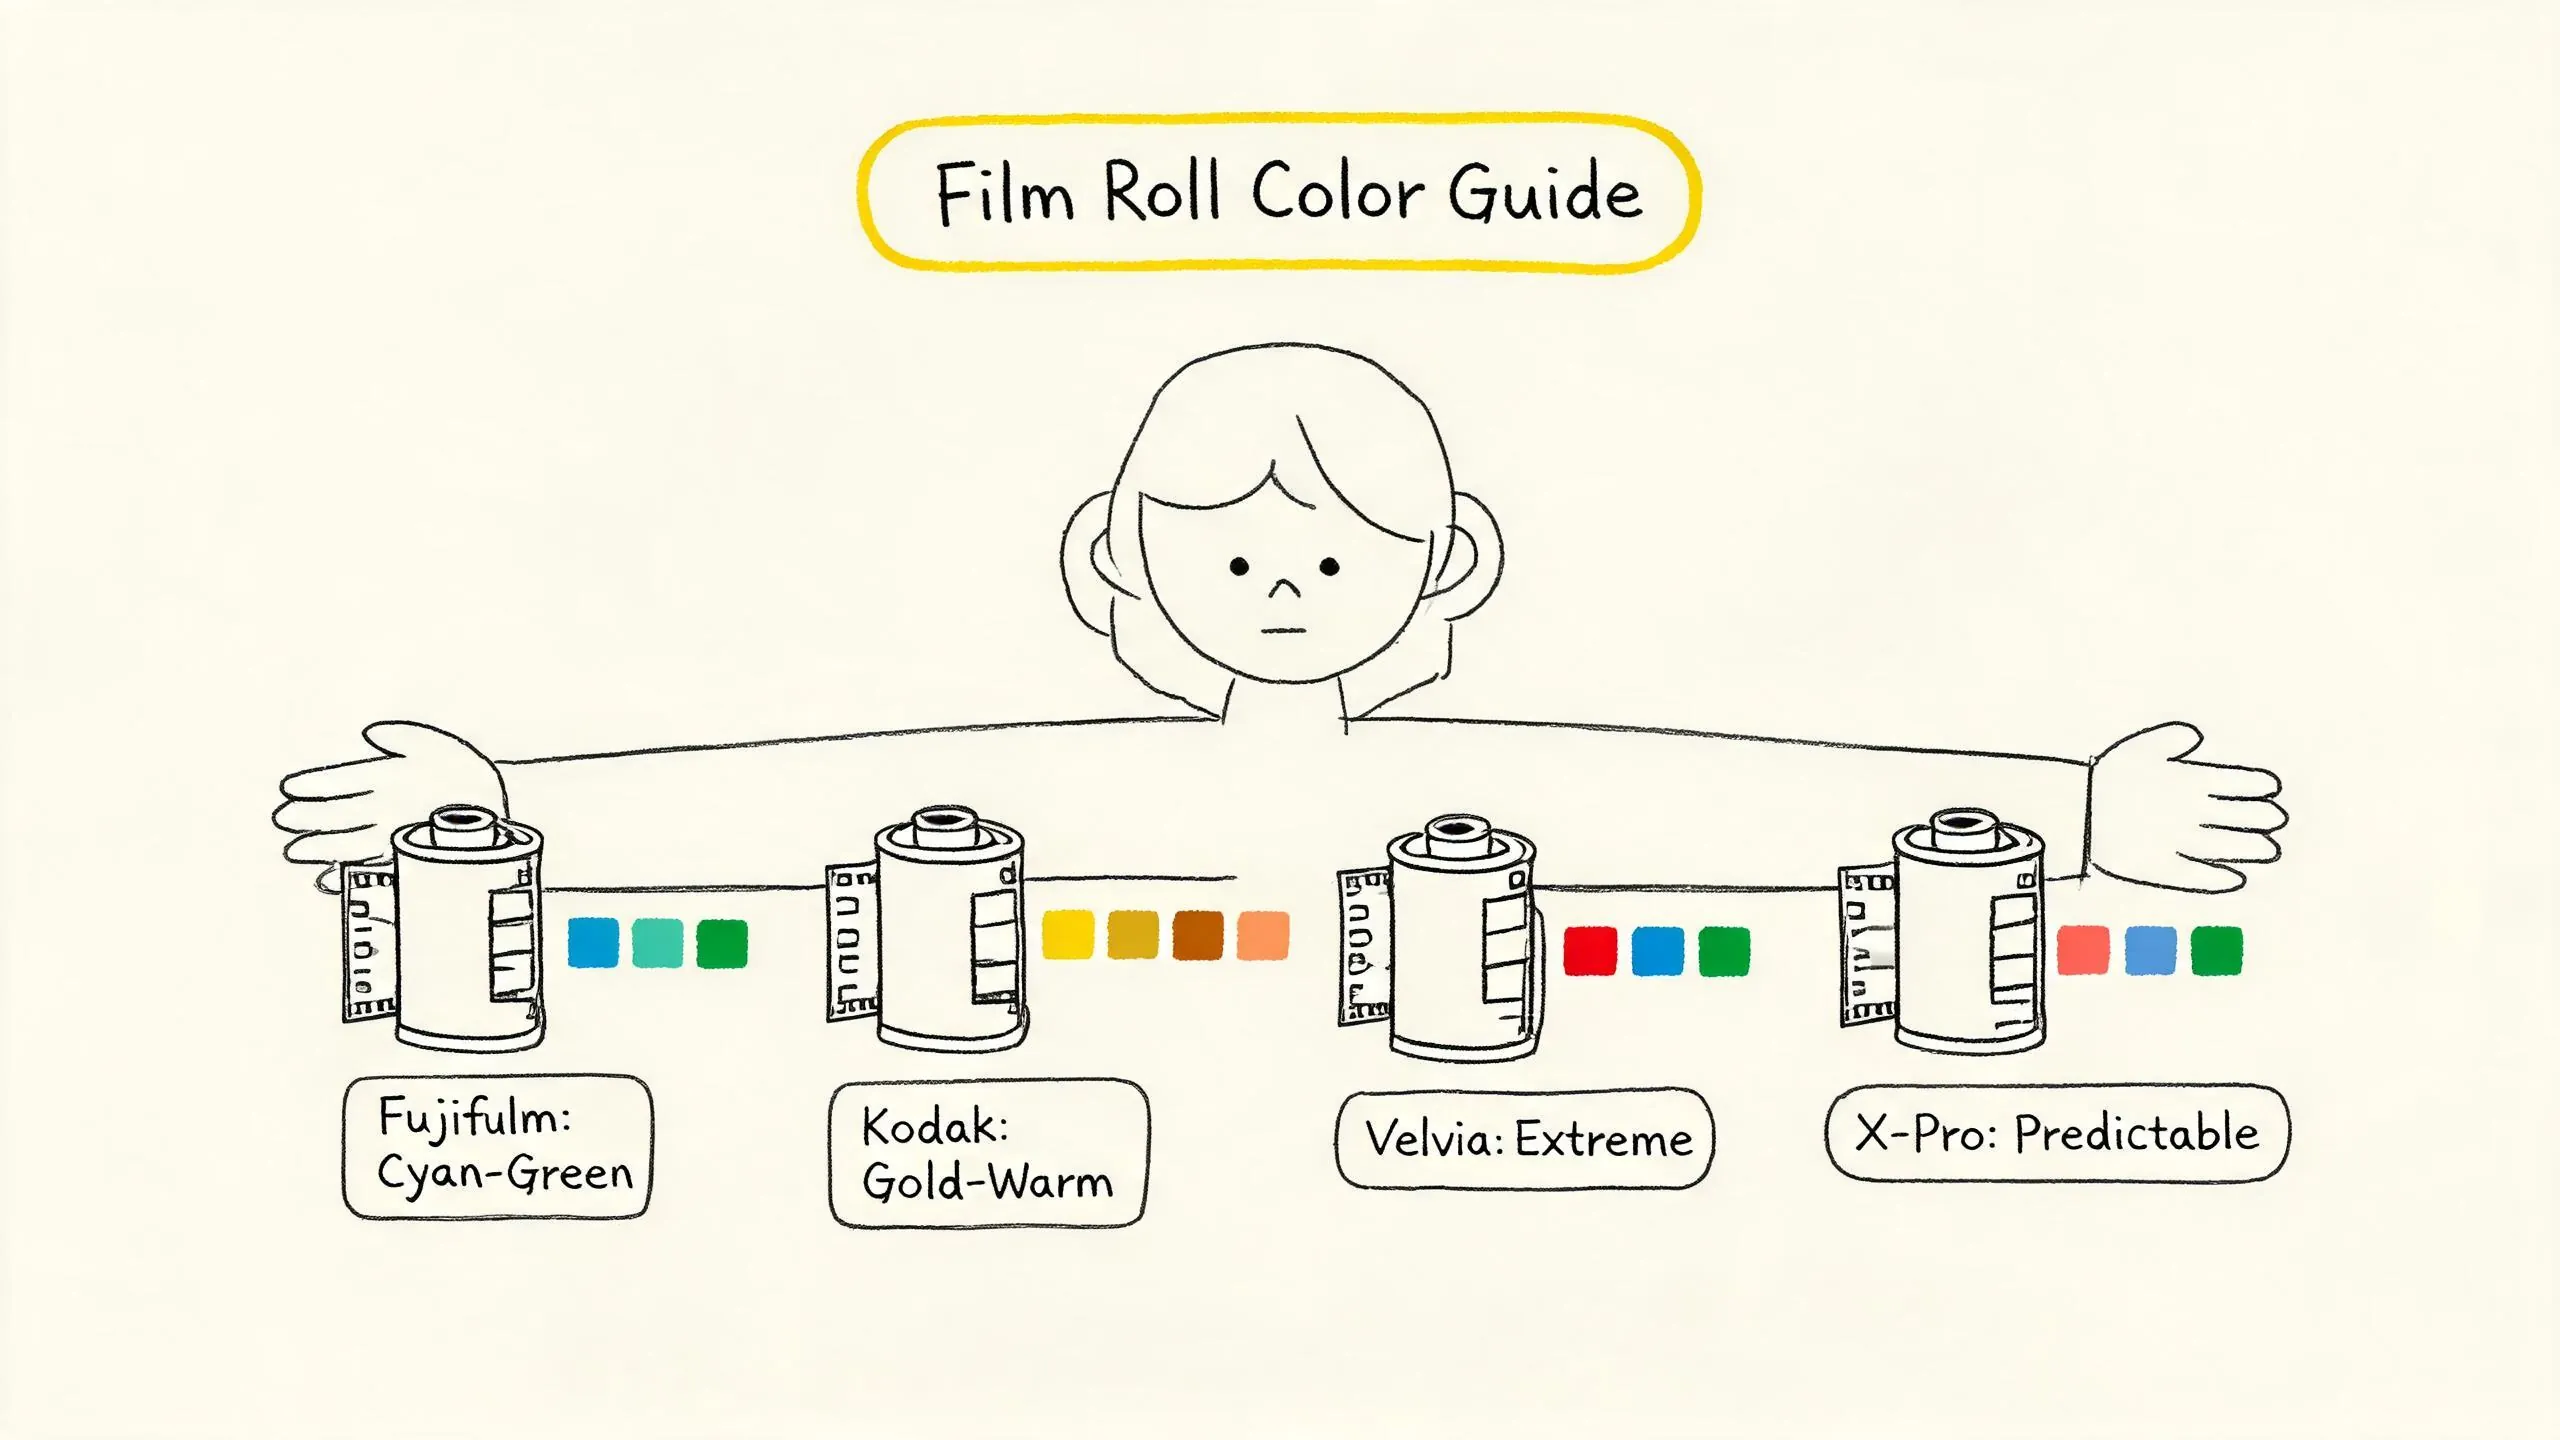
- Fujifilm Provia 100F (RDP III): One of the most classic films for cross processing. It is characterized by an overall cyan-green tone shift, especially in the shadows, with moderate contrast increase, creating a cool, slightly sci-fi editorial style.
- Kodak Ektachrome E100: In contrast to Fujifilm’s cool tones, Kodak Ektachrome cross-processed yields a distinct golden-yellow tone in the highlights, with an overall warmer color palette. It renders skin tones relatively pleasingly, making it suitable for subjects where a warm, vintage feel is desired.
- Fujifilm Velvia 50/100: Velvia is already renowned for its ultra-high saturation and contrast. After cross processing, its saturation reaches extreme levels, and contrast becomes very high, resulting in almost psychedelic colors. It’s excellent for graphic landscapes or abstract subjects requiring strong visual impact, but use it cautiously as the effect can be overwhelming.
- Fujifilm Astia 100F: Among Fujifilm’s slide films, Astia exhibits the most subtle shift and relatively lower contrast after cross processing. This makes it a better choice for portraiture within cross processing, allowing for characteristic colors while maintaining relatively natural skin tone transitions.
- Fujifilm Sensia: A discontinued but highly sought-after general-purpose slide film. Its cross-processing results have been widely documented, showing a classic LOMO style—vivid color shifts and enhanced contrast. It’s an excellent entry point for experiencing the charm of cross processing.
- Lomography X-Pro Slide 200: This is a film specifically designed for cross processing on the market. Its emulsion is specially formulated to make cross-processing results the most predictable, with relatively stable color shifts (usually green) and contrast changes. It’s ideal for beginners trying cross processing for the first time.
- Agfa CT Precisa 100: This film shows a very pronounced green tone shift after cross processing, embodying a strong 90s cross-processing aesthetic and offering a unique vintage feel.
Key Points for Choosing Film
- Brand Tendency: A simple rule of thumb—Fujifilm stocks (Provia, Velvia, Astia) generally shift towards green/cyan tones after cross processing; Kodak stocks (Ektachrome) generally shift towards yellow/golden tones.
- Effect Stability: Lomography’s X-Pro series offers the most controllable results, suitable for cautious beginners. Traditional professional slide films (like Velvia) produce more extreme effects, suited for experienced users for creative work.
- Film Condition: Avoid using slide film that has expired long ago and been improperly stored. Severely fogged film, even with overexposure compensation, will have shadow details that are difficult to salvage under the high contrast of cross processing.
Part 3: Chemicals and Equipment Preparation—Your Home Darkroom Basics
In terms of processing operations, cross processing is identical to standard C-41 negative processing. The only difference is the type of film loaded into the tank. Therefore, you need a standard set of C-41 processing chemicals and basic equipment.
Chemical Selection
Standard C-41 chemical kits available on the market are sufficient; no special formulas are needed. Common reliable choices include:
- Tetenal Colortec C-41
- Digibase C-41
- Kodak Flexicolor (requires mixing according to instructions) These kits typically include color developer, bleach-fix (blix), stabilizer, etc., enough to complete the entire process.
Key Equipment and Materials
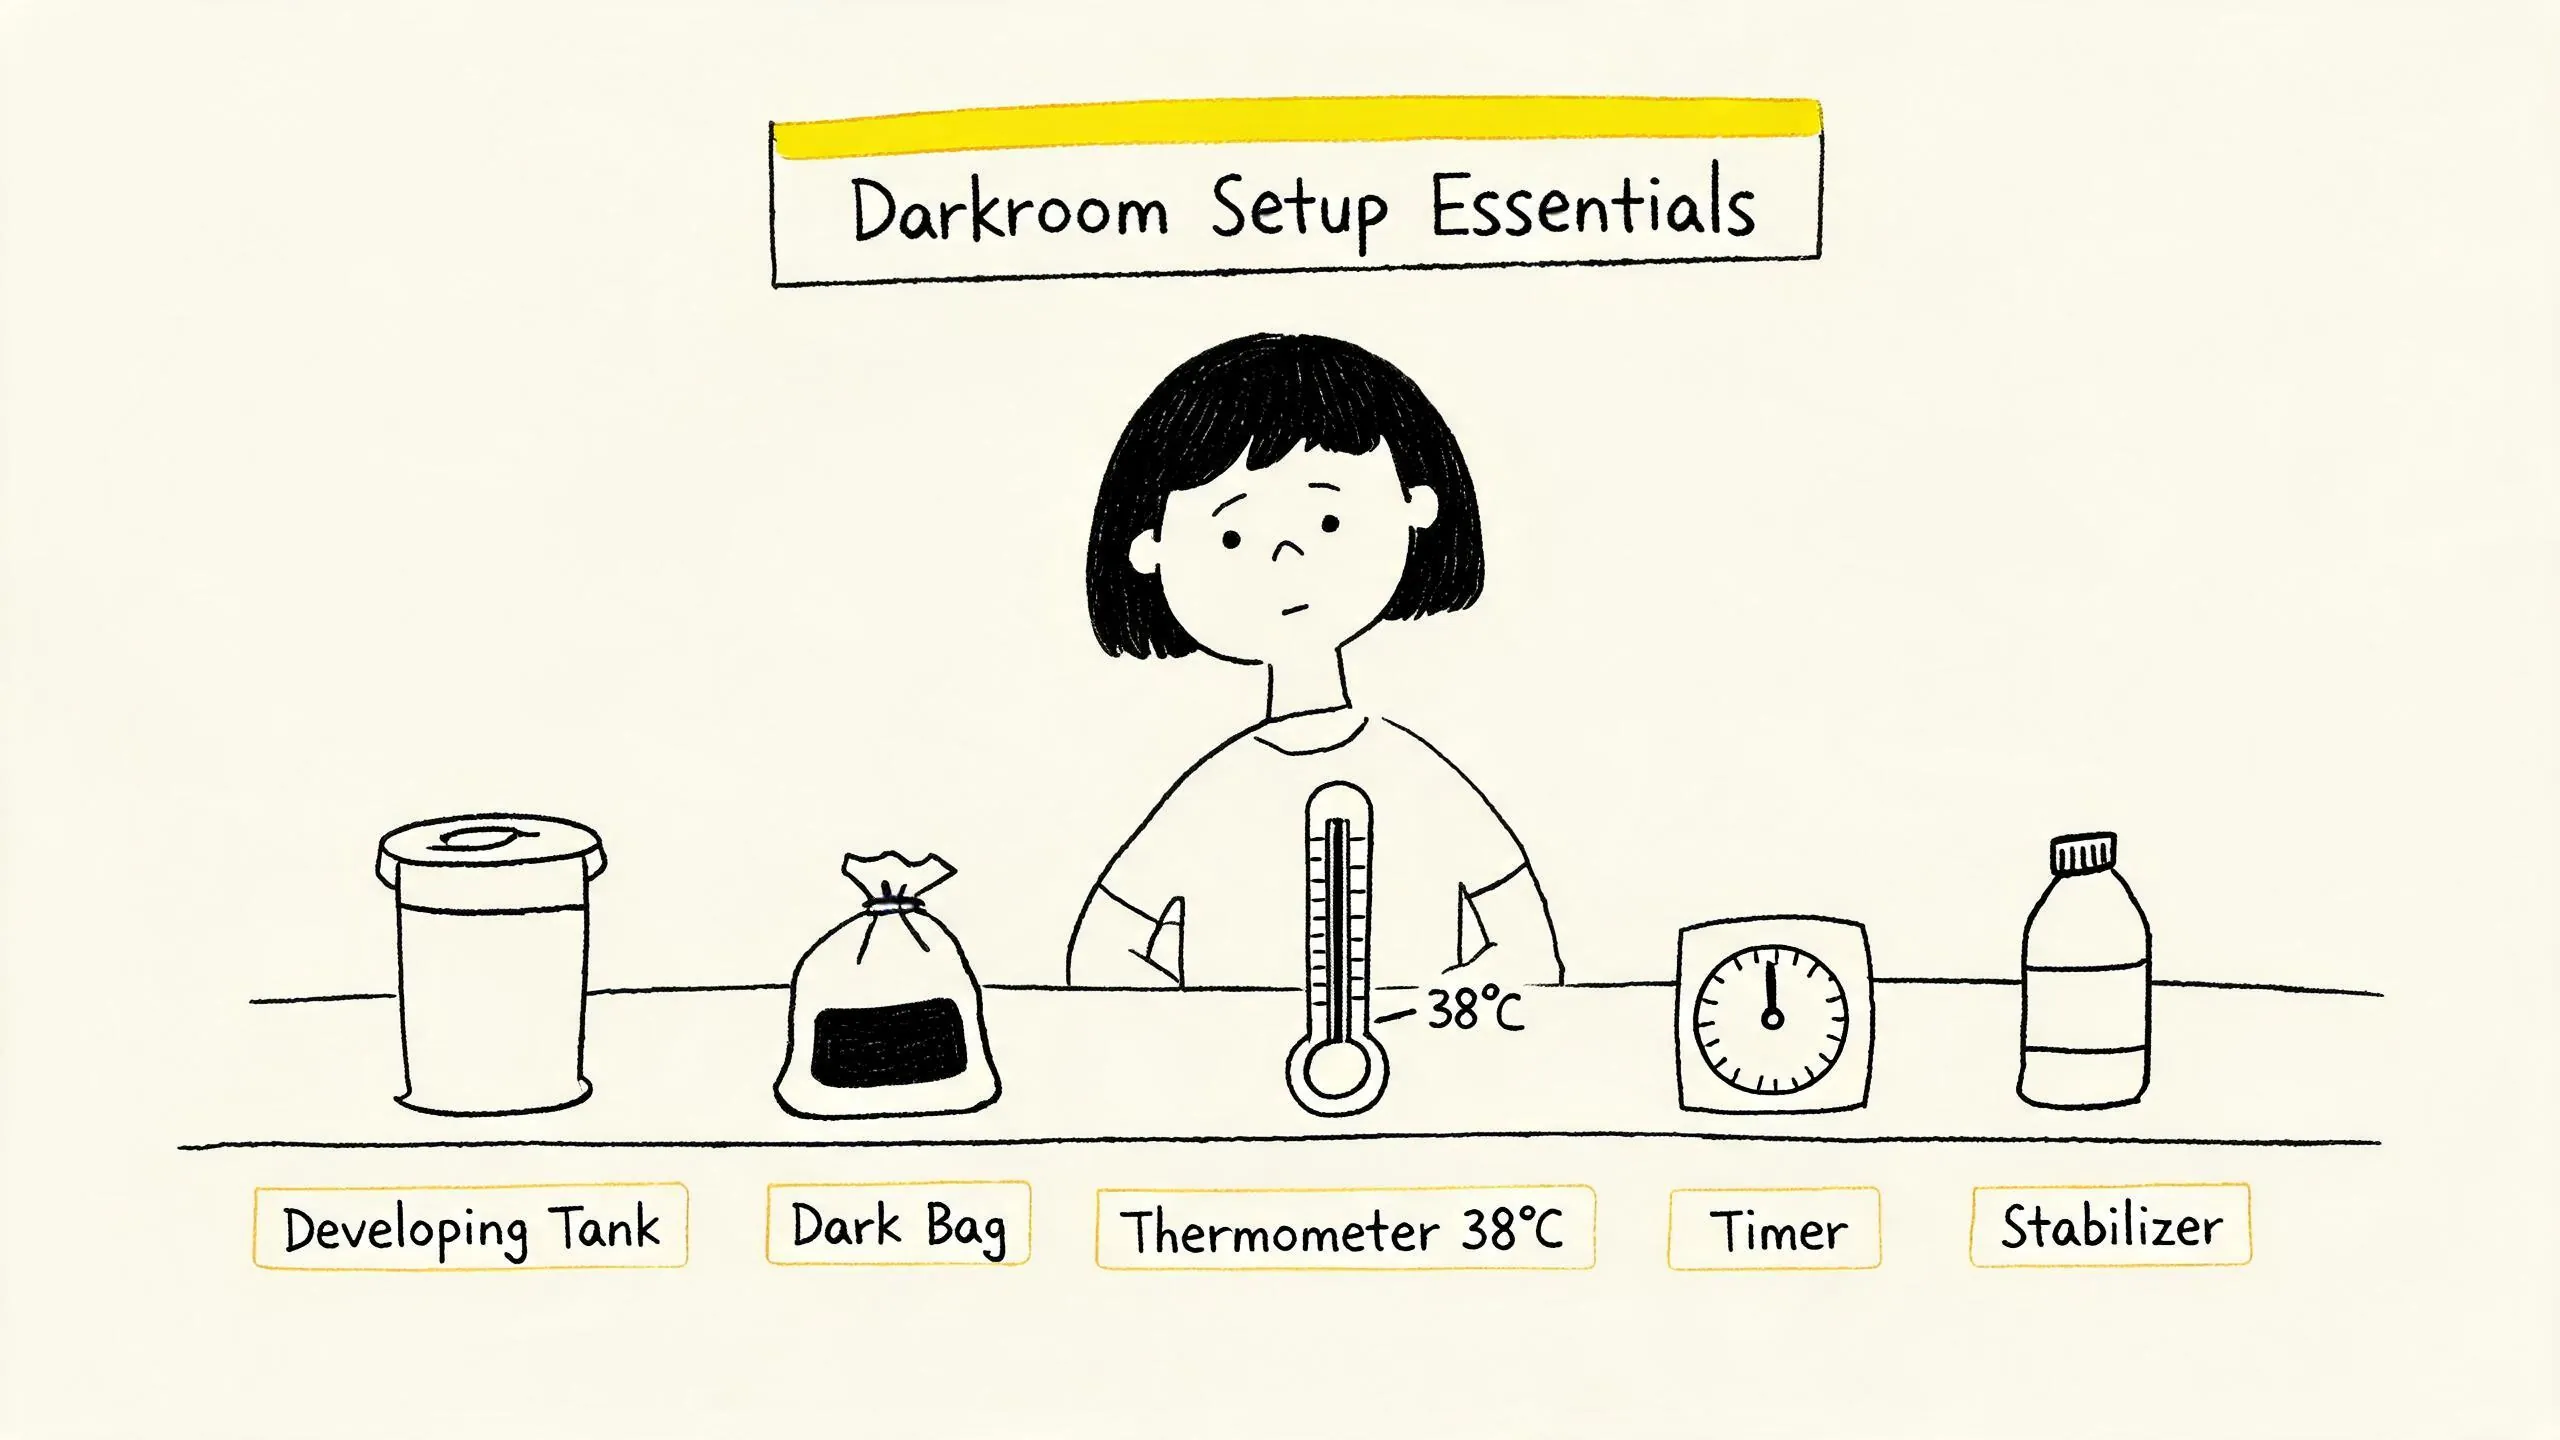
- Developing Tank and Reel: Such as a Paterson tank, used for developing, washing, etc., under light-safe conditions. Ensure the reel matches your film format (135/120).
- Changing Bag: Loading film must be done in absolute darkness. A changing bag is an essential tool for safely loading film in a home environment.
- Thermometer: A thermometer with an accuracy of at least ±0.5°C is needed to monitor chemical temperature.
- Timer: To precisely control the duration of each processing step.
- Measuring Cup and Stirring Rod: For measuring and mixing chemicals.
- Washing Aid: Such as a hose connector, for stable running water washes.
- Drying Clips and Dust Cover: For hanging and drying the negatives.
Temperature Control: The Key to Success
The C-41 process has strict temperature requirements, and cross processing is no exception. The temperature of the color developer must be strictly controlled at 38°C (100.4°F) ±0.5°C. This is the most critical parameter in the entire process.
Practical Tip: Before starting processing, preheat all chemicals to be used (color developer, bleach-fix, stabilizer) in a temperature-controlled water bath to 38°C. When pouring the color developer into the tank, you can set the initial temperature to 38.5°C to compensate for heat absorbed by the tank itself, ensuring the chemical temperature inside stabilizes at 38°C as quickly as possible.
Part 4: Complete Processing Workflow in Detail—Six Steps Explained
The following process is for developing E-6 slide film (E→C) using C-41 chemicals. Please ensure your C-41 chemicals are mixed according to the instructions and preheated to working temperature before starting.
Step 1: Loading Film in the Changing Bag (Total Darkness Operation)
This is the only step that must be performed in complete darkness. Place your E-6 slide film and the tank’s reel and core into the changing bag. Inside the bag, by feel, load the film smoothly into the reel’s grooves, then place the reel into the developing tank, securing the inner and outer lids tightly. Ensure the tank lid is sealed perfectly; any light leak will ruin the film.
Step 2: Pre-Soak/Wash (Optional)
Some C-41 chemical kits recommend a pre-soak step before formal development. If your kit requires this, fill the tank with 38°C water, soak for 1 minute, then pour it out.
Step 3: Color Development (The Most Critical Step)
Quickly pour the color developer, preheated to 38°C (or set to 38.5°C using the tip above), into the developing tank. After securing the lid, immediately begin the standard C-41 agitation procedure as per the kit instructions (typically continuous inversion for the first 30 seconds, followed by 5 inversions every 30 seconds). Time strictly according to the instructions, usually 3 minutes 15 seconds to 3 minutes 30 seconds, depending on the chemical brand and room temperature. When time is up, quickly pour the color developer back into its storage bottle.
Step 4: Bleach-Fix (Blix)
Pour the bleach-fix, preheated to 38°C, into the developing tank. Again, follow the instructions for agitation and timing, typically 6-8 minutes. The bleach-fix removes metallic silver and fixes the image, stabilizing it. When time is up, pour out the bleach-fix.
Step 5: Wash
Thoroughly wash the film in the tank with running water at approximately 30°C for 3-5 minutes to ensure all residual chemicals are rinsed away.
Step 6: Stabilize and Dry
Pour in the stabilizer and soak for about 1 minute. This helps prevent water marks and enhances dye stability. Afterward, remove the negatives, hang them with drying clips, and let them air dry in a dust-free environment. Never wipe wet negatives with a cloth.
Summary of Differences from Standard C-41 Processing: As you can see, every operational step, temperature, and time from loading to unloading is identical to processing standard C-41 negative film. The vast difference in results comes entirely from the fact that you loaded E-6 slide film instead of C-41 negative film.
Part 5: Interpreting Results, Scanning, and Creative Extensions
When you look at the dried negatives with their peculiar colors, the real creative work begins.
Summary of Color Shift Patterns
- Fujifilm Stocks: Overall shift towards cyan-green, especially pronounced in the shadows.
- Kodak Stocks: Overall shift towards golden-yellow, more so in the highlights.
- Contrast: All cross processing significantly increases contrast. Shadow details are compressed, highlights become brighter, and the mid-tones narrow. This becomes extreme under high-contrast lighting (e.g., midday sun).
- Saturation: Colors are typically more intense and vibrant than standard-processed negatives.
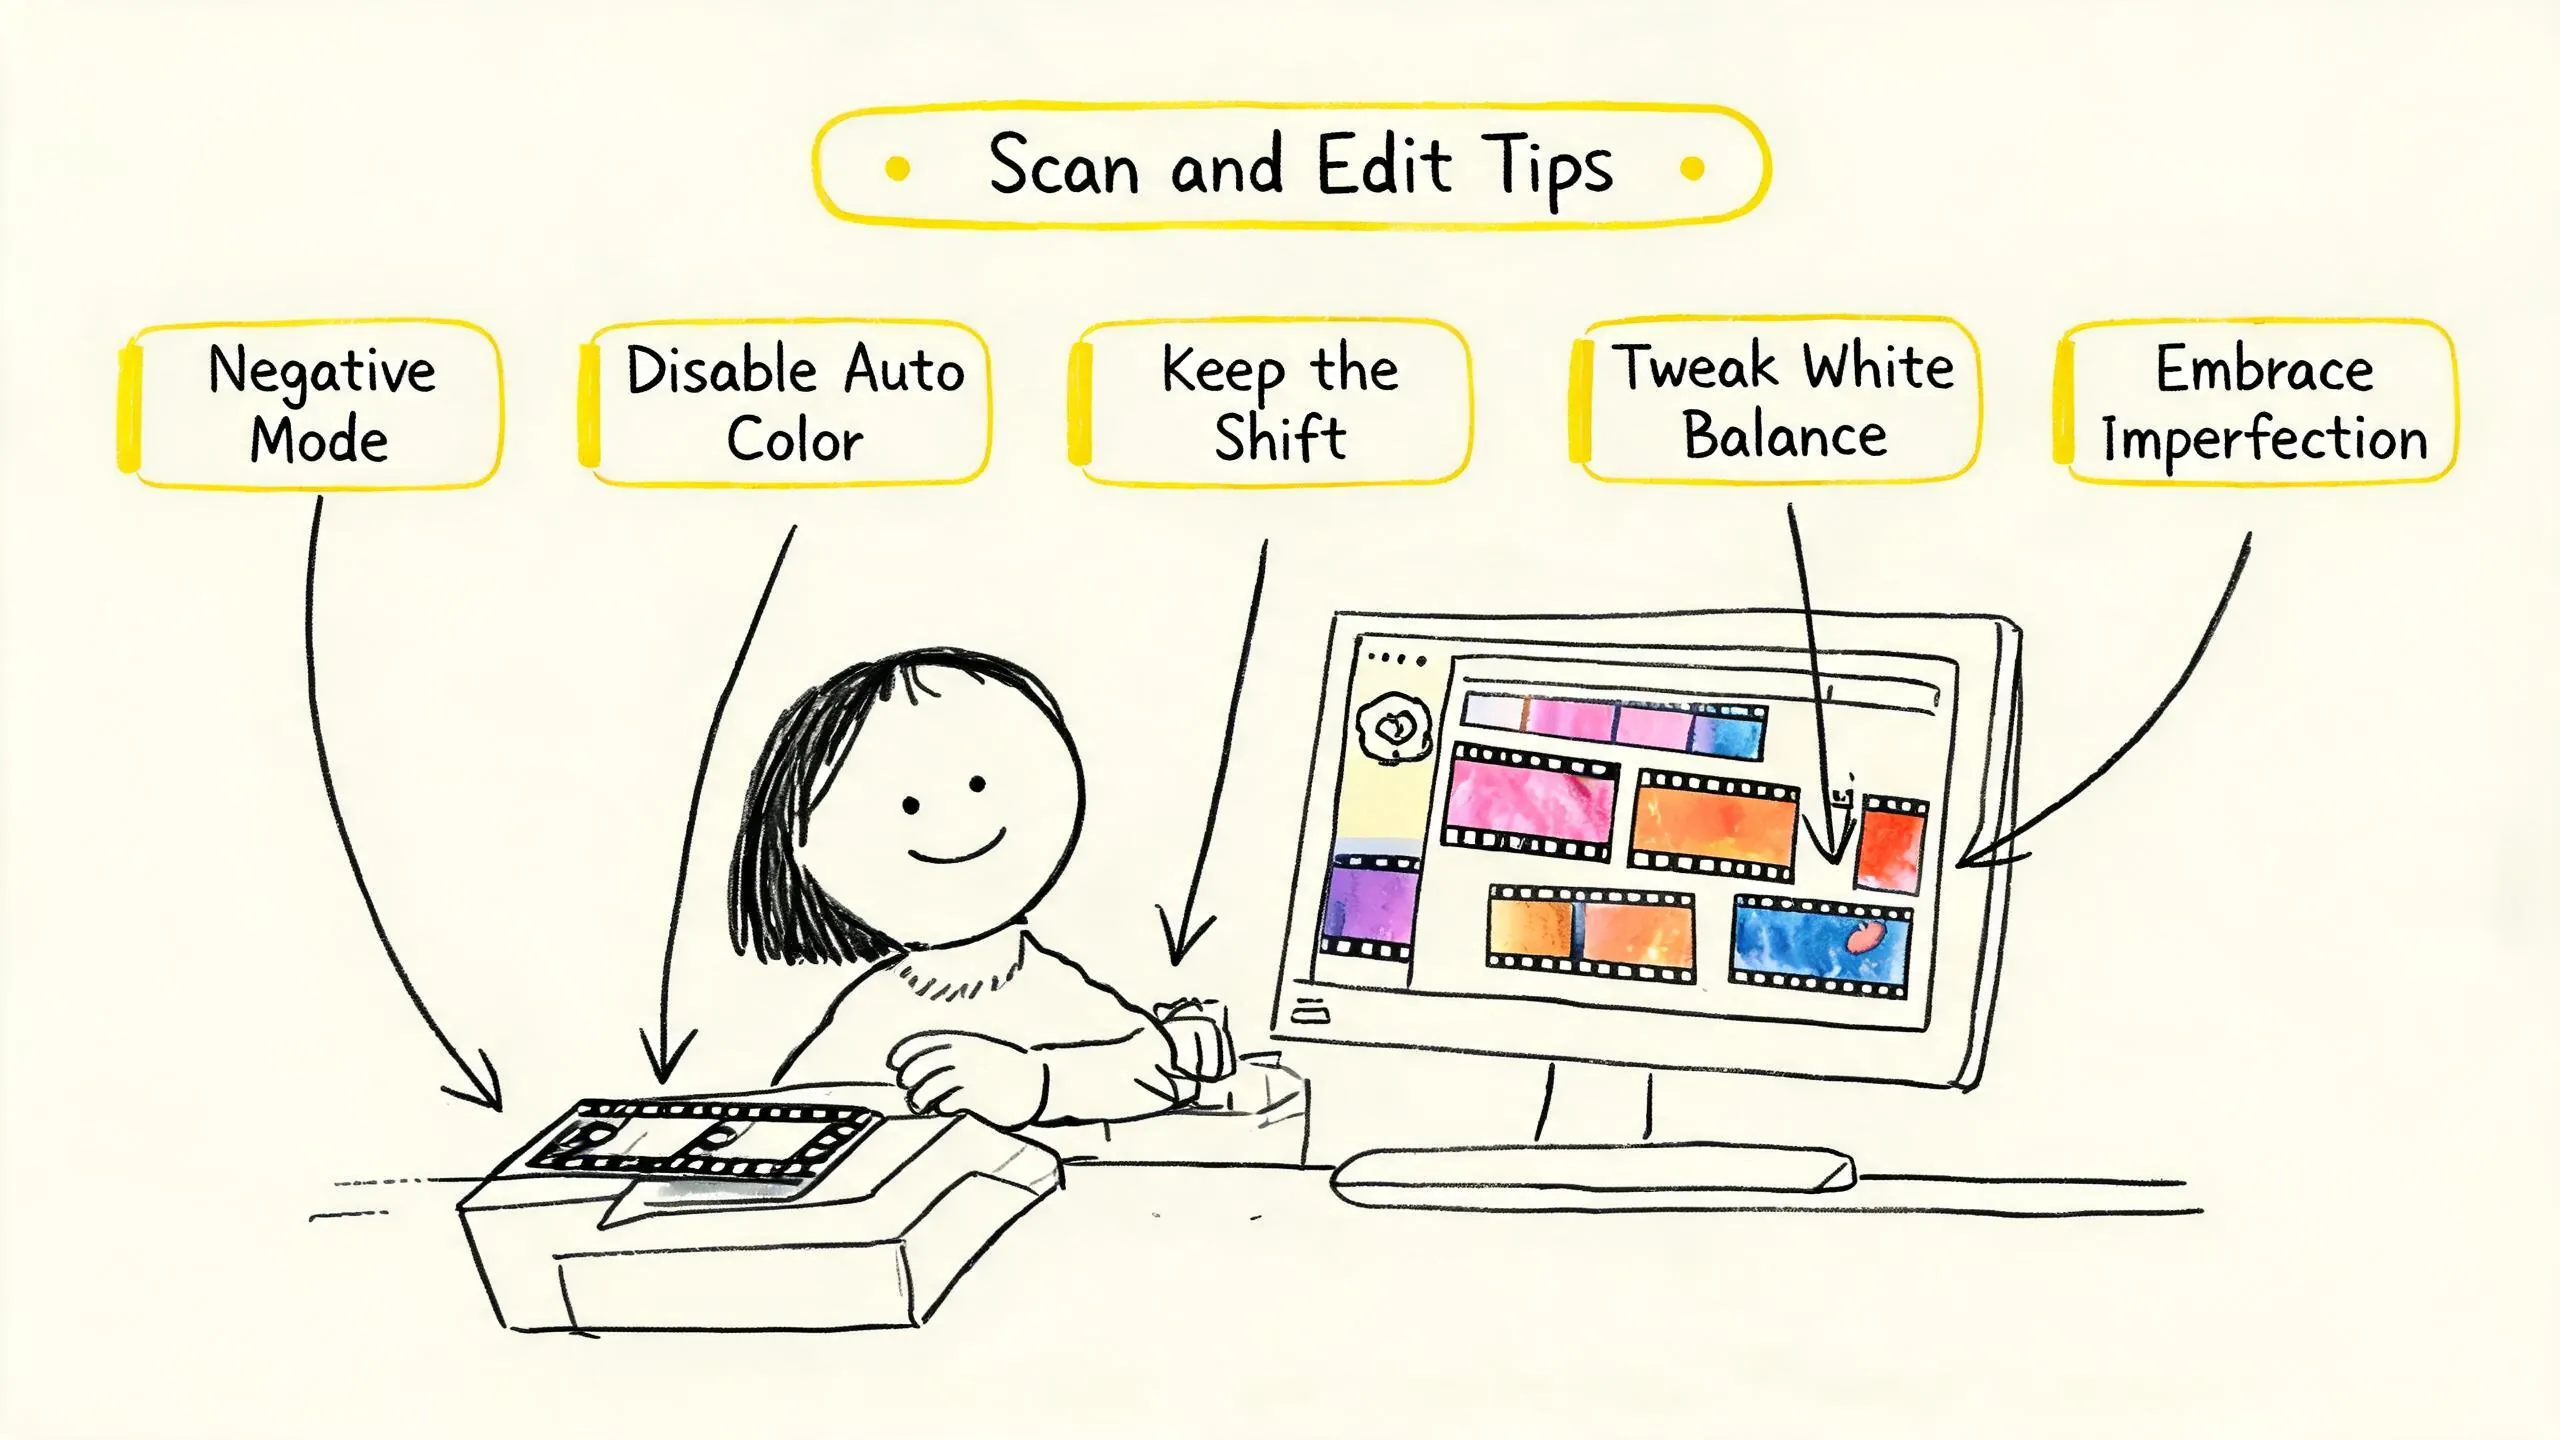
Scanning: Two Essential Pitfalls to Avoid
- Must Scan in Negative Mode: The cross-processed slide film now has a negative image. When scanning, you must select “Color Negative” mode in the scanning software, not “Slide” or “Transparency” mode. Selecting the wrong mode will invert the image and completely scramble the colors.
- Disable or Minimize Auto Color Correction: The scanner’s auto color correction function is designed to “restore” true colors. For cross processing, this will eliminate the distinctive color shifts you worked hard to achieve. It’s recommended to disable this function during scanning or apply only minimal correction, leaving the color grading control to your post-processing software.
Post-Processing Color Grading Directions
In software like Lightroom or Photoshop, you can fine-tune the scanned digital file:
- Establish a Baseline: Use the white balance eyedropper tool to click on an area in the image that you believe should be neutral gray (e.g., gray concrete, shadows on a white wall), and use this as a reference to correct the overall color cast.
- Fine-Tune the Style: On top of this baseline, adjust the Temperature (yellow/blue) and Tint (green/magenta) sliders to further enhance or soften the desired color tendency. Remember, the charm of cross processing lies in its imperfect colors; often, retaining some of the shift is more flavorful than completely “correcting” it.
- Manage Contrast: Due to the inherently high contrast of the output, you may need to slightly reduce contrast in post-processing, brighten shadows, and darken highlights to recover some tonal detail, although some information is irreversibly lost during processing.
Creative Extension: Combining with Lomo Shooting Style
Cross processing is one of the core pillars of Lomography aesthetics. The other major pillar is using cameras like the Lomo LC-A, known for light leaks, vignetting, and high saturation. Combining cross processing with these “defect aesthetic” cameras pushes that casual, accidental, high-saturation, heavy-vignette visual style to its extreme. Try loading your Lomo camera with Lomography X-Pro Slide film and cross processing it—you’ll get the most authentic LOMO photos.
Conclusion: The Spirit of Experimentation is the Ultimate Film
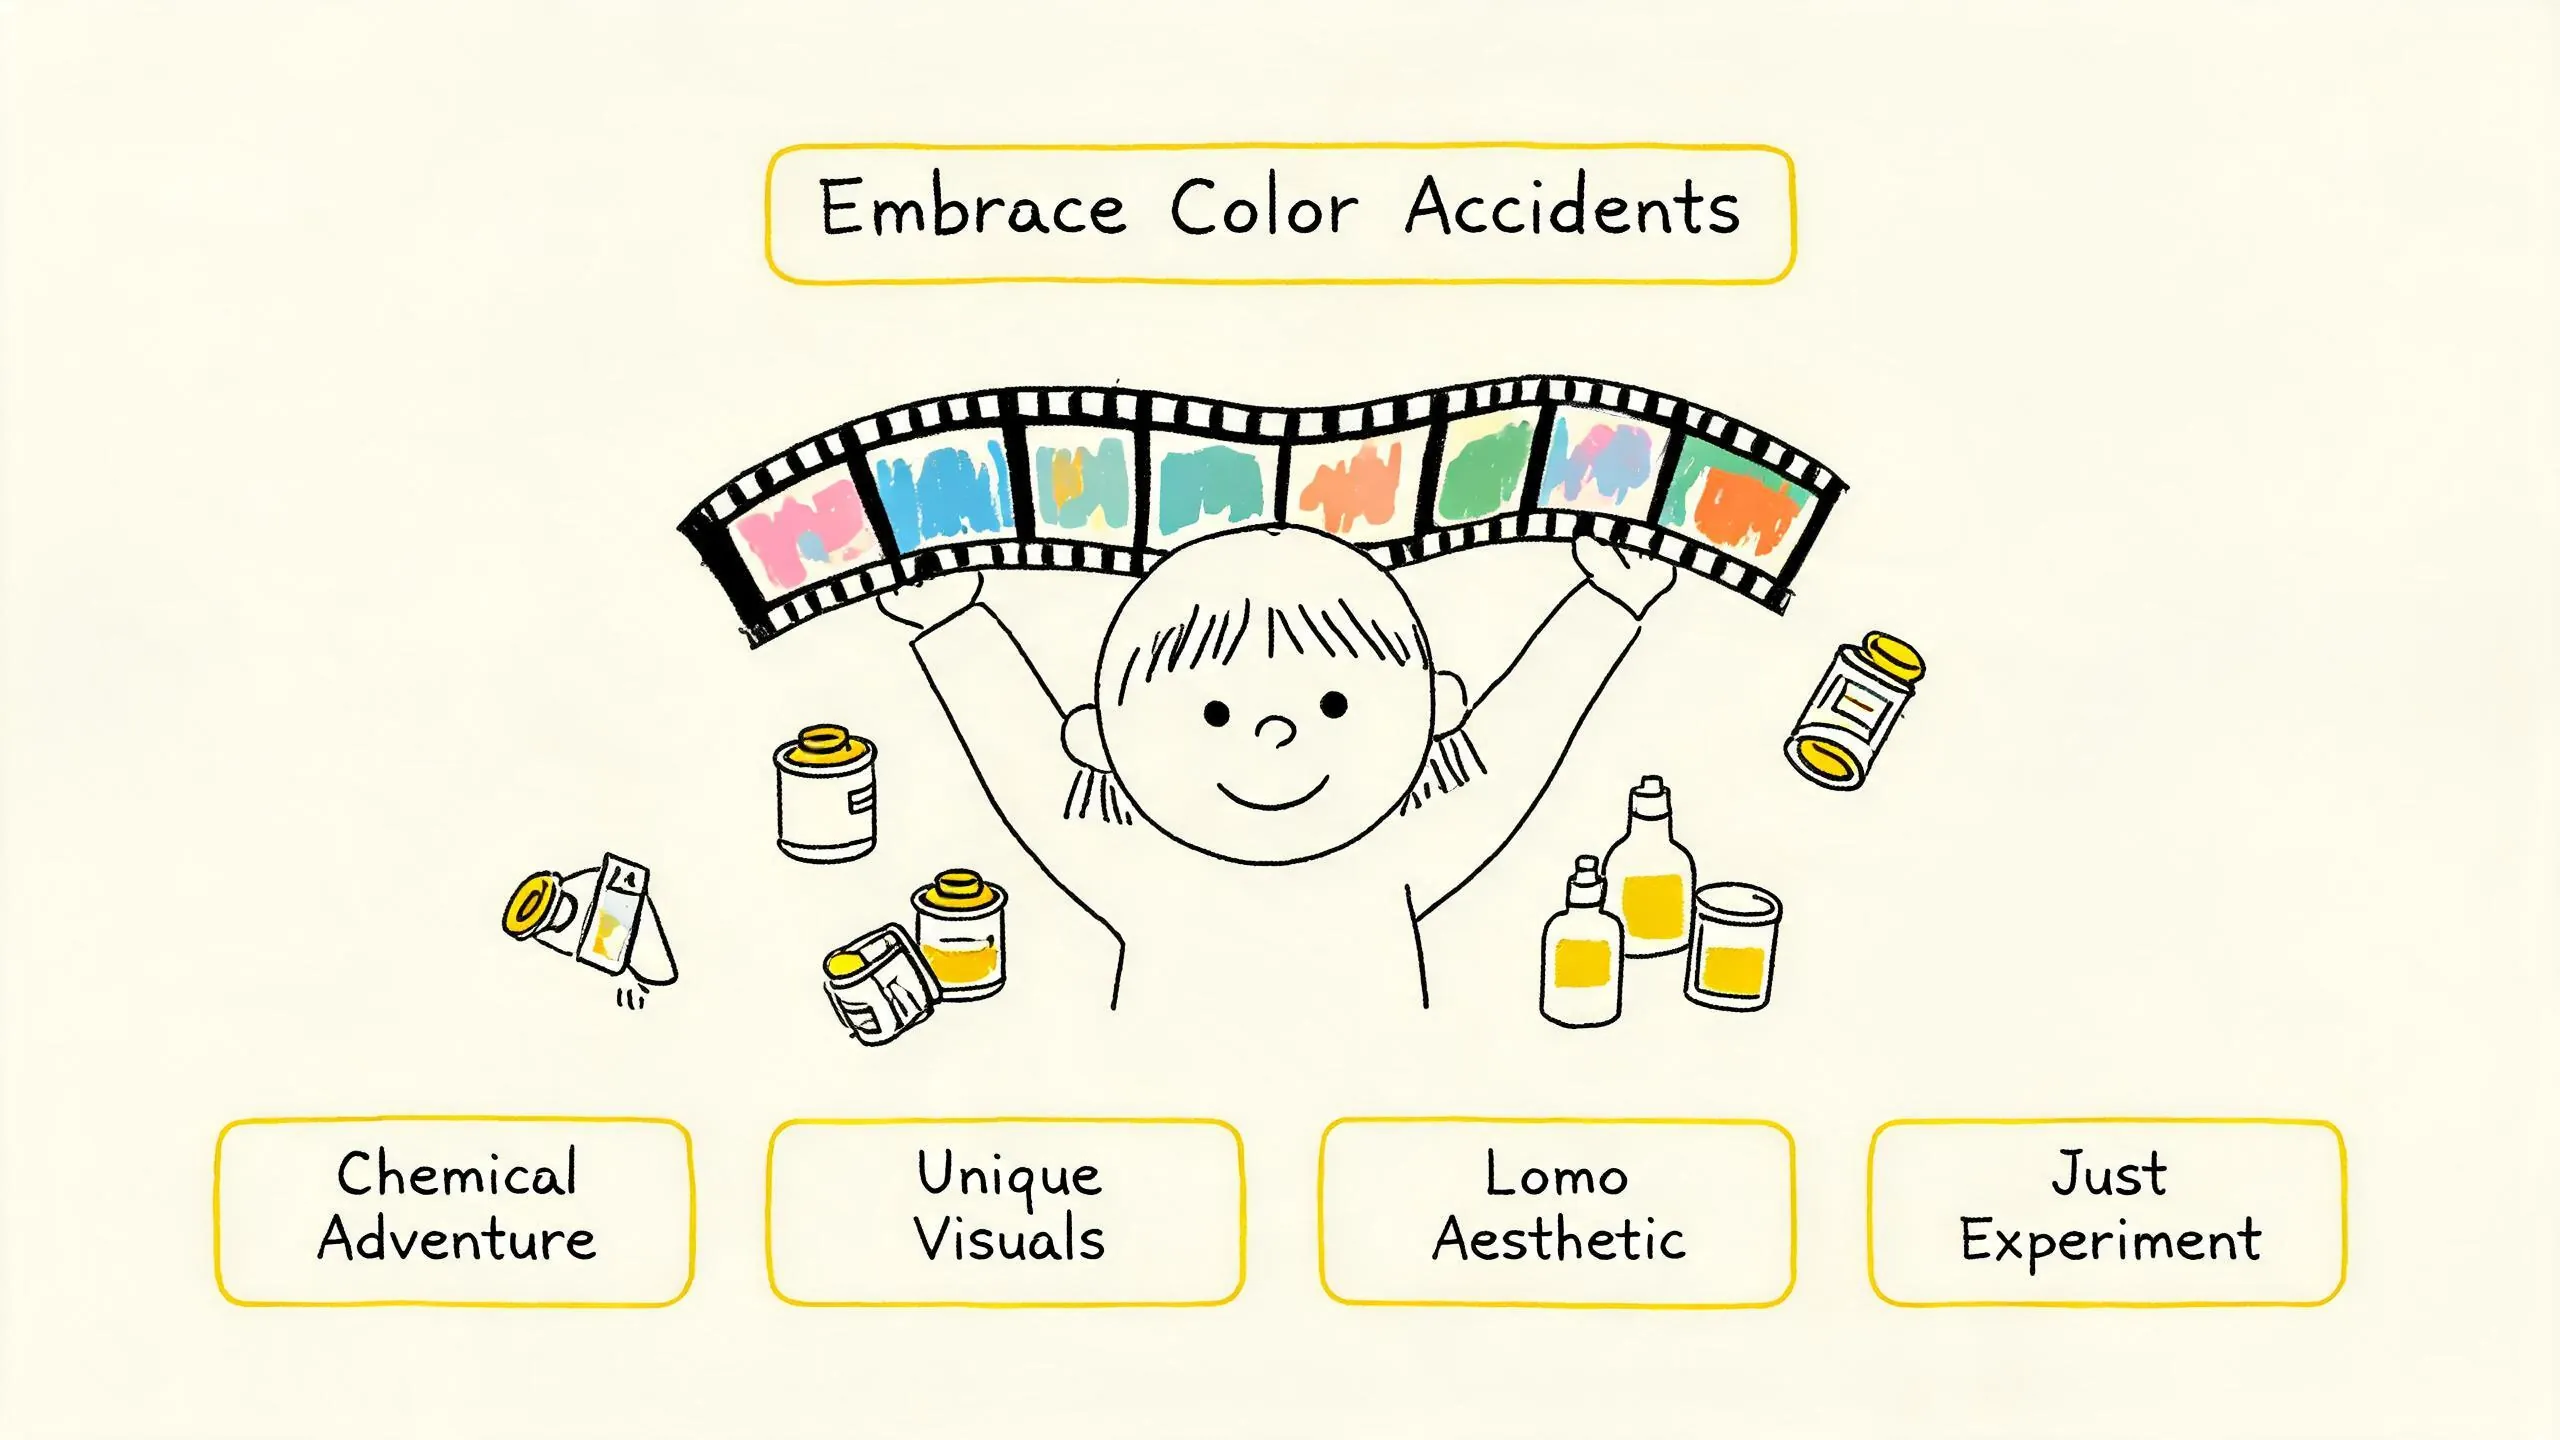
Cross processing is not a craft pursuing technical precision; it’s a chemical adventure embracing uncertainty. Its value lies not in replication, but in creating a unique visual imprint. Starting with a roll of character-rich slide film, strictly controlling the temperature and time of C-41 processing, and finally respecting and guiding that accidental color in scanning and post-processing—the entire process is a complete creative act. Don’t be afraid of “failures”; every unexpected color shift is a conversation you’ve had with the film and the chemicals. Now, the darkroom door is open for you. Go create your own color accidents.
References
- Cross processing - Wikipedia
- Cross Processing Film: E-6 in C-41 Complete Guide - Kubus Photo
- Cross Processing: what, how and examples - The Darkroom
- An Introduction to Cross-Processing Film - Shoot It With Film
- What is cross processing? - Lomography
- Back To Basics: Cross Processing - Lomography
- How to Develop Color Film at Home: C-41 Guide - Vintage Visual
- 正片负冲 - 百度百科