Handheld Film Night Hunting: A Practical Guide to the Trinity of Film, Lens, and Camera for Night Shooting
In the digital age, ISO can be easily pushed to tens of thousands, and noise reduction algorithms can "paint" night into day. However, for film photography enth
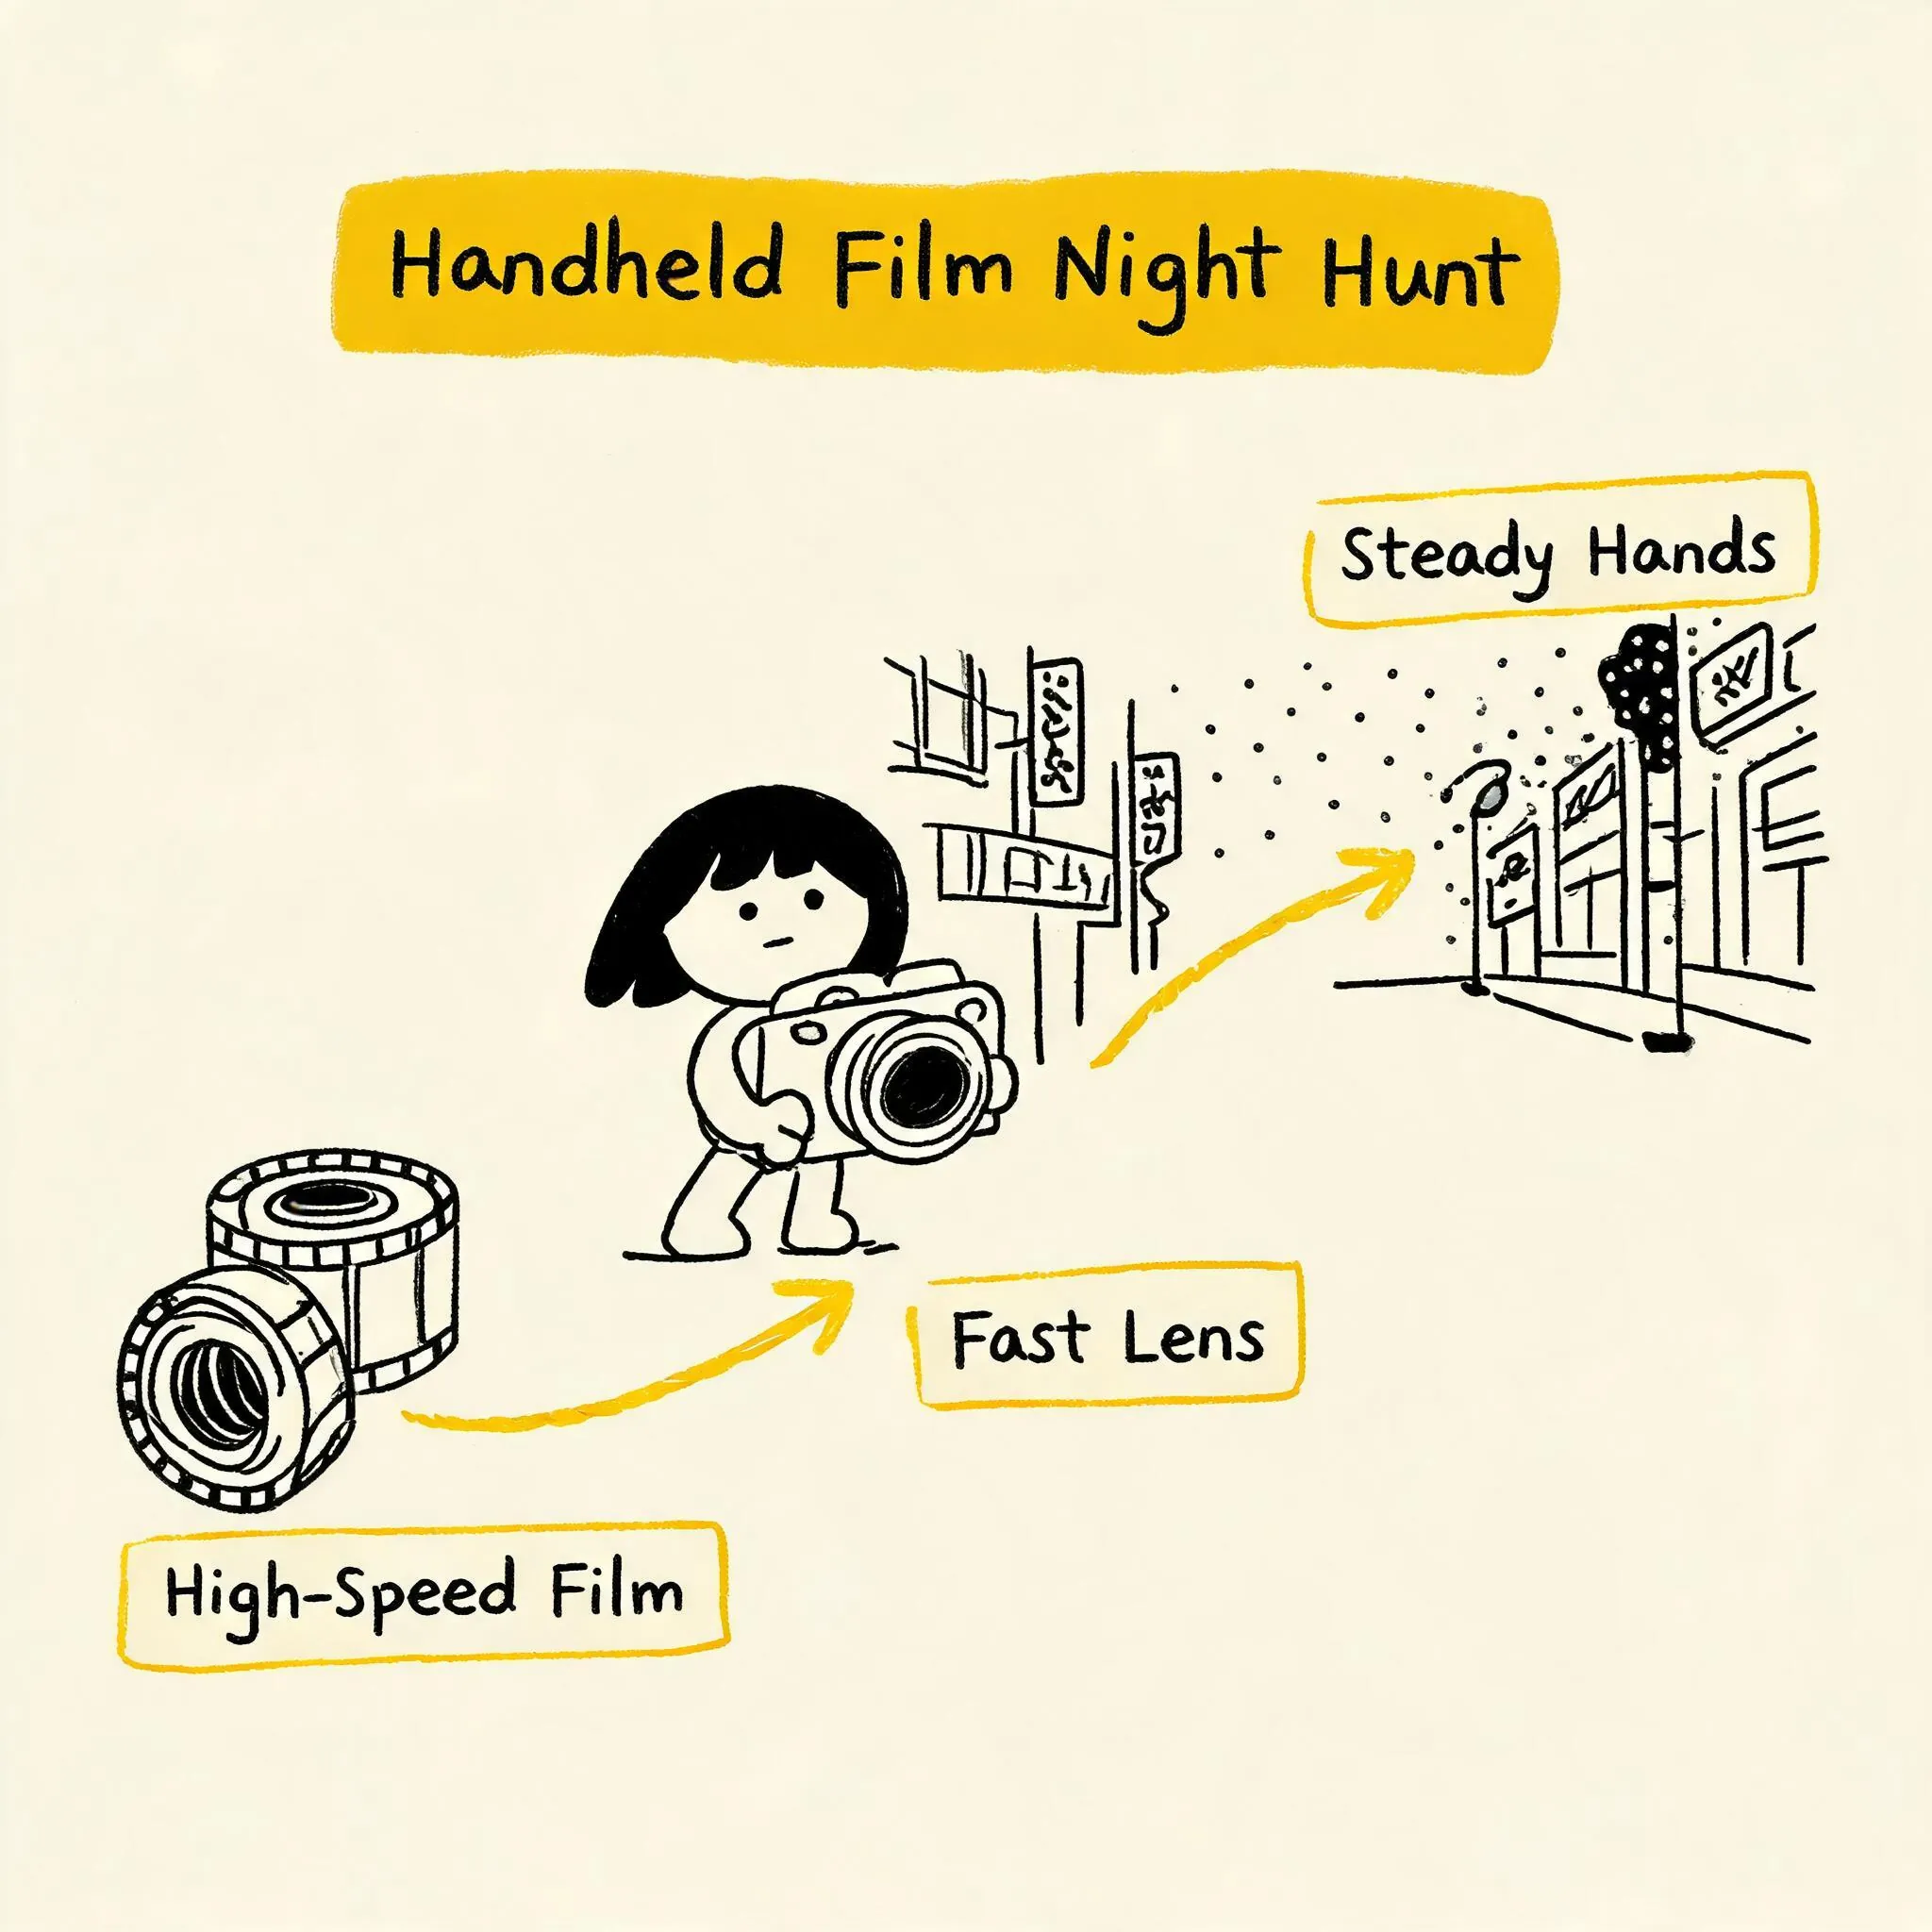
Why Handheld Night Shooting is Worth Trying: The Fundamental Differences Between Film and Digital Night Photography
In the digital age, ISO can be easily pushed to tens of thousands, and noise reduction algorithms can “paint” night into day. However, for film photography enthusiasts, the allure of night shooting lies precisely in its “imperfection.” Handheld film night shooting isn’t about pursuing technical perfection in sharpness and purity, but about capturing a specific mood and texture—the grain breathing delicately or coarsely in the shadows, the subtle color shifts under artificial light, and the irregular halos blooming from light sources on the negative. This “imperfection,” directly shaped by physical and chemical processes, forms the core appeal of film night narratives.
Unlike the extreme clarity and smoothness sought with tripod long exposures, handheld night shooting forces photographers to race against time, capturing decisive moments within a limited shutter window. It’s closer to the spontaneity and intuition of street photography, and the characteristics of high-speed film—whether grain structure, latitude, or color rendition—become part of the creative language, not just technical limitations to overcome. This is why, even in today’s highly advanced digital era, handheld film night hunting still has a fervent following in the community.
Camera and Lens Pairing: Building Your Night Shooting Arsenal
The success of handheld night shooting is largely determined by your equipment combination before you even load the film. The core lies in two points: a sufficiently large aperture to gather more light, and a sufficiently fast shutter speed to counteract camera shake.
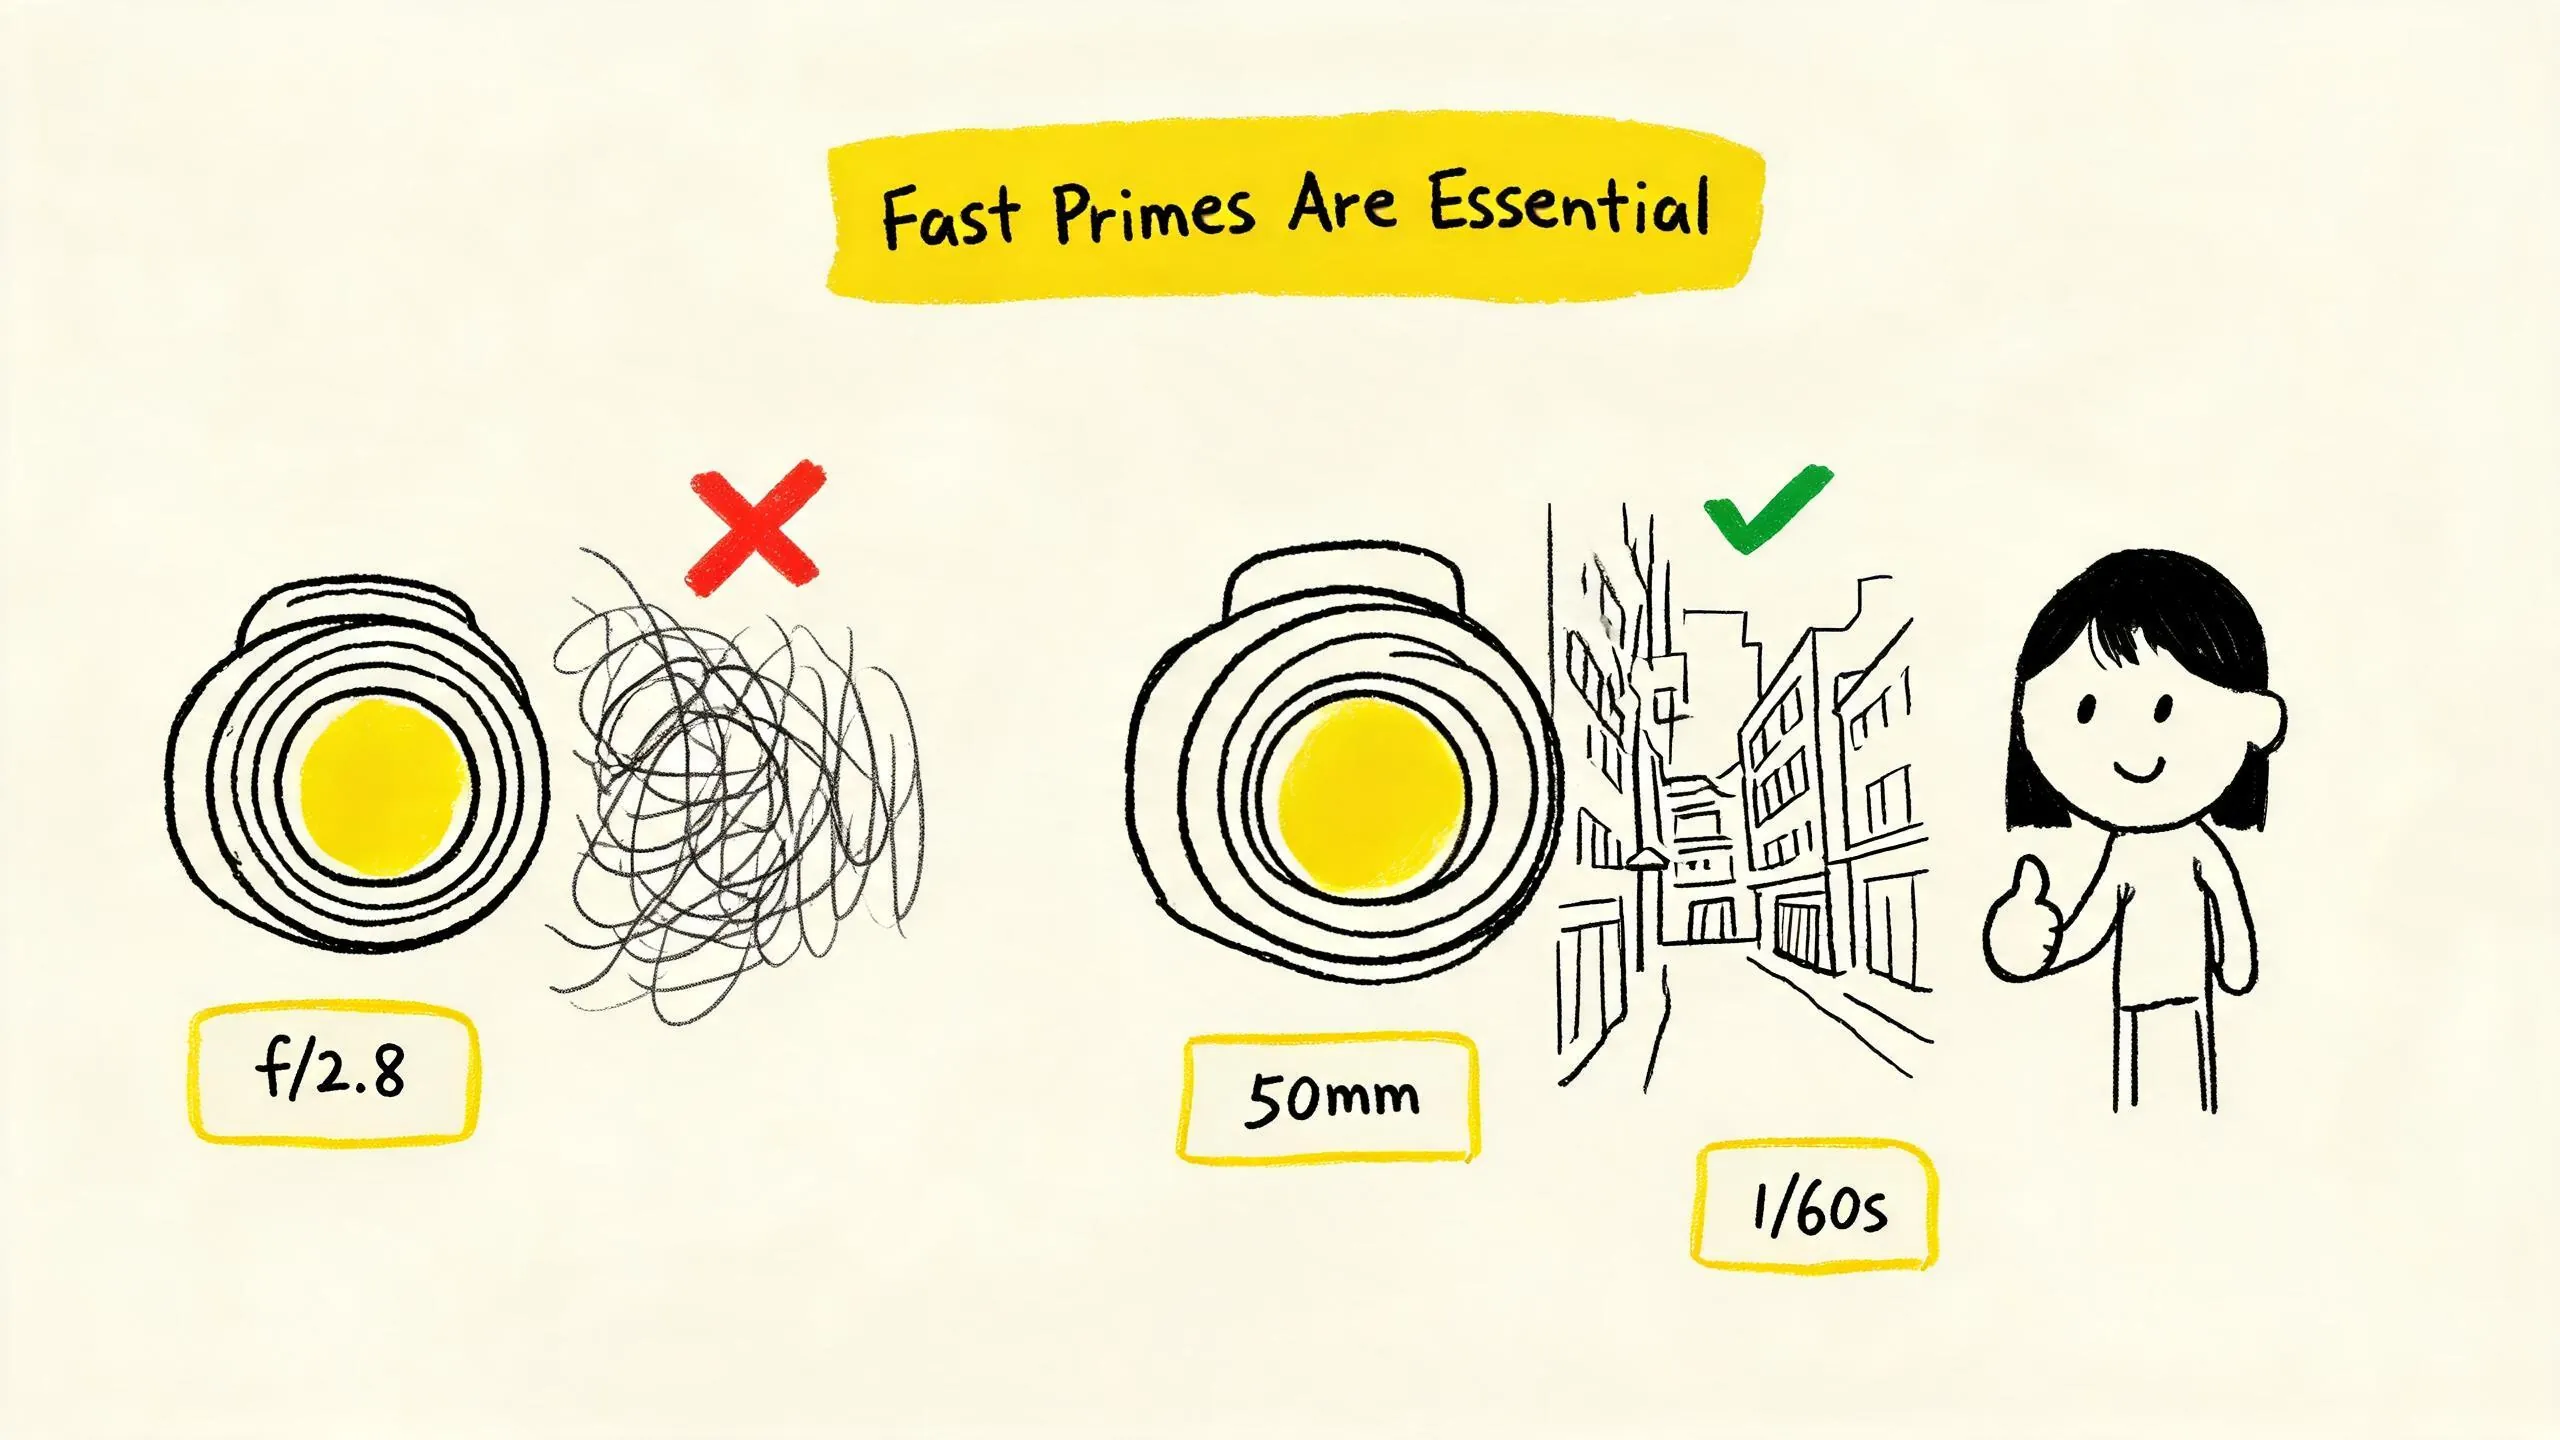
The Necessity of Fast Prime Lenses (f/1.4–f/2)
In typical nighttime street scenes, light primarily comes from streetlights, neon signs, and shop windows. With ISO 800 film, an f/1.4 lens can give you a shutter speed of around 1/60s in common lighting conditions (like a street under a streetlight), which is generally considered the safe lower limit for handheld shooting with a 50mm lens. If your lens’s maximum aperture is f/2.8, the shutter speed might drop to 1/30s under the same light, demanding extreme handheld stability, as even slight movement can cause blur. Therefore, for serious handheld night shooting, a fast prime lens like f/1.4 or f/2 (e.g., 35mm, 50mm) is almost essential.
Rangefinder vs. SLR: Subtle Differences in Handheld Stability
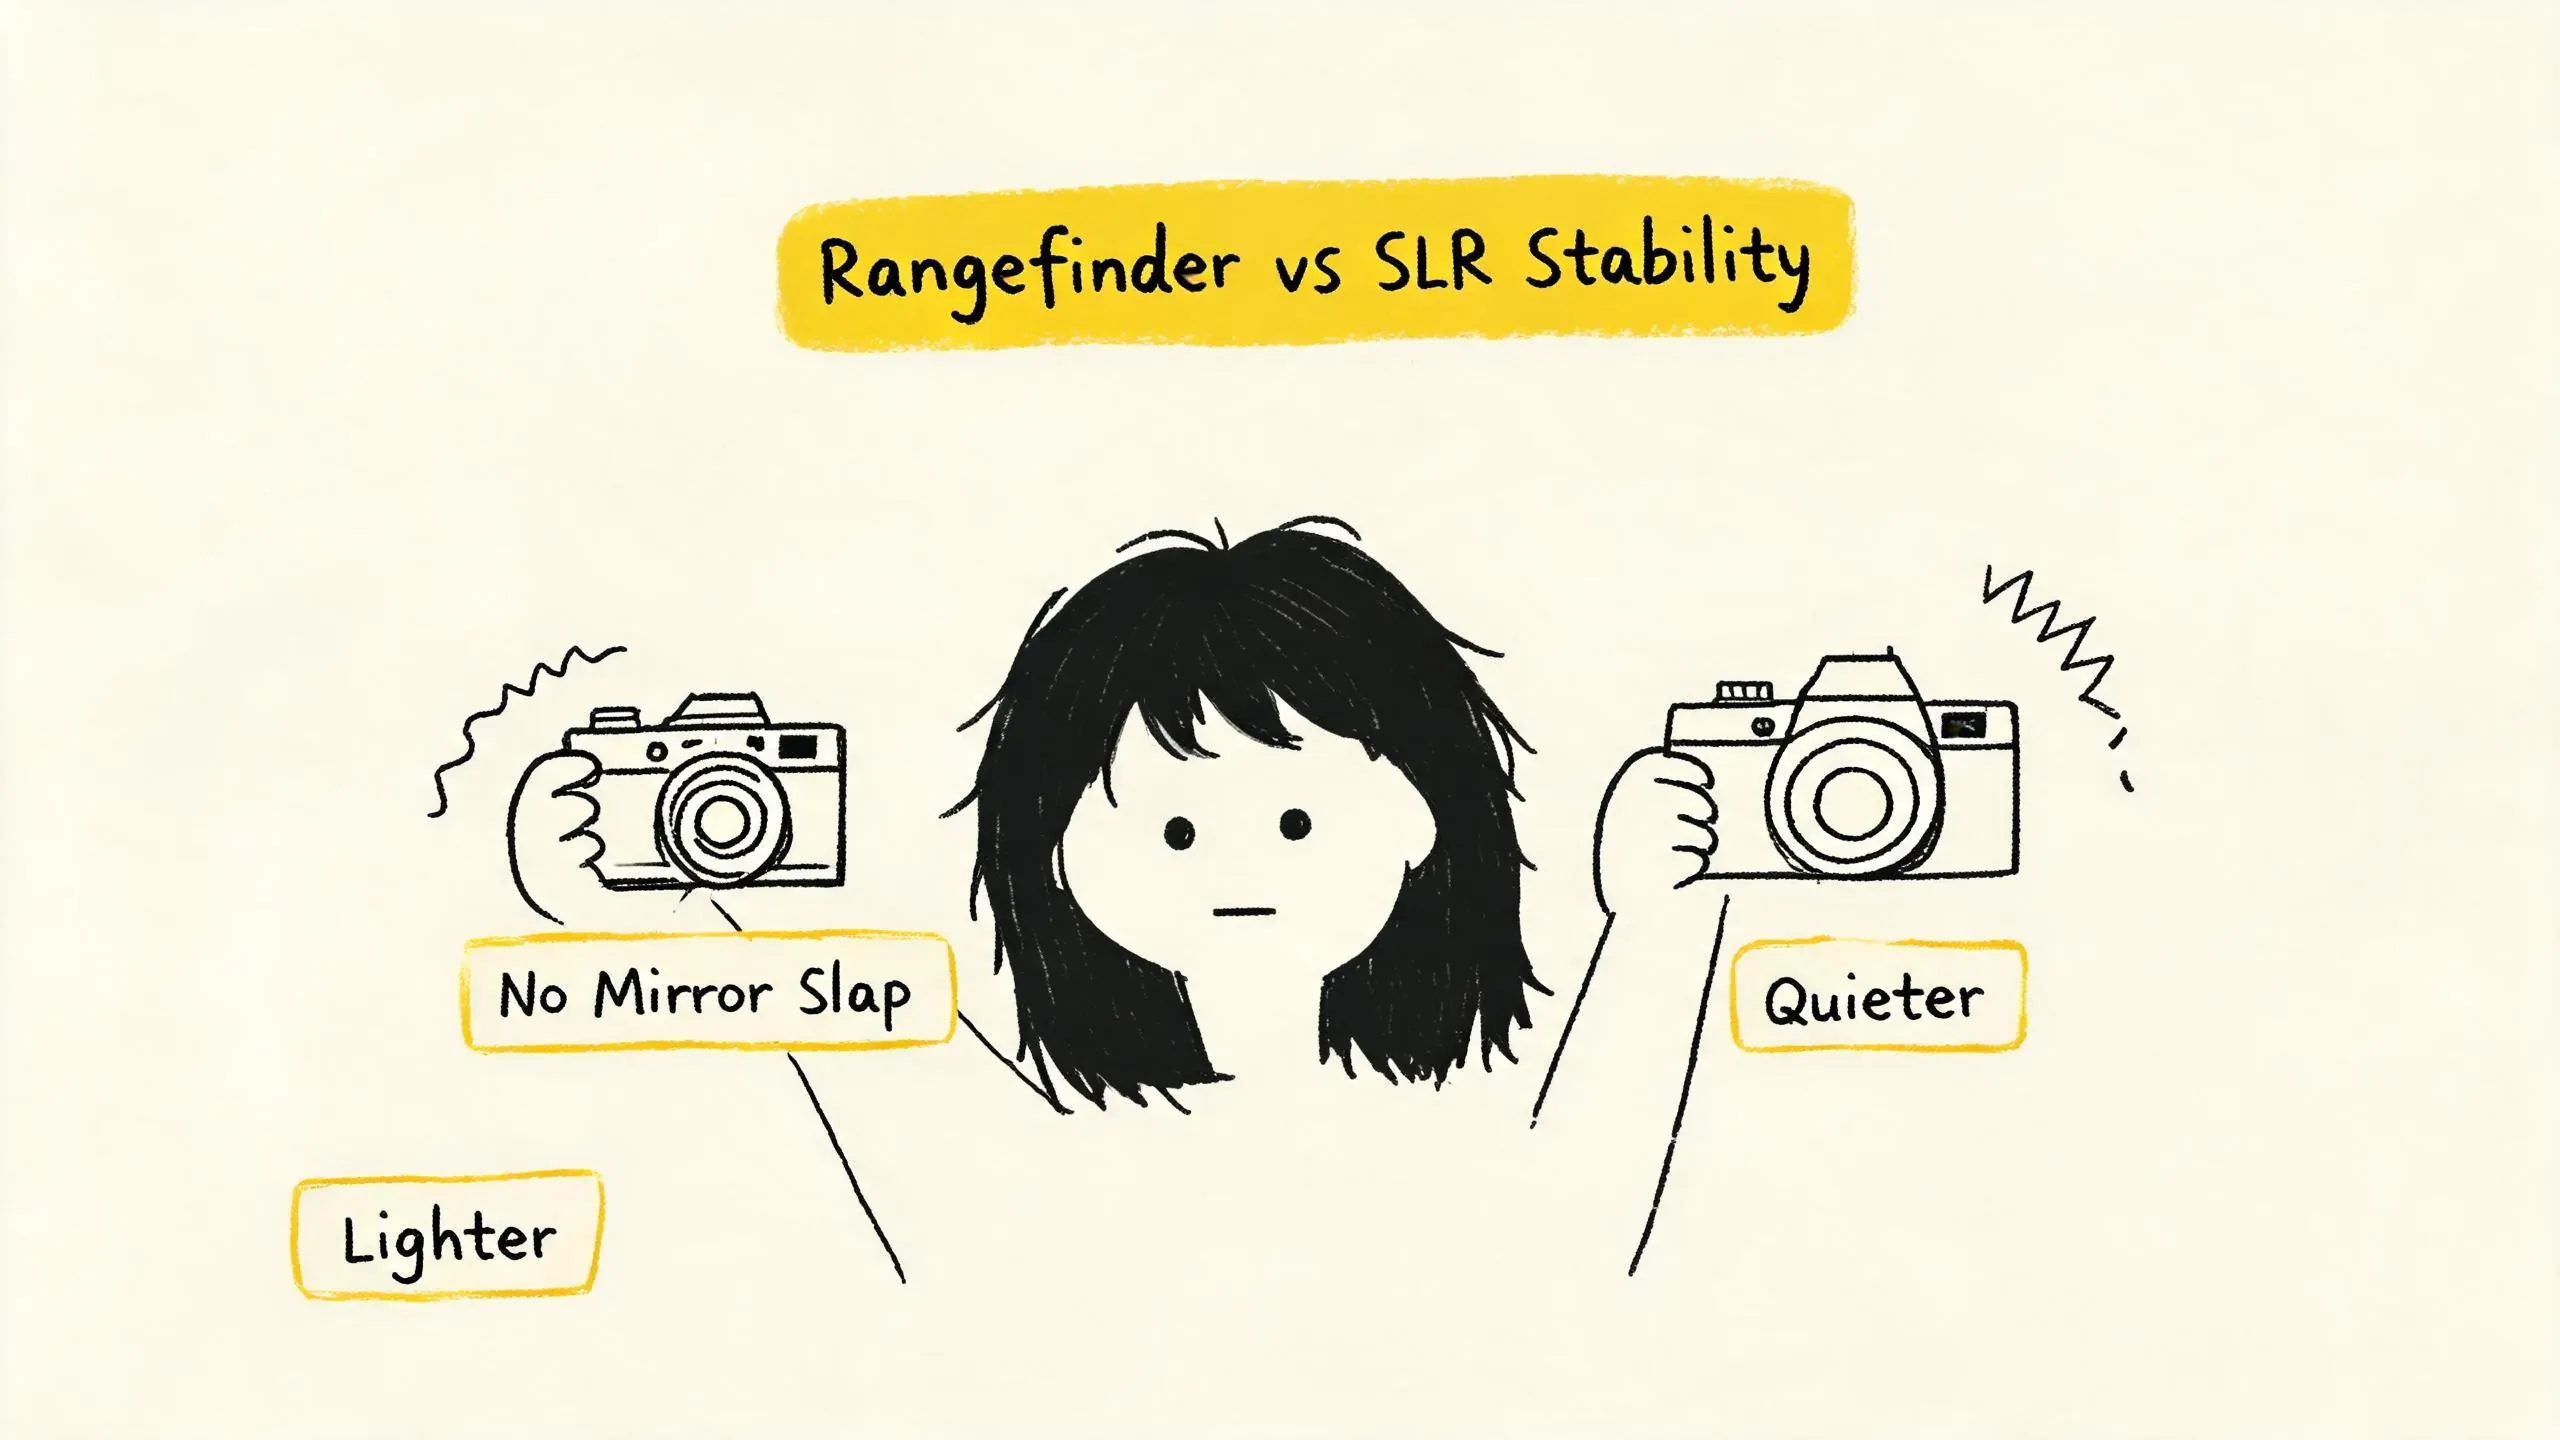
Choosing between a rangefinder camera (like Leica M series, Ricoh GR1s) and an SLR (like Nikon FM2, Canon AE-1)? A key difference lies in shutter vibration. Rangefinders lack the mechanical action of a mirror flipping up and down, theoretically offering a more stable shooting experience at slow shutter speeds, beneficial for pushing handheld limits. Mirror vibration in SLRs is well-controlled in modern models, but when aiming for 1/30s or even slower handheld speeds, the inherent advantage of a rangefinder might become the deciding factor. Additionally, rangefinders are typically lighter, quieter, and more discreet for street night shooting.
Practical Limits of Safe Shutter Speed
This is a dynamic value, depending on your focal length and handheld technique. The rule of thumb is: handheld shutter speed should not be slower than “1/focal length” seconds. For a 50mm lens, that’s 1/50s or 1/60s; for a 35mm lens, you might try 1/35s or 1/40s. Below this speed, the risk of blur increases dramatically. Moving subjects require faster speeds, at least 1/125s or higher, to effectively freeze motion. In practice, start practicing at 1/60s and gradually challenge slower speeds to feel your handheld stability limit.
High-Speed Film Selection Guide: A Practical Comparison of Color and Black & White
Film choice directly determines the color style, grain texture, and post-processing latitude of your night shots. Here’s a practical analysis of mainstream high-speed films.
Color Negative Film Comparison
CineStill 800T: The “Atmosphere King” of Night Shooting
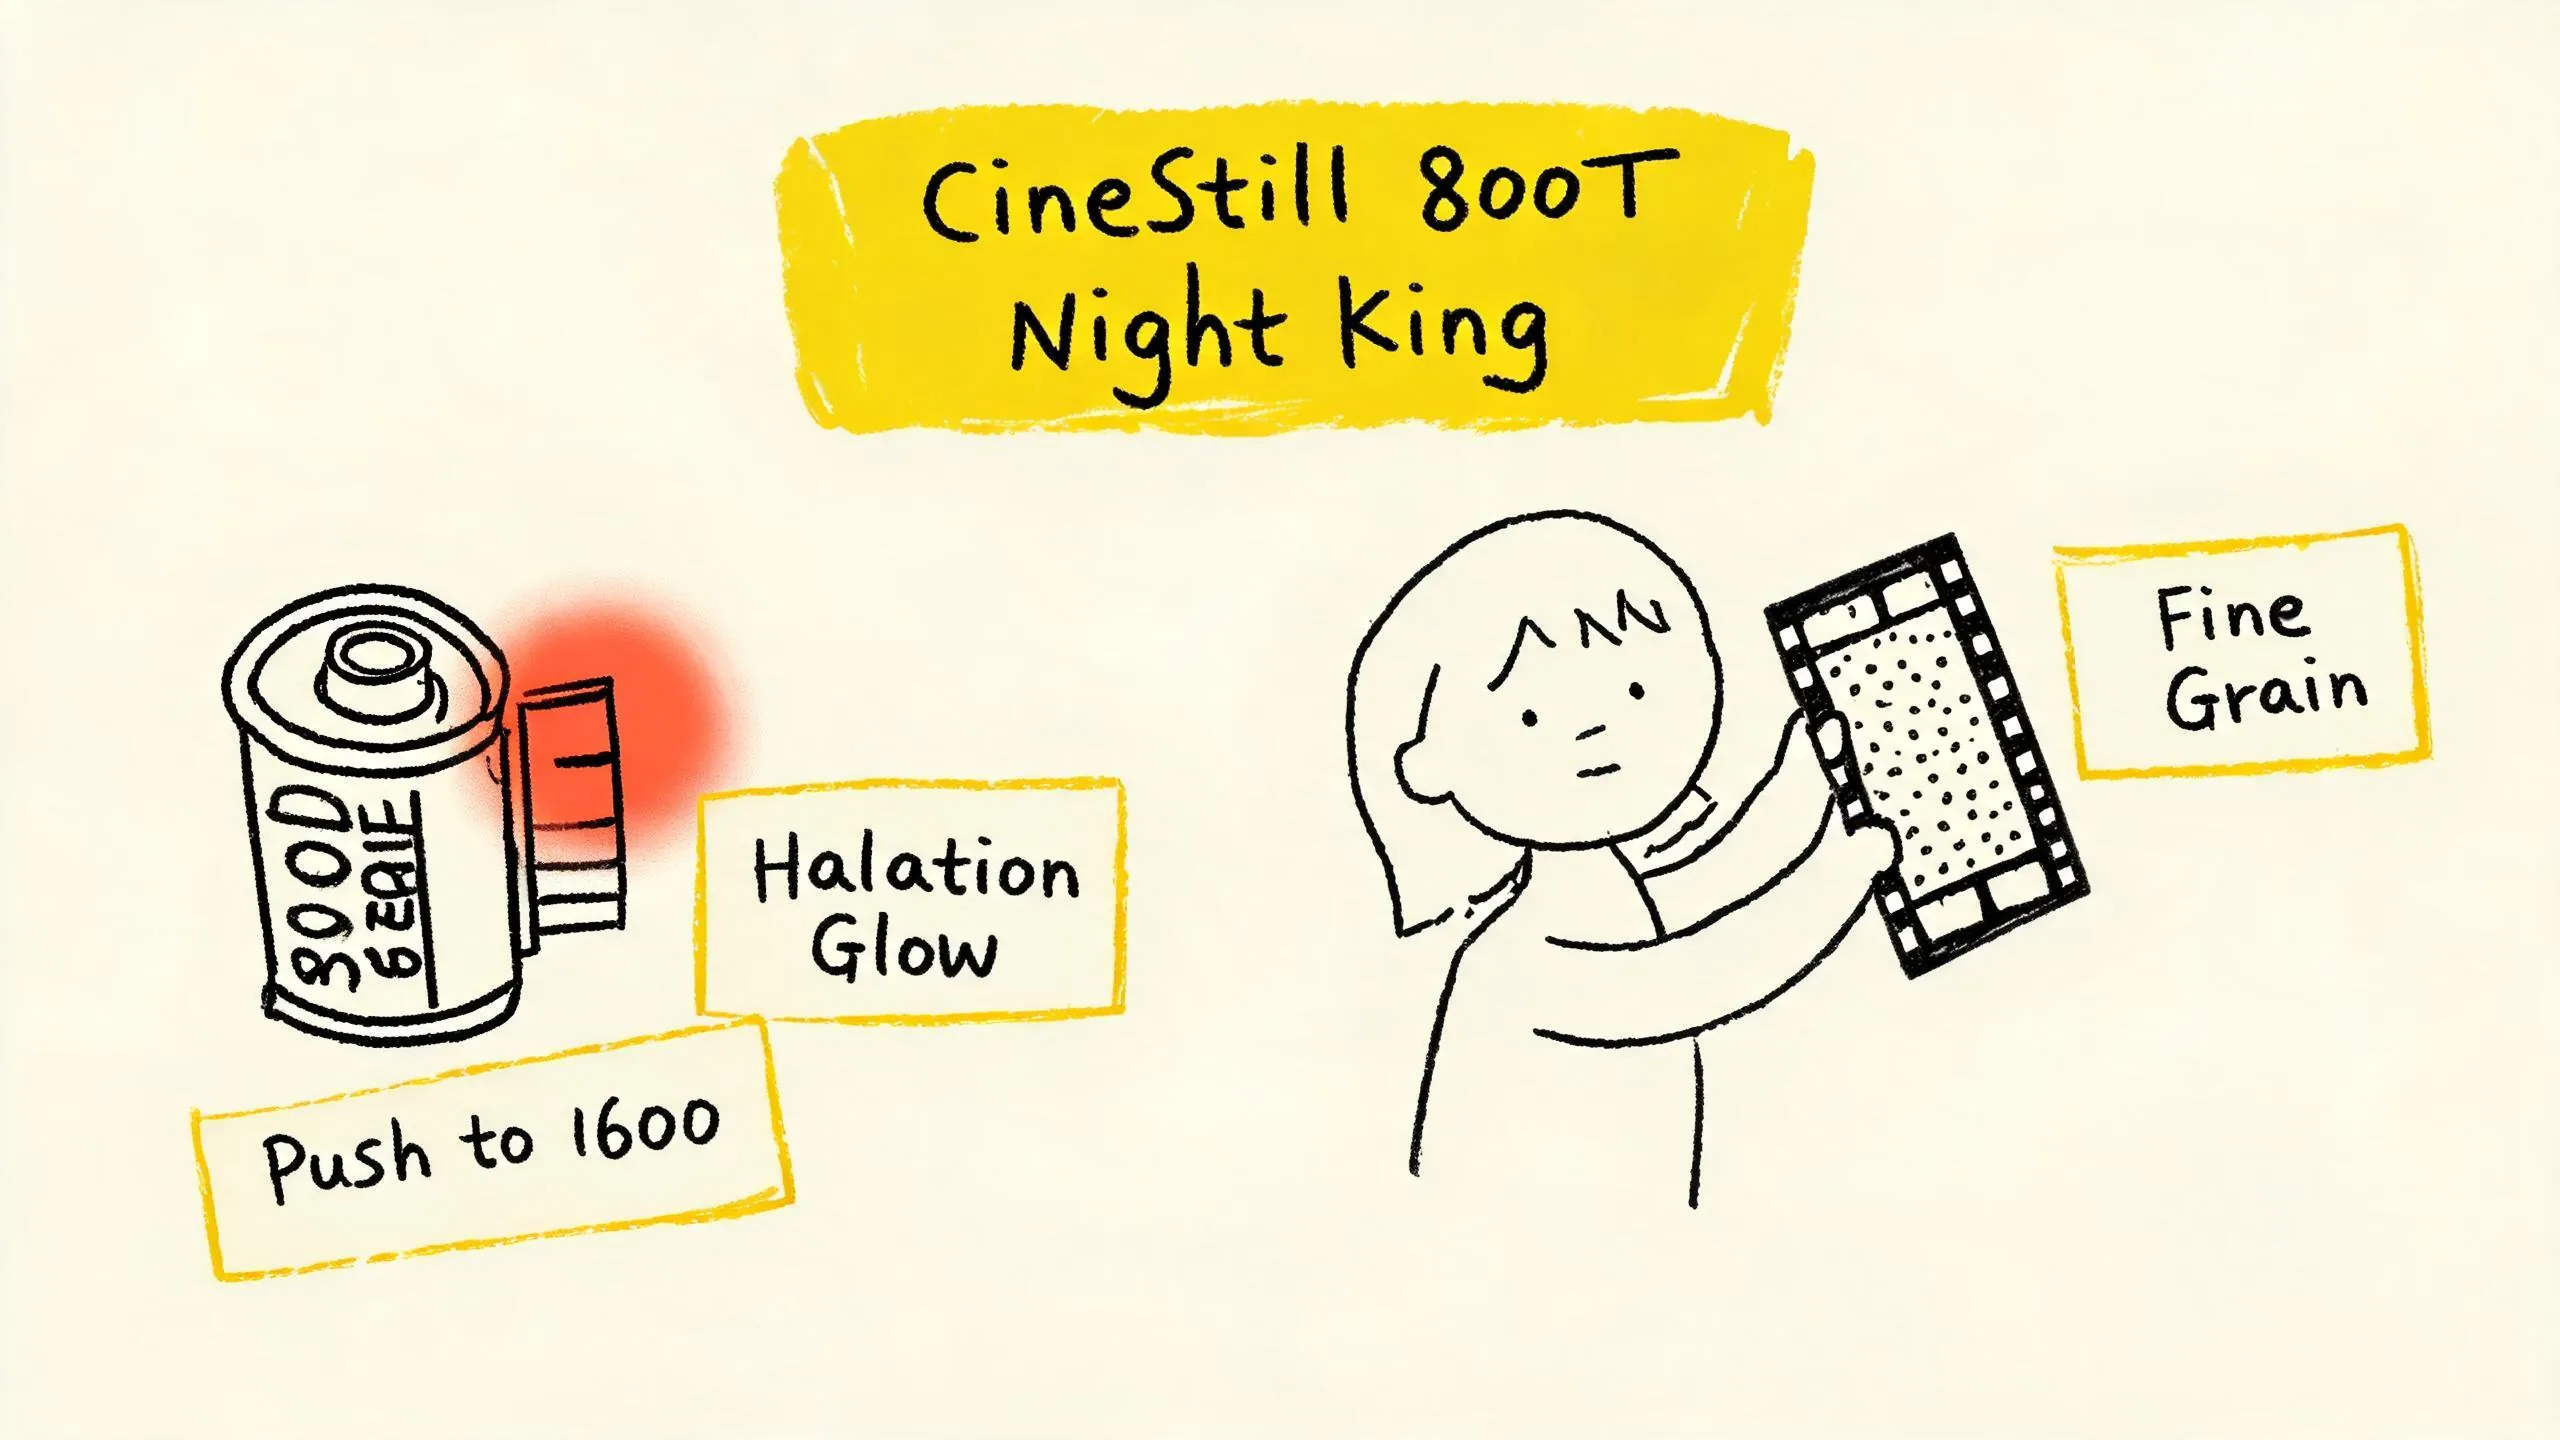
This has been the hottest film in the night shooting community in recent years. It’s based on Kodak Vision3 500T cinema film, with the remjet layer removed by CineStill and repackaged for standard C-41 processing. It’s rated at ISO 800 with a 3200K tungsten white balance.
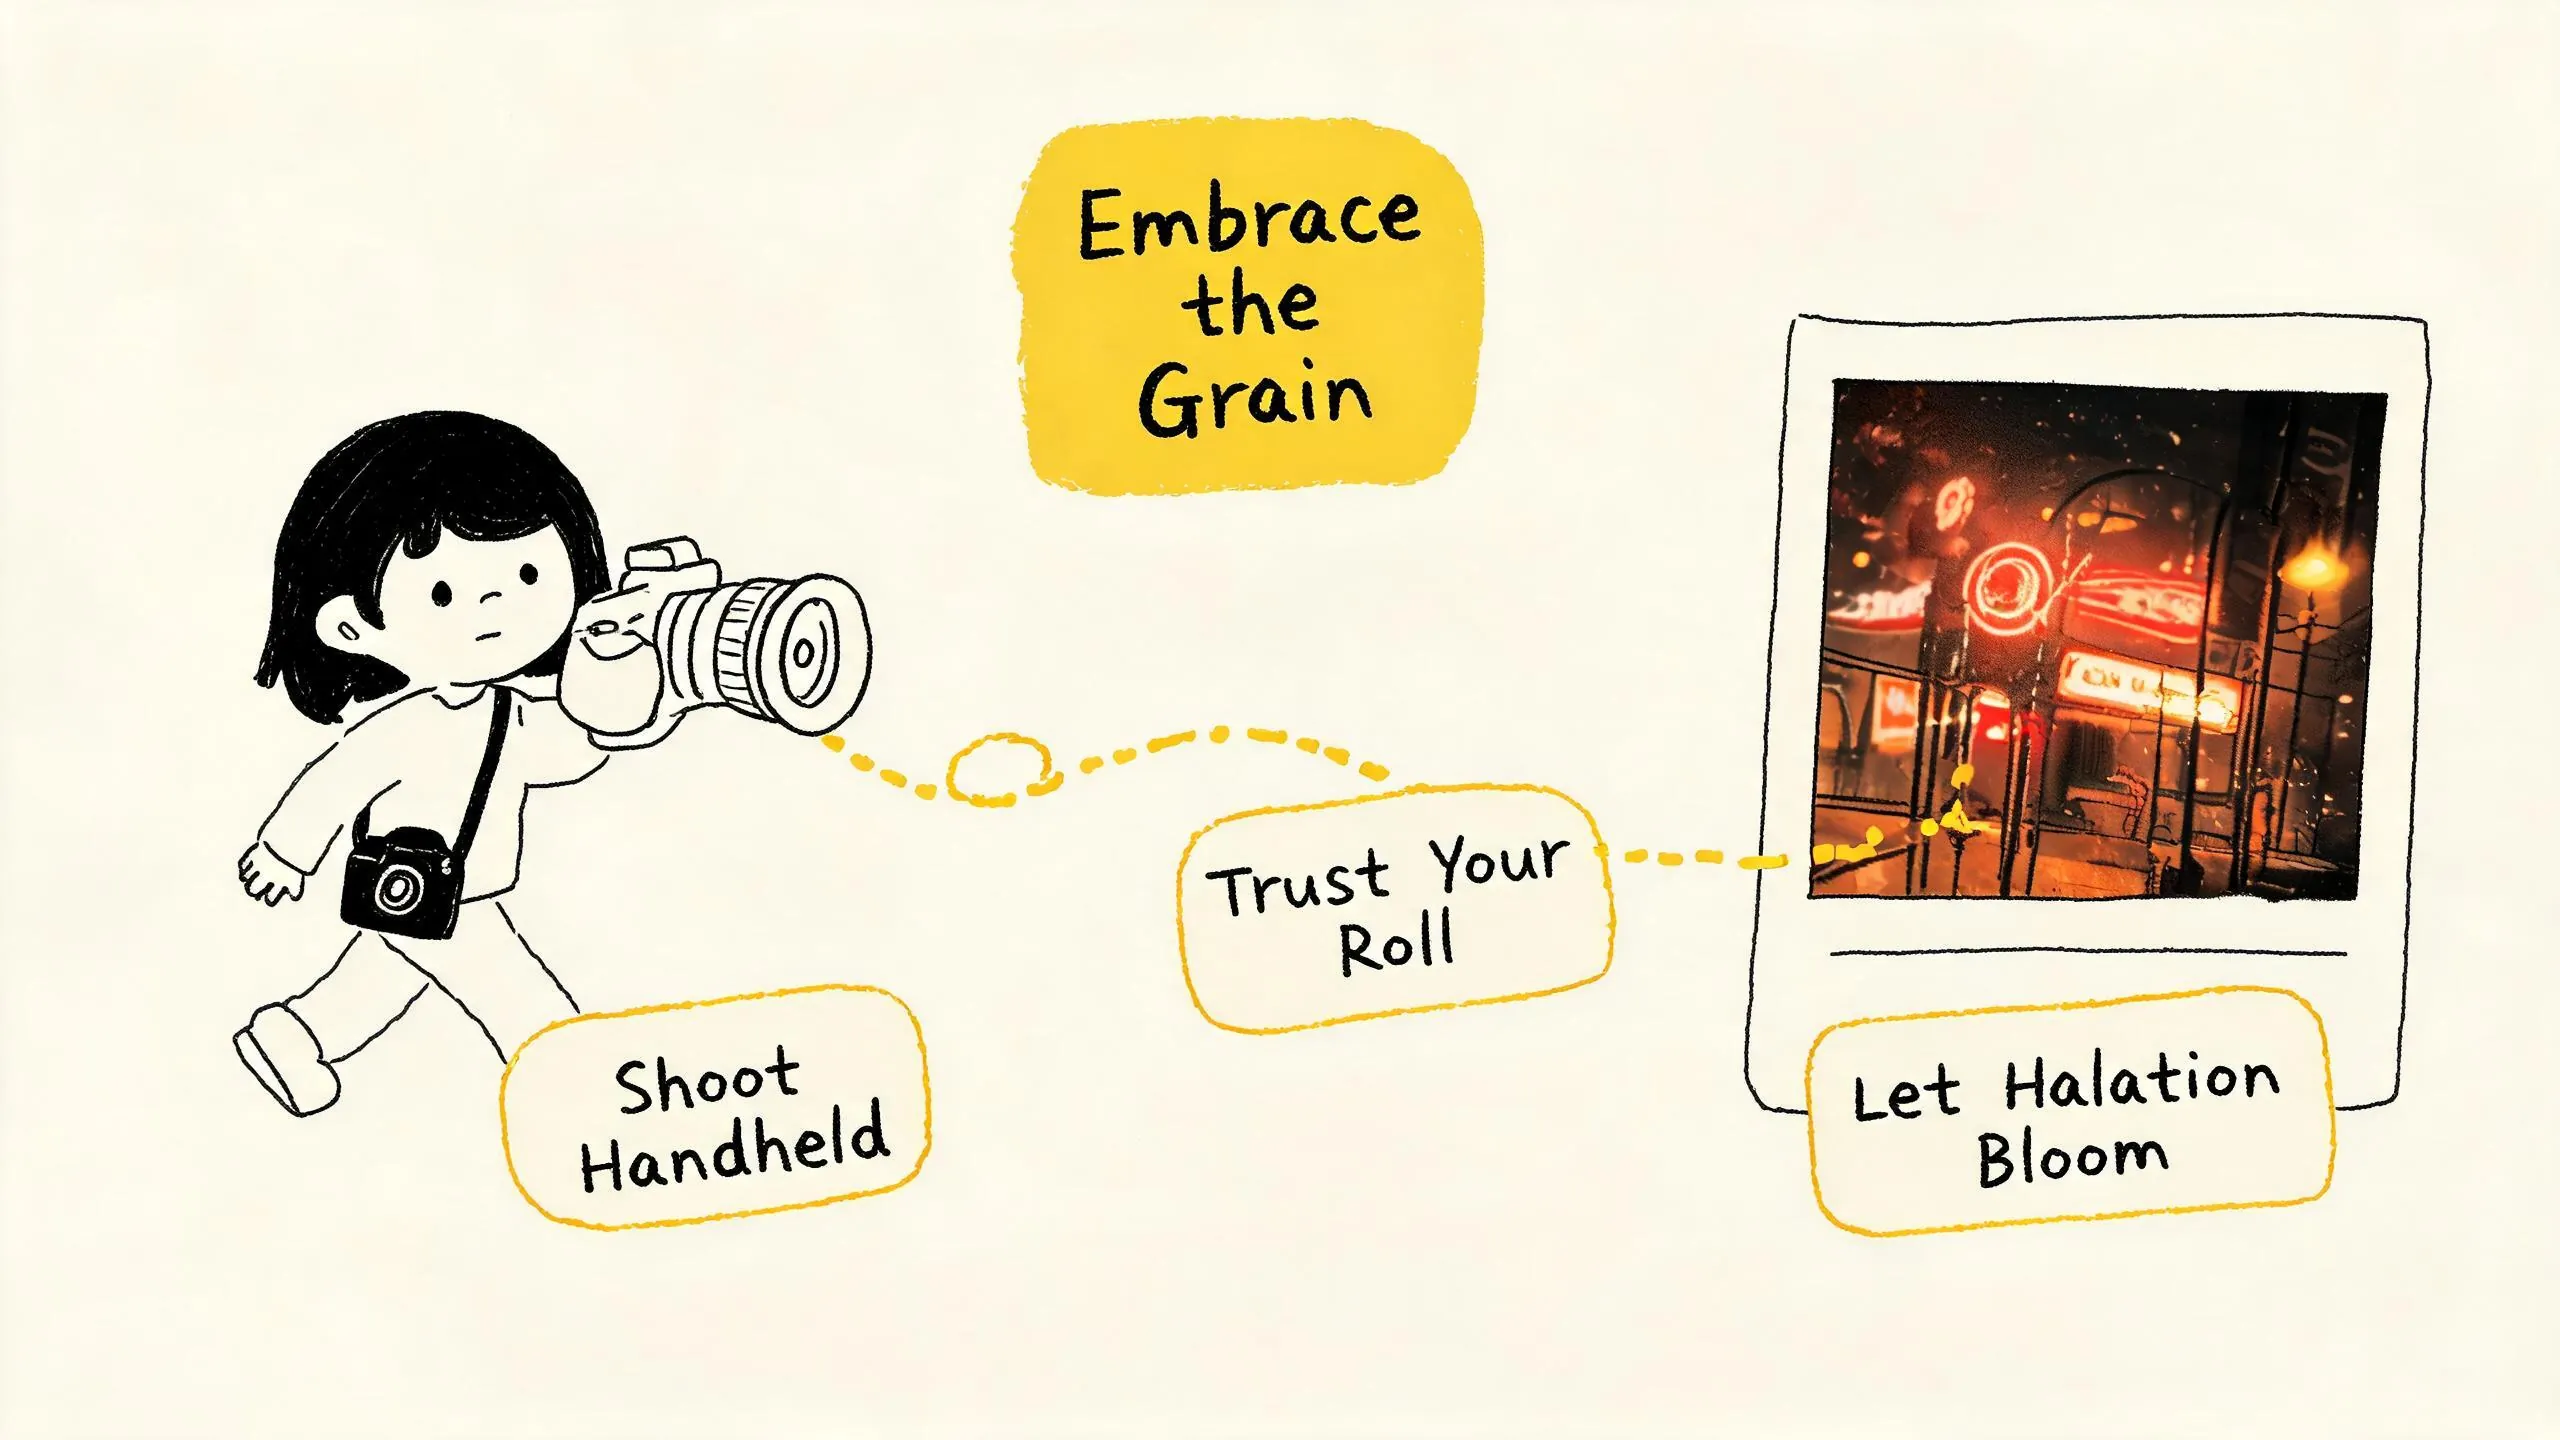
- Signature Halation: Removing the remjet layer causes strong light sources (neon, car lights) to produce a unique red-orange halo. This is 800T’s most defining visual characteristic, which cannot be removed in post and can only be mitigated by composition (avoiding direct strong light) or slight overexposure. This halation adds a dreamy, cinematic feel to night scenes.
- Latitude and Grain: It has a dynamic range of about 10-12 stops with moderate contrast. Overexposure by +2 stops still yields usable quality, but underexposure beyond -1 stop makes shadows dirty and increases grain. Among ISO 800 color negatives, its grain is considered the finest, superior to Portra 800.
- Push Processing Capability: It can be pushed to 1600 (+1 stop) with excellent results, and even to 3200 (+2 stop) where grain is noticeable but still cinematic. Under tungsten or sodium vapor streetlights, color rendition is natural and accurate; in daylight without a filter, it will have a blue cast, which can be used as a creative style.
- Notes: The absence of the remjet layer makes it prone to static (pink lightning-like artifacts in dry climates) and light leaks in the camera back; load and unload in dim light.
Kodak Portra 800: The Understated Narrative Versatile
Portra 800 is renowned for its excellent skin tone reproduction and soft colors. It has a warm tone, moderate contrast, and exceptional latitude, retaining good detail even when underexposed.
- Comparison with 800T: In pure tungsten light, the difference narrows. Portra 800 lacks the halation effect and has a warmer overall tone; 800T maintains a cooler tone in mixed light or moonlight. Portra 800 is better suited for night portraits or environmental portraits requiring natural, warm skin tones.
- Push Processing: It’s generally recommended to use at its native speed (ISO 800), as its push processing flexibility and results are not as good as CineStill 800T. It’s cheaper than 800T, around $12-15 per roll (35mm).
Lomography Color Negative 800: The High-Value Entry-Level Choice
If you’re on a budget, Lomo 800 is a worthwhile consideration, priced at about half of Portra 800 ($6-9 per roll).
- Color and Latitude: Colors are saturated, with higher contrast than Portra 800, giving it more “punch.” Latitude is about 12+ stops; overexposing by 1-2 stops can produce soft pastel effects. It performs surprisingly well under tungsten and mixed light.
- Grain and Quality Control: Grain fineness is comparable to Portra 800. However, be aware of potential quality issues like edge fogging and film curling (especially severe after drying, affecting scanning), and unstable supply. It’s recommended to use at native speed, overexpose by 1-2 stops, and avoid underexposure.
Black & White Negative Film Comparison
Black & white film holds a unique aesthetic position in the high-speed realm, where grain itself becomes a powerful visual language.
Ilford Delta 3200: The Grain Aesthetics of Native High Speed
This is a black & white negative film using T-Grain (tabular grain) technology. Although rated at ISO 3200, its actual native speed is around ISO 1000. Its huge advantage is extremely wide exposure latitude, allowing successful pushing to EI 3200, 6400, or even higher.
- Grain and Contrast: Grain has a pronounced presence, and contrast builds quickly as the ISO setting increases. In low light, this graininess itself becomes part of the image’s mood. One photographer tested Delta 3200 with a Leica M6 and 50mm lens, aiming to use the lens at f/8+ to avoid edge softness, but the grain became the primary visual feature.
Kodak T-MAX P3200 (TMZ): Designed for Push Processing
This is another black & white negative film using T-Grain technology, reintroduced in 2018. Its design philosophy differs from Delta 3200: its rated speed is ISO 800-1000, with DX coding set to 3200, specifically designed as a “multi-speed” film for pushing to EI 1600 to 25000.
- Key Difference from Delta 3200: T-MAX P3200 is “push-designed” with a lower native speed, requiring push processing to achieve high-speed effects; Delta 3200 has a higher native speed, making pushing to 3200+ more natural. Both use tabular grain, but T-MAX P3200’s grain structure might be more distinctive at extreme push levels.
Kodak HP5+ Pushed: The Rugged Charm of Traditional Grain
Ilford HP5+ (ISO 400) is a classic cubic-grain black & white negative. While this search didn’t yield independent authoritative reviews of its push processing, based on widespread community consensus: pushing it to 1600 (+2 stops) is common practice, yielding noticeable but characterful grain; pushing to 3200 (+3 stops) results in rugged grain and high contrast, suitable for creators seeking extreme grain aesthetics. Compared to the T-Grain technology of Delta 3200/T-MAX P3200, HP5+ pushed grain feels more “traditional” and coarser.
Push Processing vs. Native High Speed: The Trade-off
- Native High-Speed Films (e.g., Delta 3200): Designed to work at high ISOs, with grain structure and contrast characteristics optimized around the rated value, making them more “worry-free” to use.
- Push Processing (e.g., pushing HP5+ to 3200): An active creative choice. Increasing development time to boost sensitivity inevitably increases grain, raises contrast, and may lose some shadow detail. It offers greater flexibility (one roll for multiple uses) but requires more precise exposure control and expectation management for the final result.
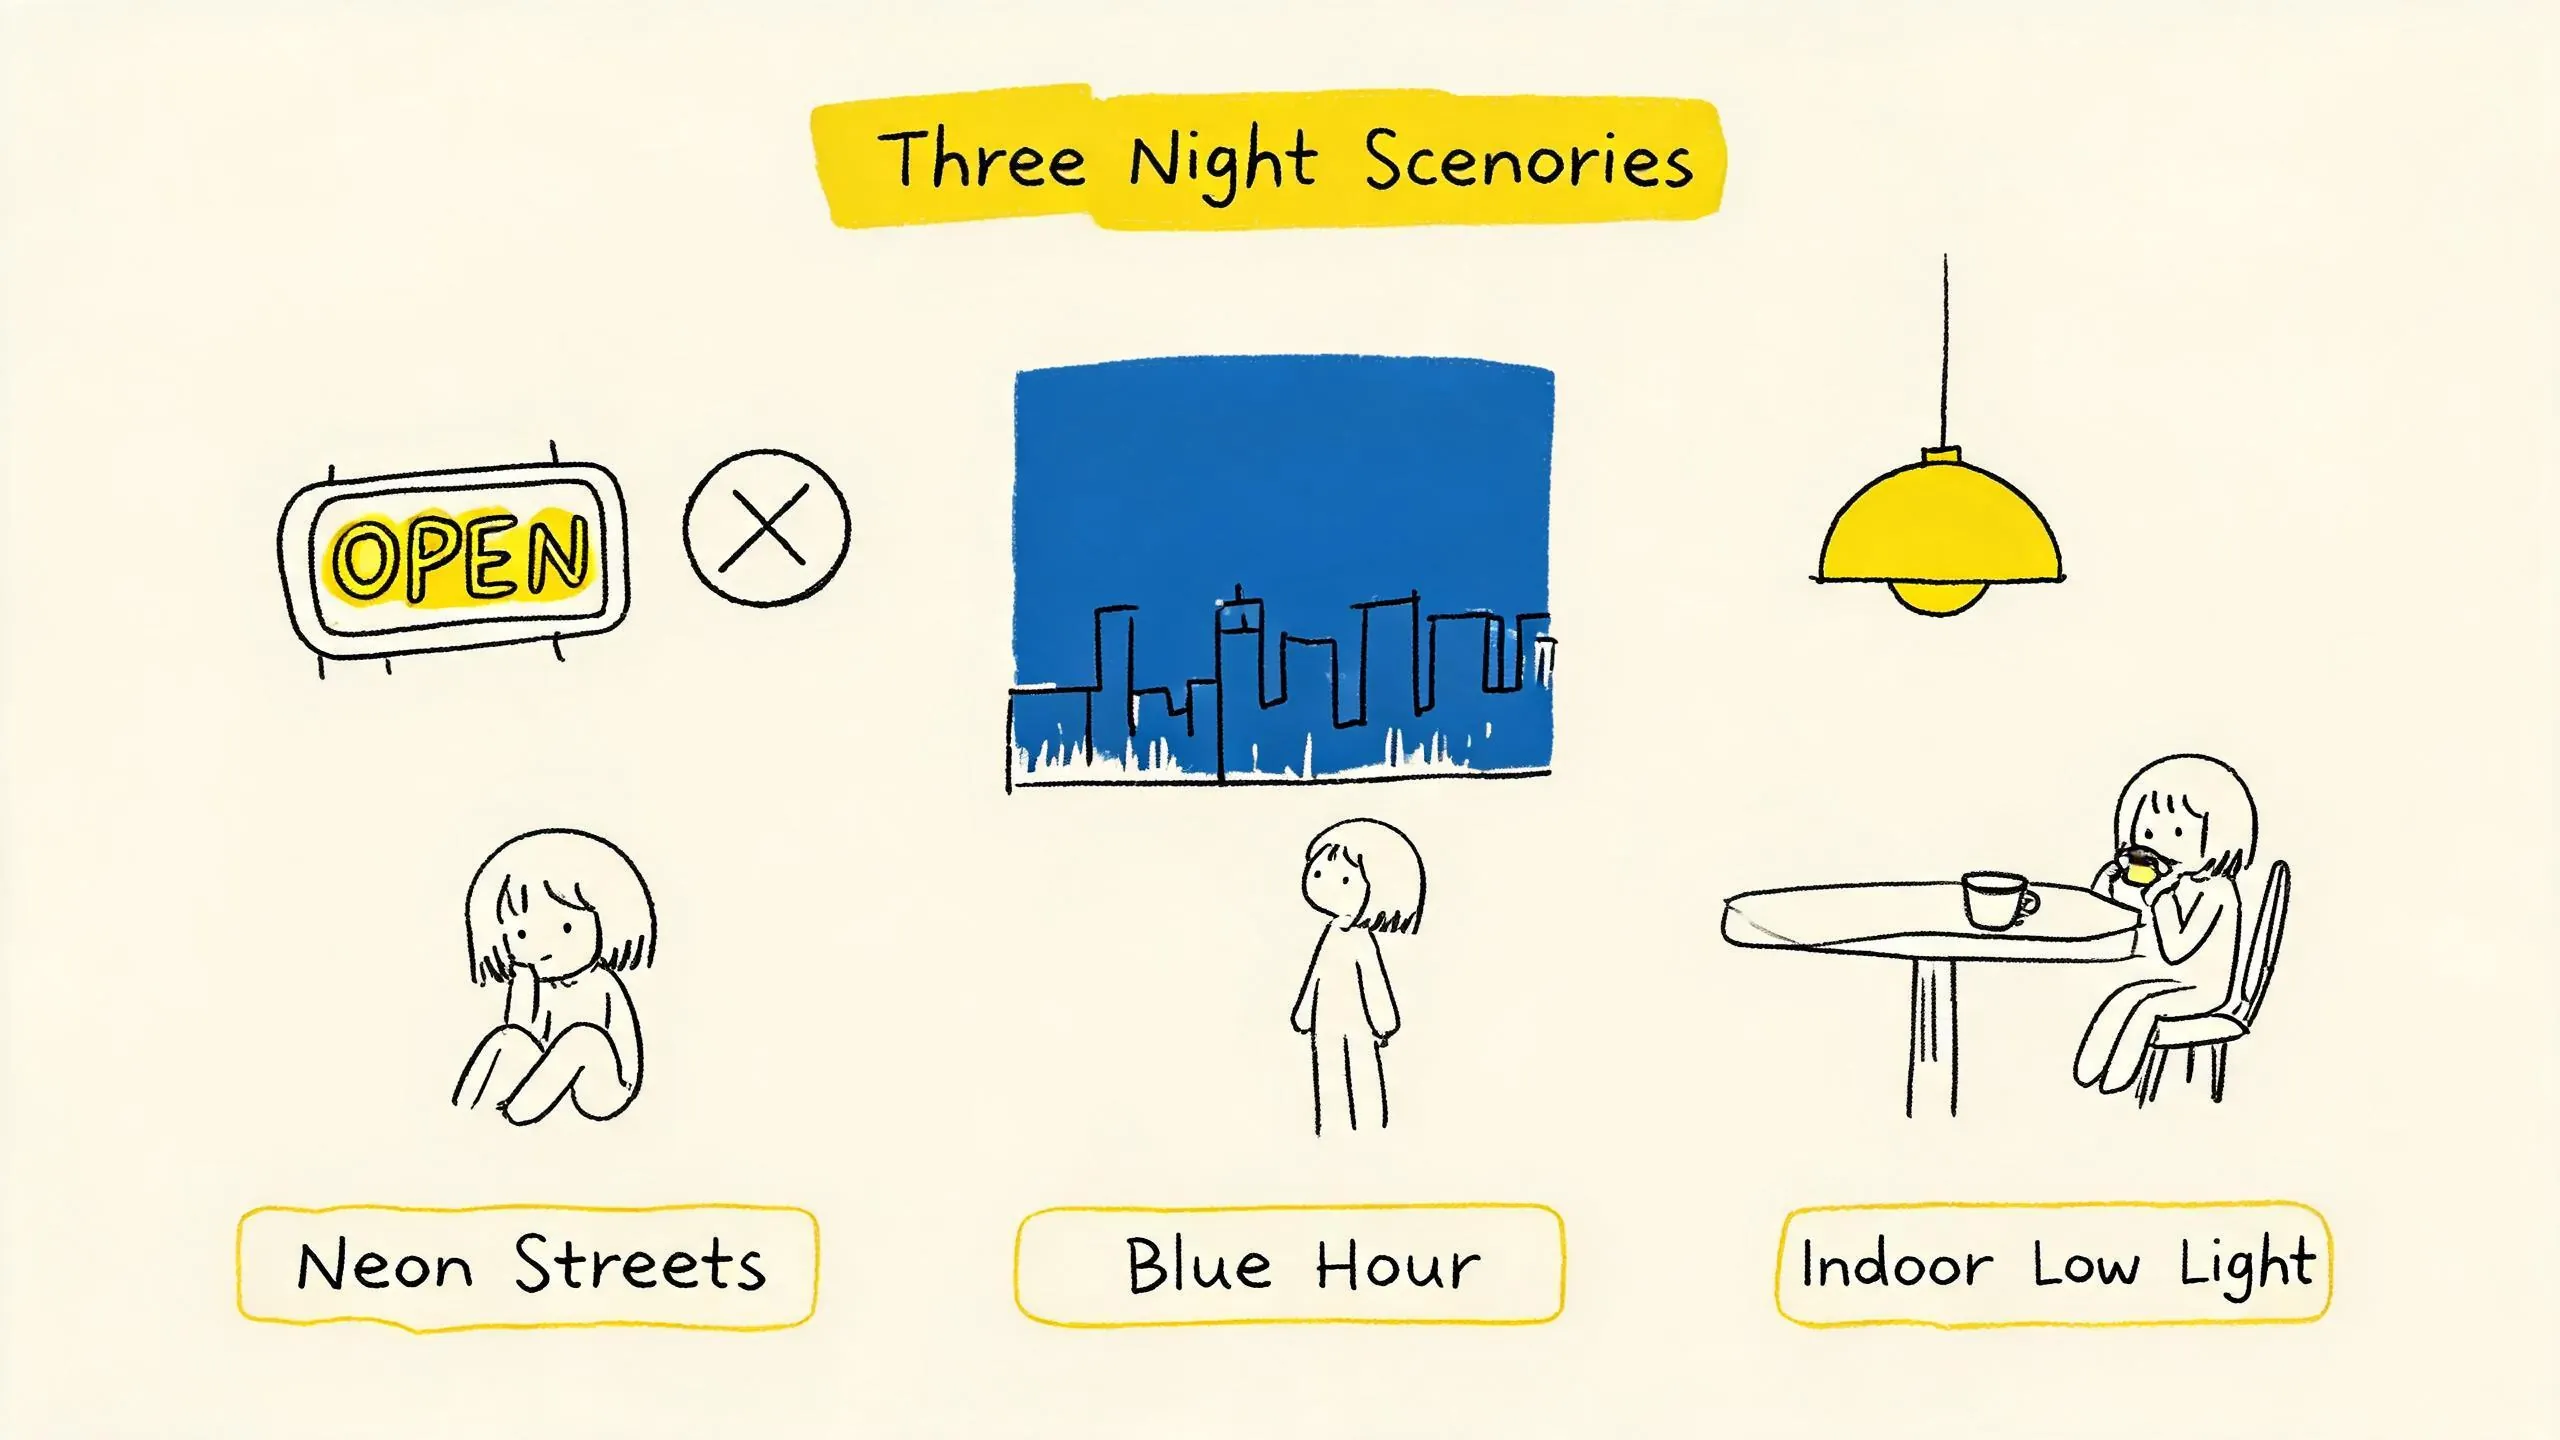
Practical Execution in Three Night Shooting Scenarios: Metering and Strategy
Scenario 1: Streets with Neon and Artificial Light
This is the classic handheld night shooting scenario, with complex light and extreme contrast between highlights and shadows.
- Metering Strategy: Use spot metering or center-weighted average metering, metering for the mid-tones in the frame, such as a lit road, gray wall, or a person’s skin. Never meter directly on neon signs or streetlights, as this will severely underexpose the entire image. The halation from light sources (when using 800T) or highlight clipping is part of the aesthetic.
- Exposure Advice: Utilize film’s latitude by trying overexposure by +1/2 to +1 stop to retain shadow detail while allowing highlight halation to bloom more softly. This effectively prevents crushed blacks and enriches the image’s tonal range.
Scenario 2: The Handheld Window of Blue Hour
After sunset, the sky doesn’t turn black immediately; there’s a brief window of deep blue, typically lasting 20-40 minutes. This is the “golden time” for handheld night shooting.
- Light Conditions: At this time, the sky’s brightness begins to balance with city lights, providing enough ambient light to significantly increase the success rate of handheld shooting. Using ISO 800 + f/1.4-2, you can typically achieve shutter speeds of 1/60s or faster.
- Style Synergy: CineStill 800T’s cool tone and tungsten balance blend perfectly with the blue sky of Blue Hour, creating harmonious and moody cool-toned nightscapes. This is one of the best scenarios for 800T.
Scenario 3: Indoor Low Light (Bars, Restaurants, Cafes)
Indoor environments are usually dimmer, with point light sources (chandeliers, table lamps) and predominantly warm yellow tones.
- Exposure Strategy: Light is weaker, potentially requiring higher sensitivity or larger apertures. Use ISO 800-3200 film with f/1.4-2.8 lenses, controlling shutter speed between 1/60s and 1/125s. Get as close as possible to available light sources (like windows, bar lights) to provide necessary illumination for your subject.
- Focusing Challenge: The shallow depth of field from large apertures is more pronounced in low light, requiring extra attention to focusing accuracy to ensure subject sharpness. 800T’s color rendition under tungsten light is very accurate, faithfully reproducing the warm indoor atmosphere.
General Metering Tips
- Set ISO After Loading: Accurately set the camera’s ISO dial to the film’s rated value and do not change it during shooting.
- Use Tools Wisely: Besides the camera’s built-in meter, use a smartphone metering app as a supplement, especially in extremely complex lighting.
- Bracket Exposures: For important shots, try bracketing ±1 stop around the metered value. Color negative film’s latitude can usually accommodate this.
Scanning and Post-Processing: Preserving Grain, Balancing Tones
The goal of scanning and post-processing high-speed film is not to eliminate grain, but to control and present it.
- Avoid Over-Sharpening and Noise Reduction: During scanning, excessive sharpening can transform the film’s organic grain into digital noise-like artifacts; excessive noise reduction smears the grain texture, making the image look blurry and plastic. Grain is core to high-speed film aesthetics and should be preserved.
- CineStill 800T Scanning Notes: After standard C-41 processing, the base is flat. However, its tungsten balance can interfere with the scanner’s auto white balance; it’s recommended to manually correct white balance during scanning. Its low contrast and fine grain characteristics provide huge latitude for post-processing, allowing significant adjustments to contrast and color without noticeable quality loss. Remember, halation is “burned into” the negative and cannot be removed in post.
- Special Handling for Lomography 800: Due to its thin base and tendency to curl, ensure the film is flat before scanning, possibly using a glass carrier with careful pressure. Scanning often requires manually increasing contrast and saturation to compensate for potential fogging.
- Post-Processing Balance: Whether scanning or digital post-processing (e.g., Lightroom), respect the film’s inherent texture. Adjusting contrast, color balance, and tones should aim to enhance the night shooting’s mood, not “fix” the film image into a digital photo. Let the grain exist, let the halation bloom, let the color shifts tell the story of the night.
Handheld film night hunting is an impromptu dance with light, time, and equipment characteristics. It demands a deeper understanding of your tools—from the film’s chemical properties to the lens’s optical limits, and the camera’s mechanical response. When you abandon the tripod and entrust everything to your hands and momentary judgment, what you gain isn’t just a photograph, but a direct dialogue with the essence of photography. Load a high-speed film, mount your fast prime lens, and walk into the night streets to capture those imperfect yet moving moments that only film can interpret.
References
- CineStill 800T Review: The Tungsten Night Film with Iconic Red Halation
- CineStill 800T Film Review
- Portra 800 vs. Cinestill 800T: the two best high speed color films!
- Portra 800 vs. CineStill 800T – Optik Oldschool
- Cinestill 800T review: neon lights, night shots, and low-light results — Bad Photography
- Ilford Delta 3200 Review: Testing It Beyond Low Light — Bad Photography
- Cinestill 800T Review: The Ultimate Film for Cinematic Night Photography — Kelsey Smith | Film Photographer | Georgia & the Southeast
- Lomography Color Negative 800 Review: Affordable High-Speed Film
- How to Take Film Photos at Night | PhotoLounge
- Ilford Delta - Wikipedia
- Kodak T-MAX - Wikipedia
- 底片日記(10)CineStill Film 800T 底片界這幾年興起一股夜拍風潮,尤其是夜拍加油站,靠的是高感光度的除碳電影底片,藉以獲得冷色調和魔幻光暈效果。深耕除碳電影底片的 CineStill Film,幾乎是除碳片的代名詞,自稱第二沒人敢說第一。 📷Ricoh GR1s 🎞️CineStill Film 800T CineStill Film 是帶起除碳電影底片風潮的指標品牌,靠著成熟穩定的除碳工藝,讓消費者不需要特地尋找 ECN-2 電影底片沖洗流程的店家,以最常見的 C41 沖洗流程即可。也因為電影底片防光暈是設計在石墨層中,去掉石墨層的除碳片拍攝高光會出現橘紅色光暈,這番魔法攻擊讓許多玩家紛紛淪陷。 另一方面,在富士 Natura 1600 和 Superia Venus 800 相繼停產後,擔起高感度彩色負片任務就剩 KODAK Portra 800 和 Lomography Color Negative 800。近年來出現 CineStill 800T 和其他高感度除碳電影底片後,讓底片迷又有更多的選擇。 (留言續) 底片