Capturing Family Pets on Film: Documenting Your Furry Companion's Daily Life and Emotions
In an era dominated by the immediacy and convenience of digital photography, choosing to document family pets on film might seem "retro" or even "inefficient."
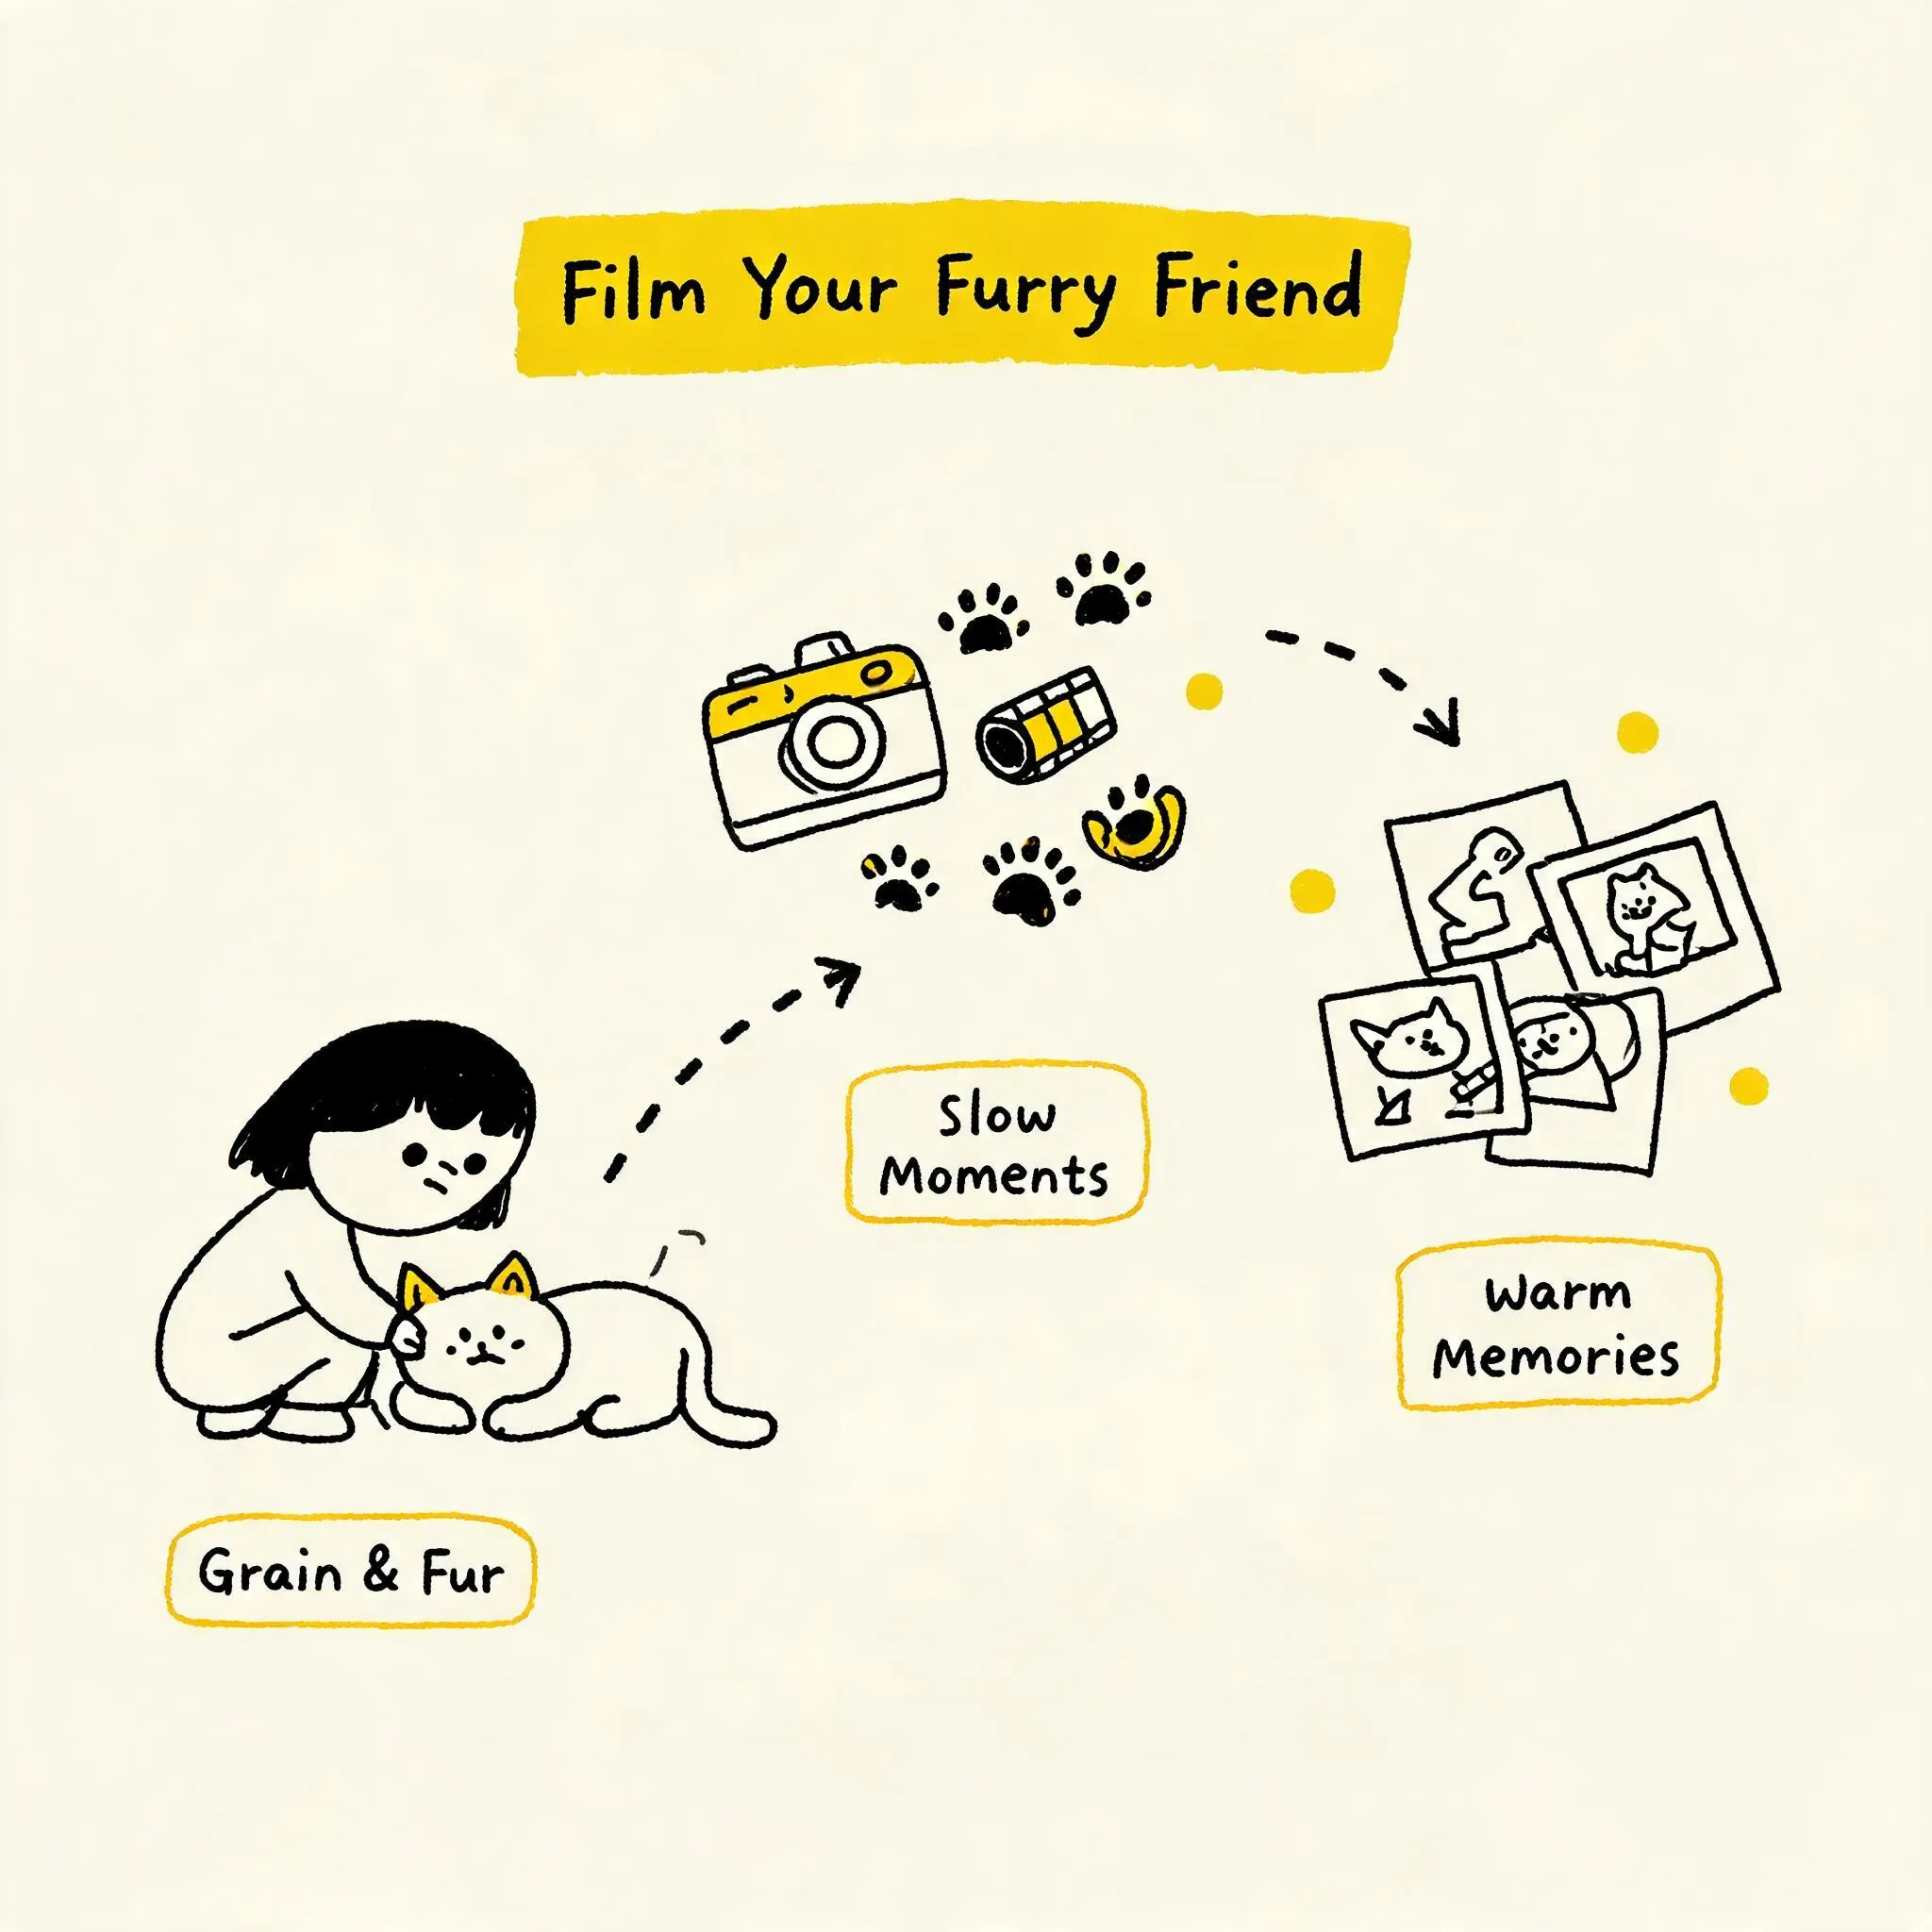
Why Use Film to Document Pets: The Chemical Reaction Between Film Grain and Pet Fur
In an era dominated by the immediacy and convenience of digital photography, choosing to document family pets on film might seem “retro” or even “inefficient.” However, for film enthusiasts, this is precisely what makes film photography so captivating—it forces us to slow down, observe intently, and ultimately reap a reward filled with warmth and unpredictable surprises. This “slowness” and “unpredictability,” when capturing our lively, hard-to-control furry companions, can spark a unique magic.
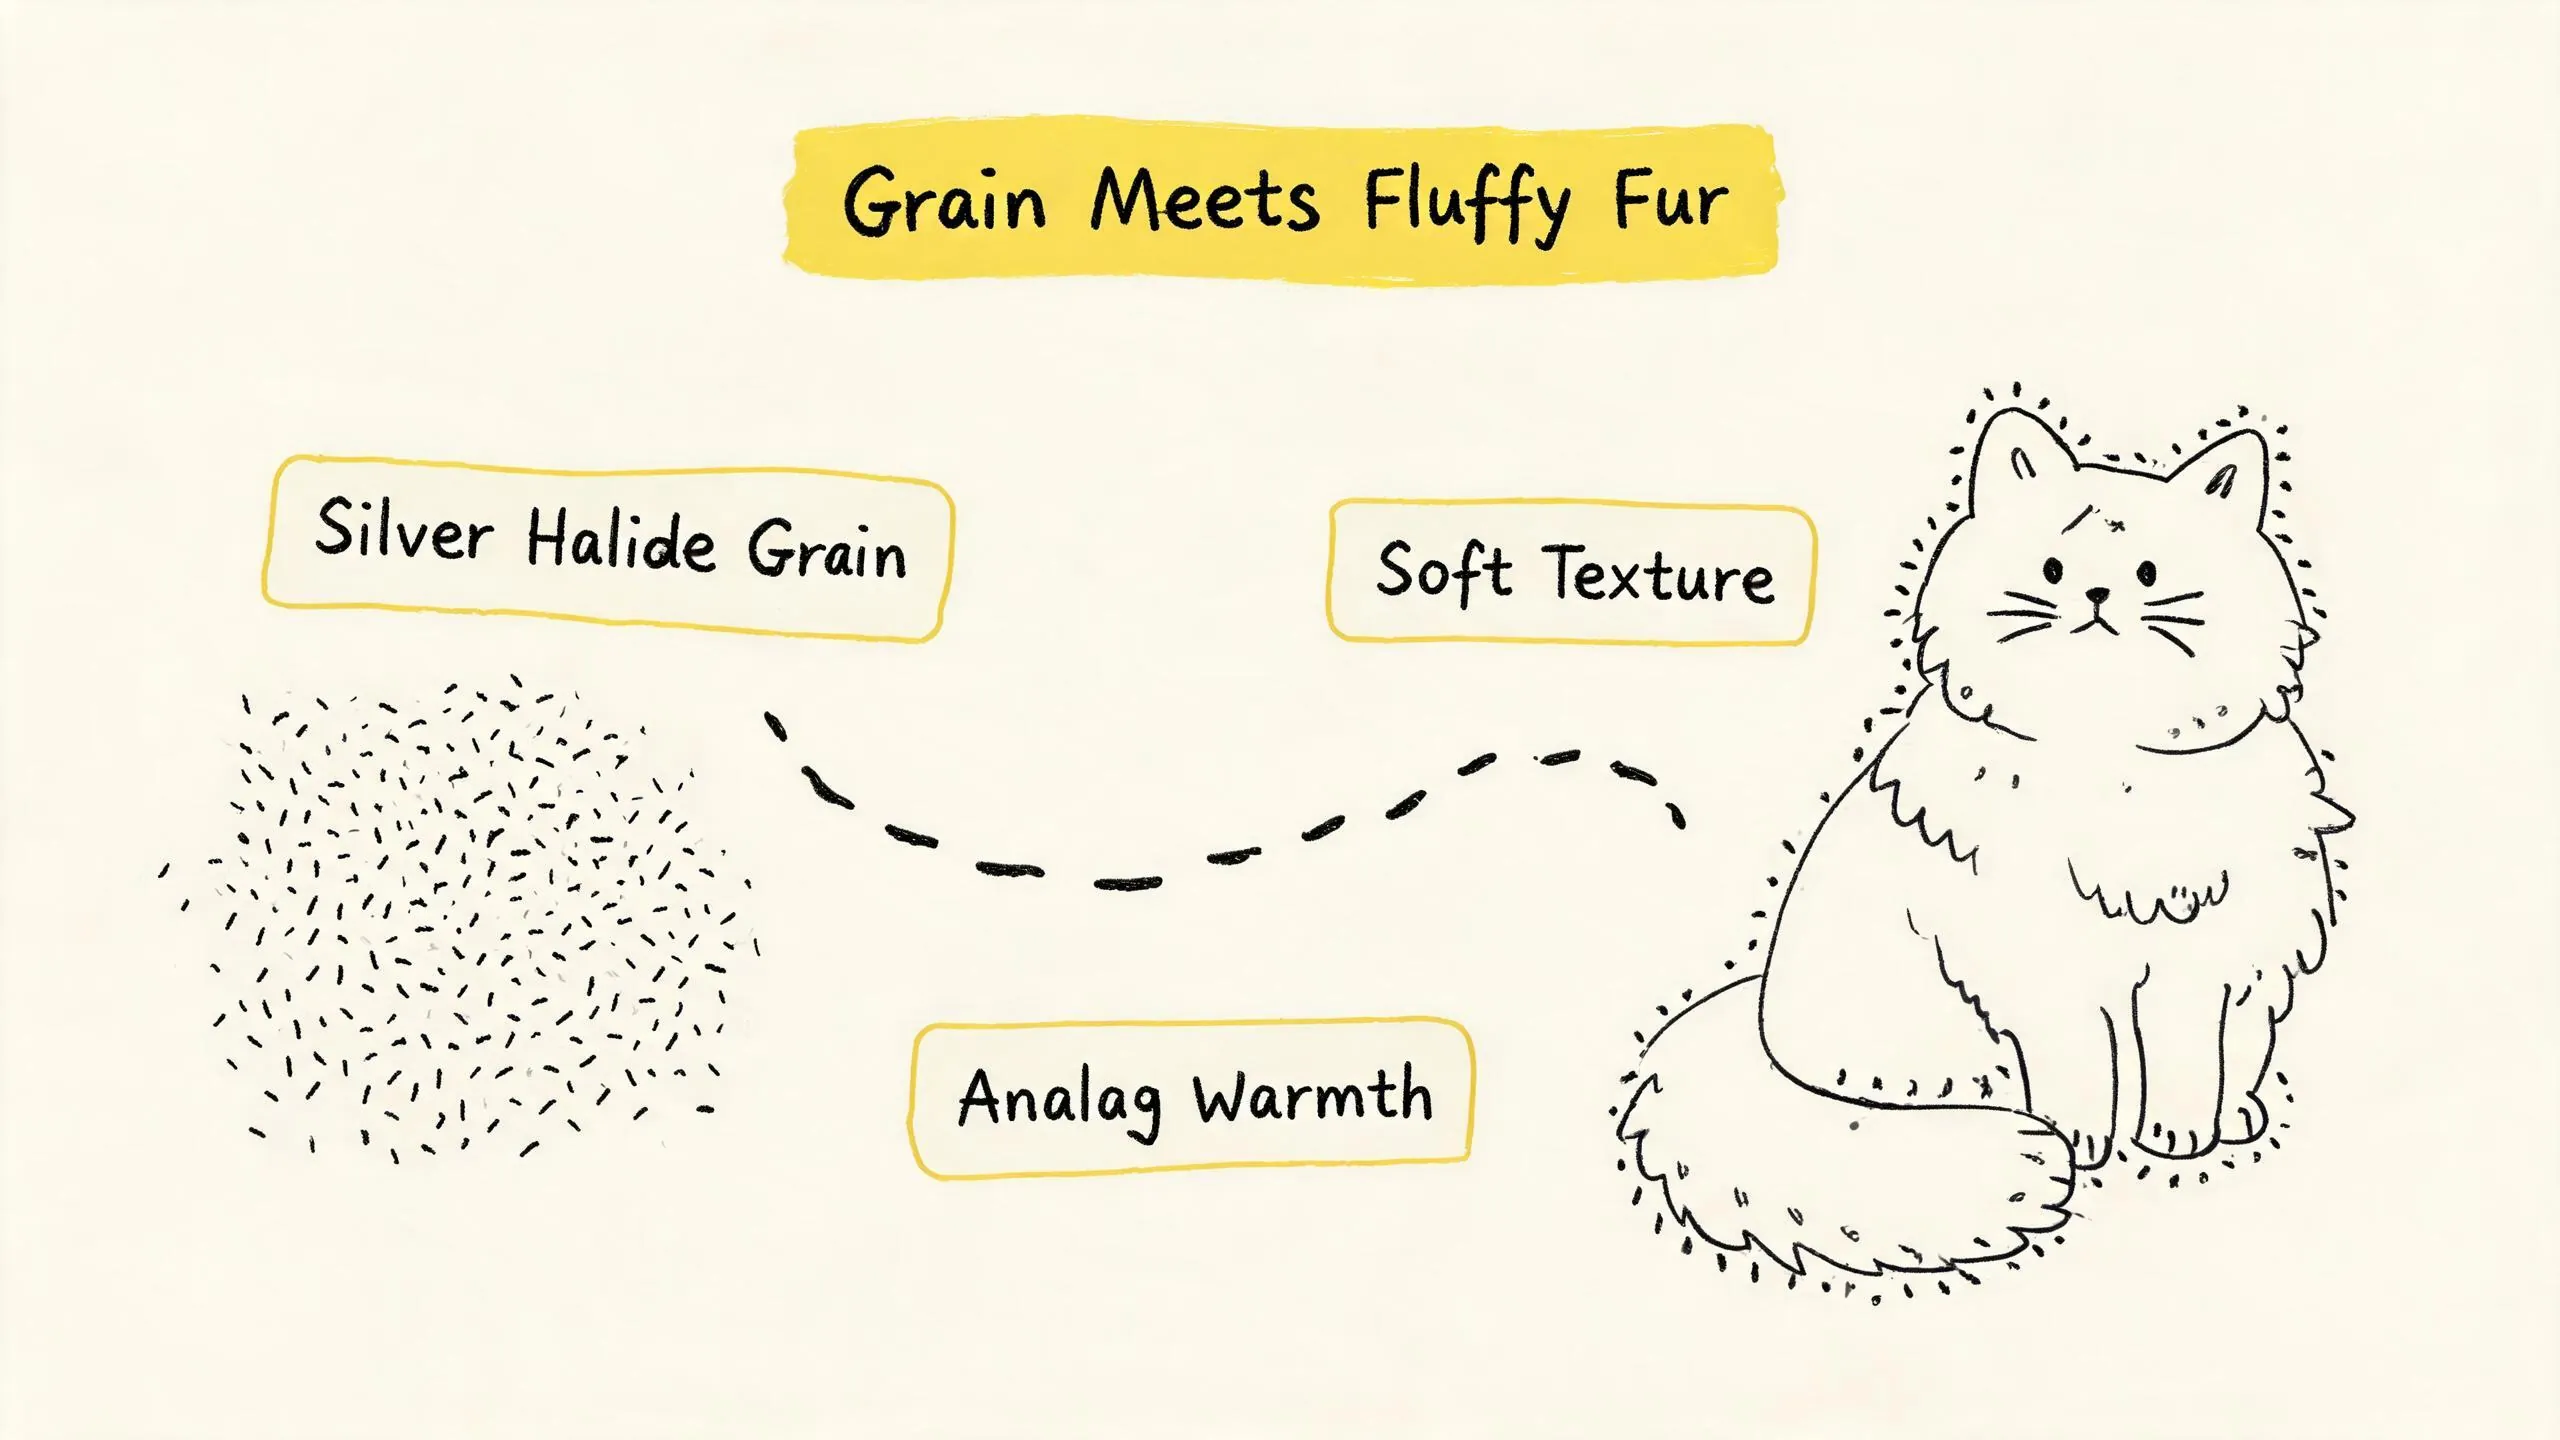
One of the core aesthetic characteristics of film photography is its iconic grain. This physical structure formed by silver halide crystals during development is not merely visual “noise”; it’s a carrier of emotion and historical weight . In the age of digital perfectionism, this “imperfection” of film actually enhances the emotional impact of the image. When we point our lens at a pet’s fluffy fur, a fascinating “chemical reaction” occurs between the grain and the texture of the fur. Unlike digital pixels that attempt to replicate every hair with microscopic precision, grain renders the softness, fluffiness, and vitality of the fur in a more abstract, tactile way. This rendering evokes a nostalgic, authentic, and slightly abstract atmosphere, adding a warmth and narrative quality to pet portraits that digital struggles to replicate . A photo of a cat backlit, with its fur edges softly outlined by grain, often conveys emotion more directly and profoundly than a super-high-resolution digital image.
More importantly, the “ritual” of film photography—the long wait from loading the roll, shooting, developing, to scanning—infuses the image with value. Every press of the shutter requires deliberation, and every unboxing after development feels like a small adventure. This process makes every moment spent with our pets feel exceptionally precious, and the final photos carry the emotional weight of anticipation and waiting. As some film enthusiasts on Reddit have shared, although film costs are higher, the surprise and emotional value after each development far outweigh the instant gratification of digital . For documenting the important companions in our lives—our pets—this emotional value is undoubtedly immense.
Film Stock Selection: High-Speed Films and Shooting Pets in Low Light
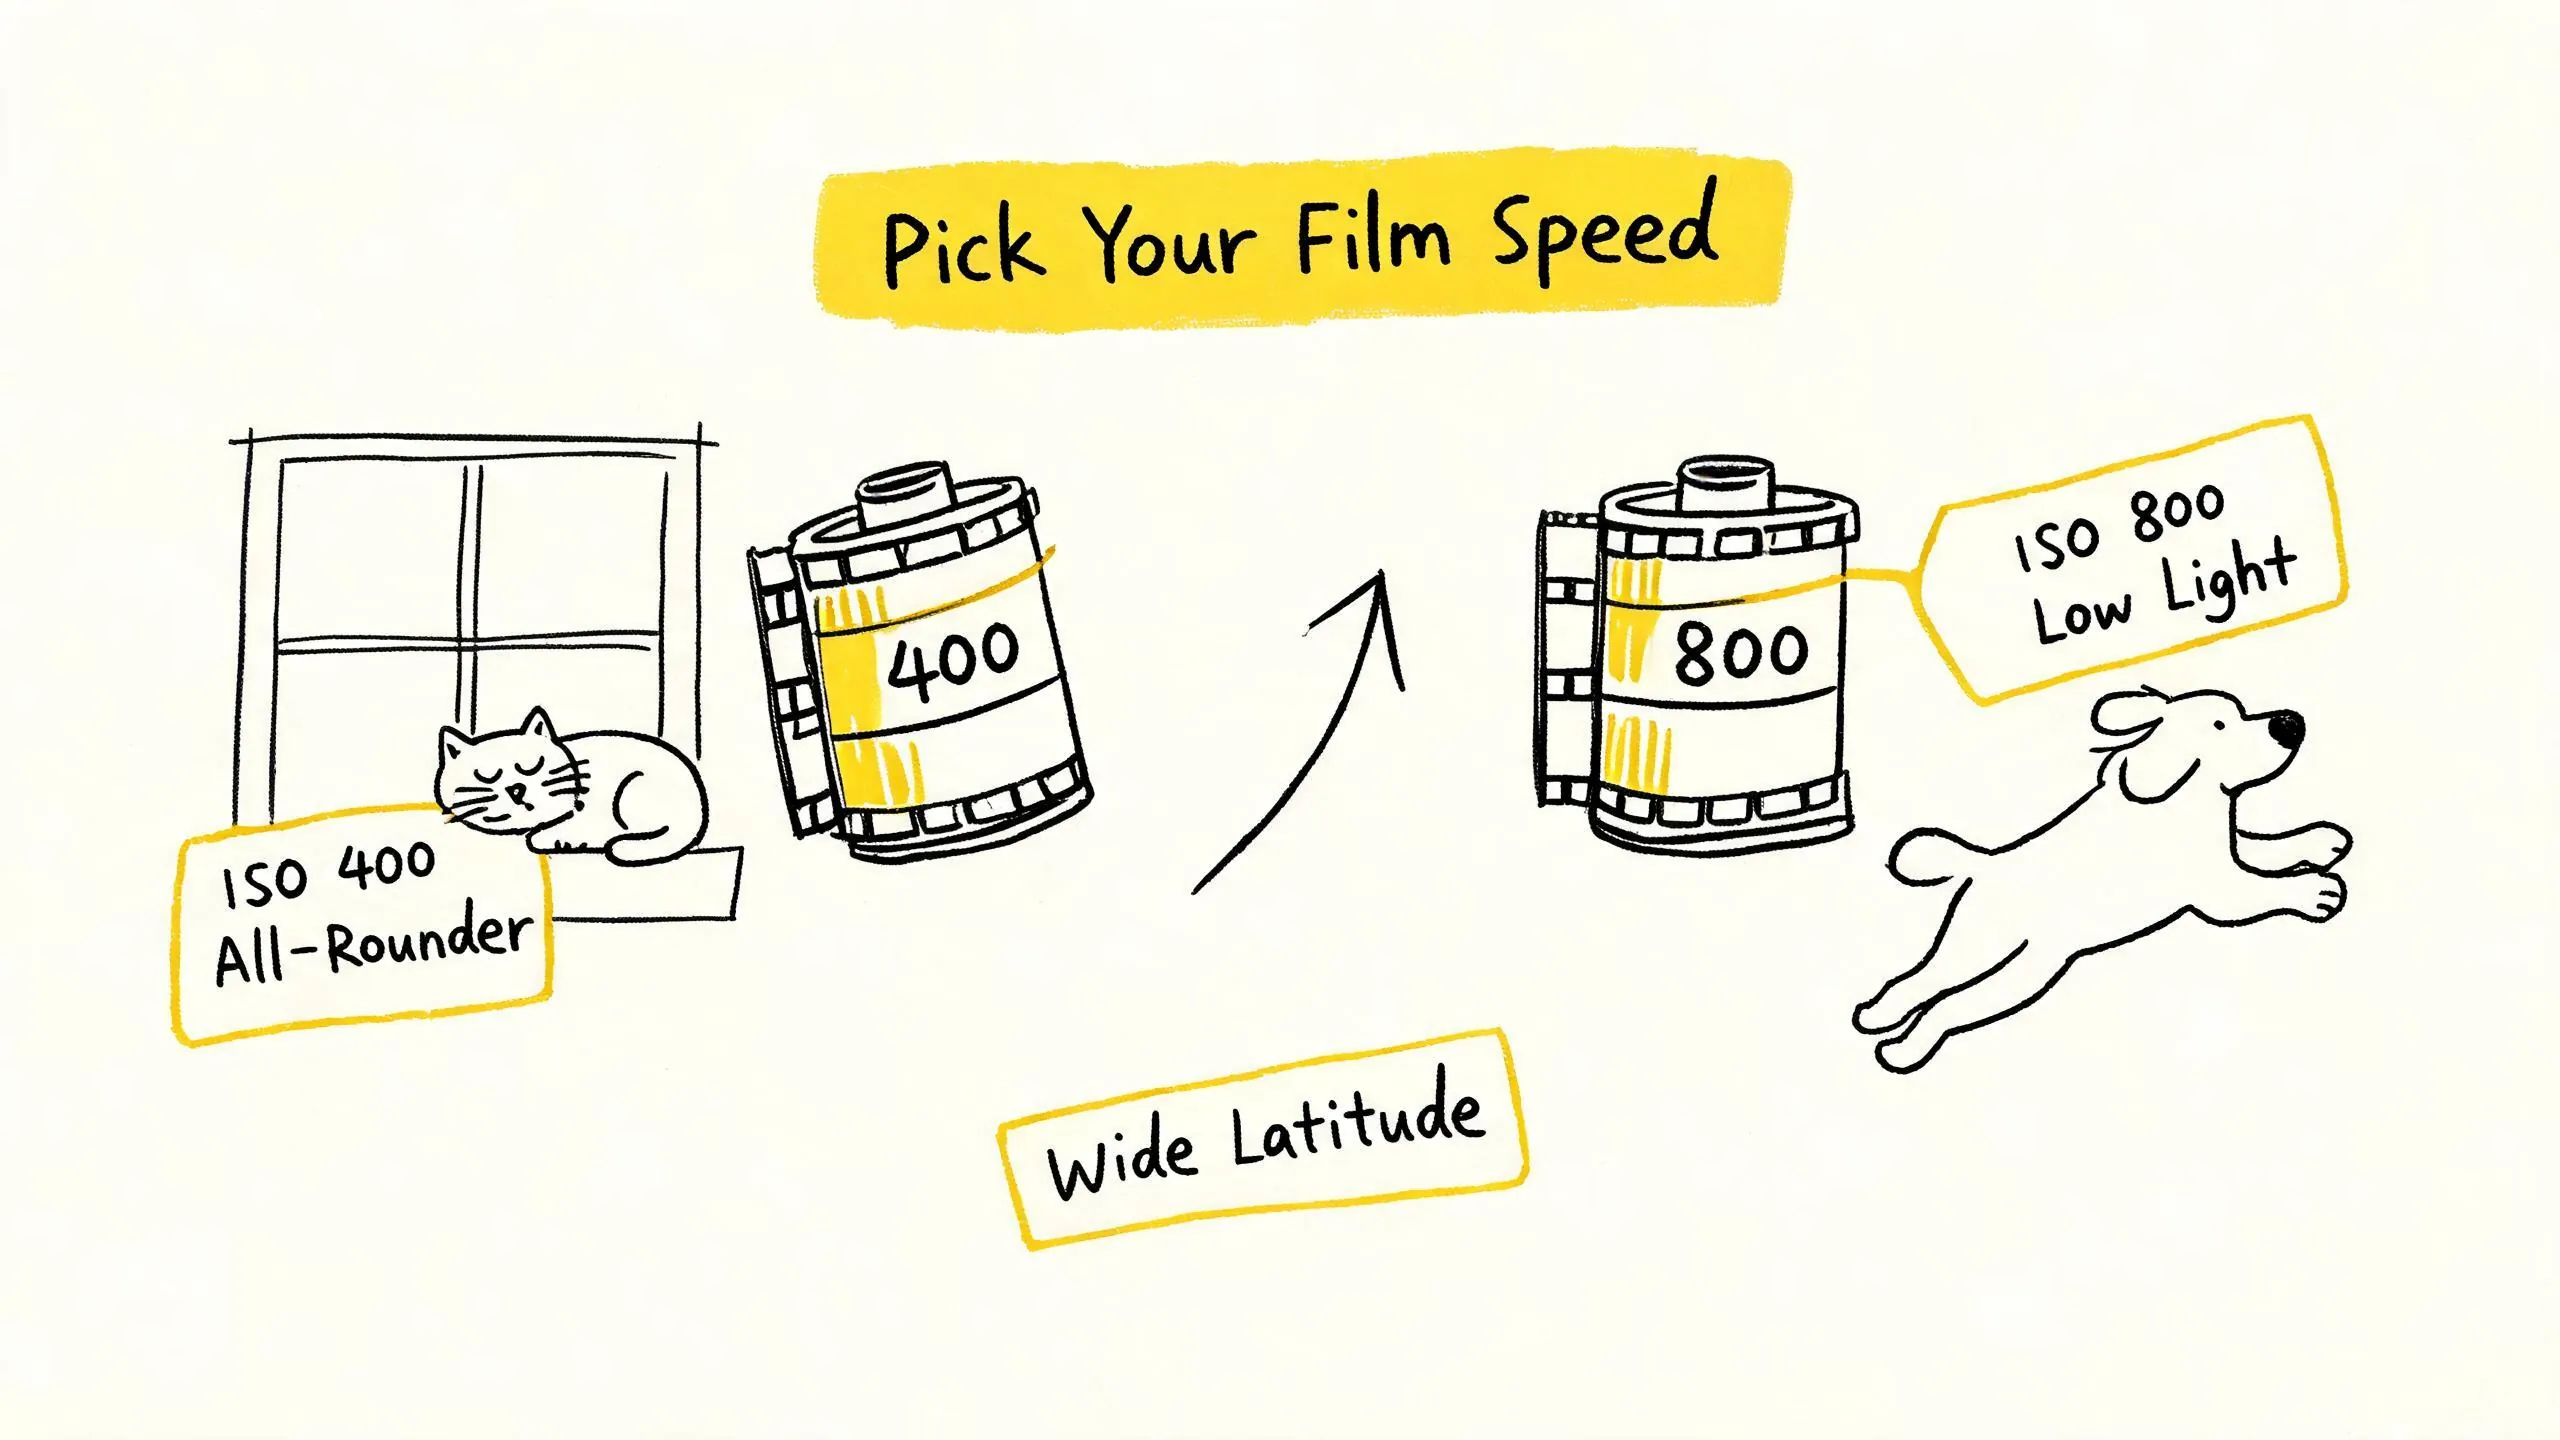
The core dilemma when choosing film for pet photography is balancing speed (ISO) and grain. Pets are naturally active, and their scenes vary, especially indoors where lighting conditions are often less than ideal. Therefore, high-speed film (typically ISO 400 and above) becomes an essential choice for pet photography.
The All-Rounder: ISO 400 For most family pet shooting scenarios, Kodak Portra 400 is a near-perfect starting point. It is widely considered one of the most versatile films, with extremely fine grain, even surpassing some consumer-grade ISO 100 films . Even more impressive is its extraordinary exposure latitude. Official data indicates it can handle a range from 2 stops underexposed to over 5 stops overexposed . This means in complex home lighting environments, even if your exposure judgment is slightly off, Portra 400 can often “save” the shot, greatly increasing your success rate. Its color reproduction is natural and soft, excelling at rendering warm skin tones and fur colors, making it ideal for creating a cozy family atmosphere.
The Low-Light Powerhouse: ISO 800 When indoor light is dimmer, or you need a faster shutter speed to freeze a pet running or jumping, Kodak Portra 800 is the more professional choice. Its grain is slightly more pronounced than Portra 400 but still within an acceptable range. Its colors are rich, and skin/fur tones remain natural, making it excellent for capturing the warm fur colors of pets in warm light . In low-light conditions, the ISO 800 sensitivity allows you to use faster shutter speeds (like 1/250s or higher) to avoid blur from camera shake and animal movement, while maintaining a reasonably wide aperture.
Other Options and Black & White Solutions Beyond these two Kodak staples, other options exist. For instance, Ilford Delta 3200 is an ultra-high-speed black and white film suitable for extreme low-light creativity. Its strong grain and high contrast can produce dramatic black and white pet portraits . Fujifilm Natura 1600 (though discontinued) was also a favorite among low-light photography enthusiasts for its unique color rendition and sensitivity . If you’re interested in black and white photography, ISO 400 B&W films (like Ilford HP5+ or Kodak Tri-X) are classic choices. They strip away the distraction of color, focusing purely on the pet’s form, light and shadow, and mood.
A Practical Tip: Don’t obsess over finding the “perfect” film. Discussions on Reddit show that many photographers achieve great results shooting pets with various films. The key is understanding the characteristics of the film you’re using and leveraging its strengths while minimizing its weaknesses during shooting . Start with a roll of Portra 400 to familiarize yourself with its performance in your home’s lighting, then experiment with higher-speed films as needed.
Focusing and Capturing Techniques: Practical Strategies for Uncooperative Pets
The biggest challenge when capturing lively pets with film cameras (especially manual focus or early autofocus models) is focusing speed and success rate. Without the digital cycle of “focus-shoot-review-delete,” every roll of film is costly, requiring smarter, more efficient strategies.
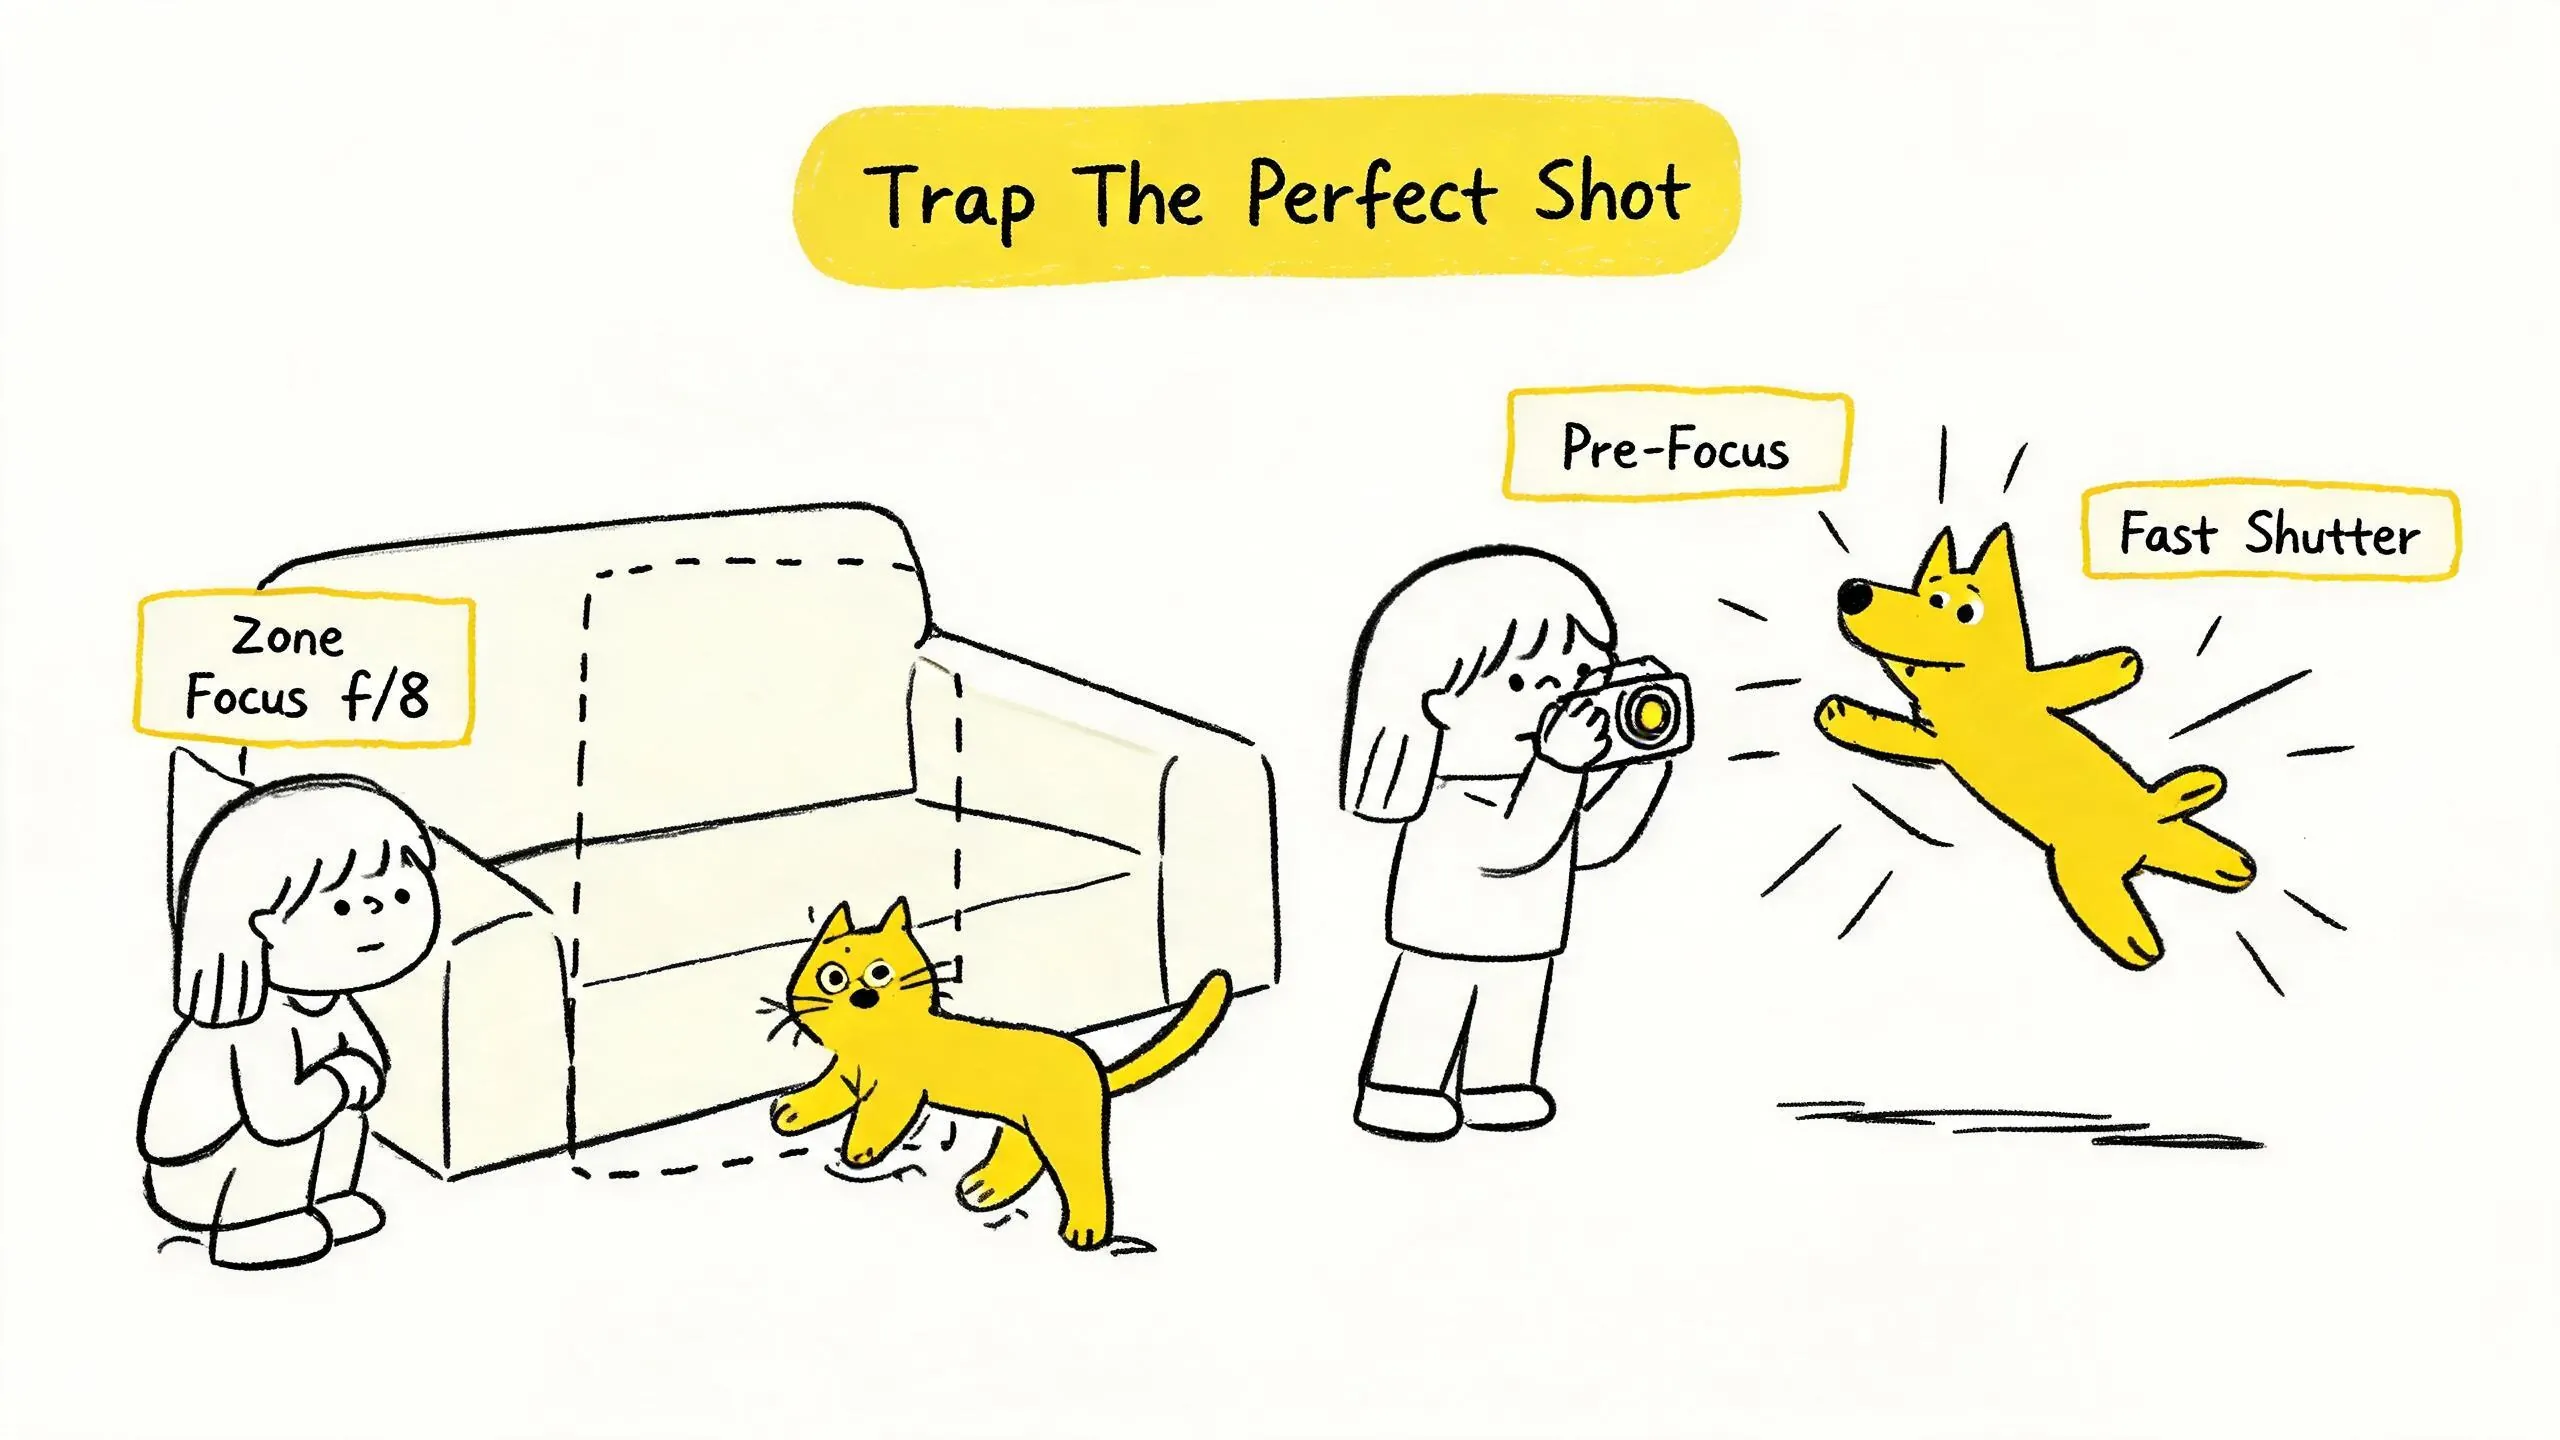
Core Strategy: Pre-focusing and Zone Focusing This is the “soul technique” of film candid shooting. Instead of trying to track-focus on a moving pet, set a “trap” in advance.
- Pre-focus: Observe your pet’s habits. Does it like to rest or play in a specific spot (like a couch corner or by the window)? Pre-focus your lens to that distance (e.g., 2-3 meters). When it enters that zone, decisively press the shutter .
- Zone Focusing: This is an extension of pre-focusing. Focus your lens on an estimated distance (say, 3 meters), then set a smaller aperture (like f/8 or f/11) based on the light. A small aperture provides greater depth of field, meaning objects within a larger range in front of and behind the focus point (e.g., 2.5m to 3.5m) will be relatively sharp. You only need to wait for the pet to enter this “zone of sharpness” to shoot, without needing precise focus . This is especially effective in bright light (which allows for small apertures).
Shutter Speed: The Key to Freezing the Moment Regardless of the focusing strategy, a sufficiently high shutter speed is essential to prevent motion blur from the pet. According to professional advice:
- When the pet is stationary or moving slowly, the shutter speed should be at least 1/100-1/250 second .
- When the pet is running, jumping, or turning quickly, the shutter speed needs to be increased to 1/800 second or faster to effectively freeze the action .
- SIGMA’s advice is more aggressive, suggesting shutter speeds between 1/500-1/2000 second when photographing animals to ensure absolute sharpness . Achieving such speeds indoors with high-speed film (like ISO 800) often requires opening the aperture wide (like f/2.8 or wider) and relying on strong ambient light.
Practical Tips and Mindset Adjustment
- Exercise the Pet, Don’t Chase It: Before shooting, let the pet play with toys or treats to tire it out slightly. A somewhat fatigued pet will be calmer and more cooperative .
- Use Sounds and Toys: Squeezing a toy near the lens, shaking a treat bag, or having a family member call the pet’s name from behind you can attract their attention, yielding lively expressions and eye contact .
- Build Trust and Familiarity: The best pet photos often come when they are most relaxed. Let the pet gradually get used to the camera’s presence in its familiar home environment. Don’t start by shoving the lens in its face . Start shooting from a distance and gradually move closer.
- Capture Interaction: Don’t just focus on the moment the pet looks at the camera. Images of family members petting, playing with, or the pet cuddling next to them often better illustrate the emotional bond . These moments are usually more natural and easier to capture.
- Embrace “Imperfection”: Film photography, especially candid shooting, will inevitably produce some out-of-focus, blurry, or poorly composed shots. But this is part of its charm. Sometimes, a slightly out-of-focus but emotionally charged pet photo is more compelling than a technically perfect but bland one. Keep a relaxed mindset and enjoy the process.
Composition and Lighting: Techniques for Creating a Warm Family Atmosphere
Technique is the foundation, but composition and lighting are key to imbuing photos with emotion and narrative. The goal of photographing family pets is not just to get a clear shot, but to create a warm, nostalgic, and loving family atmosphere.
Composition: See the World from the Pet’s Perspective
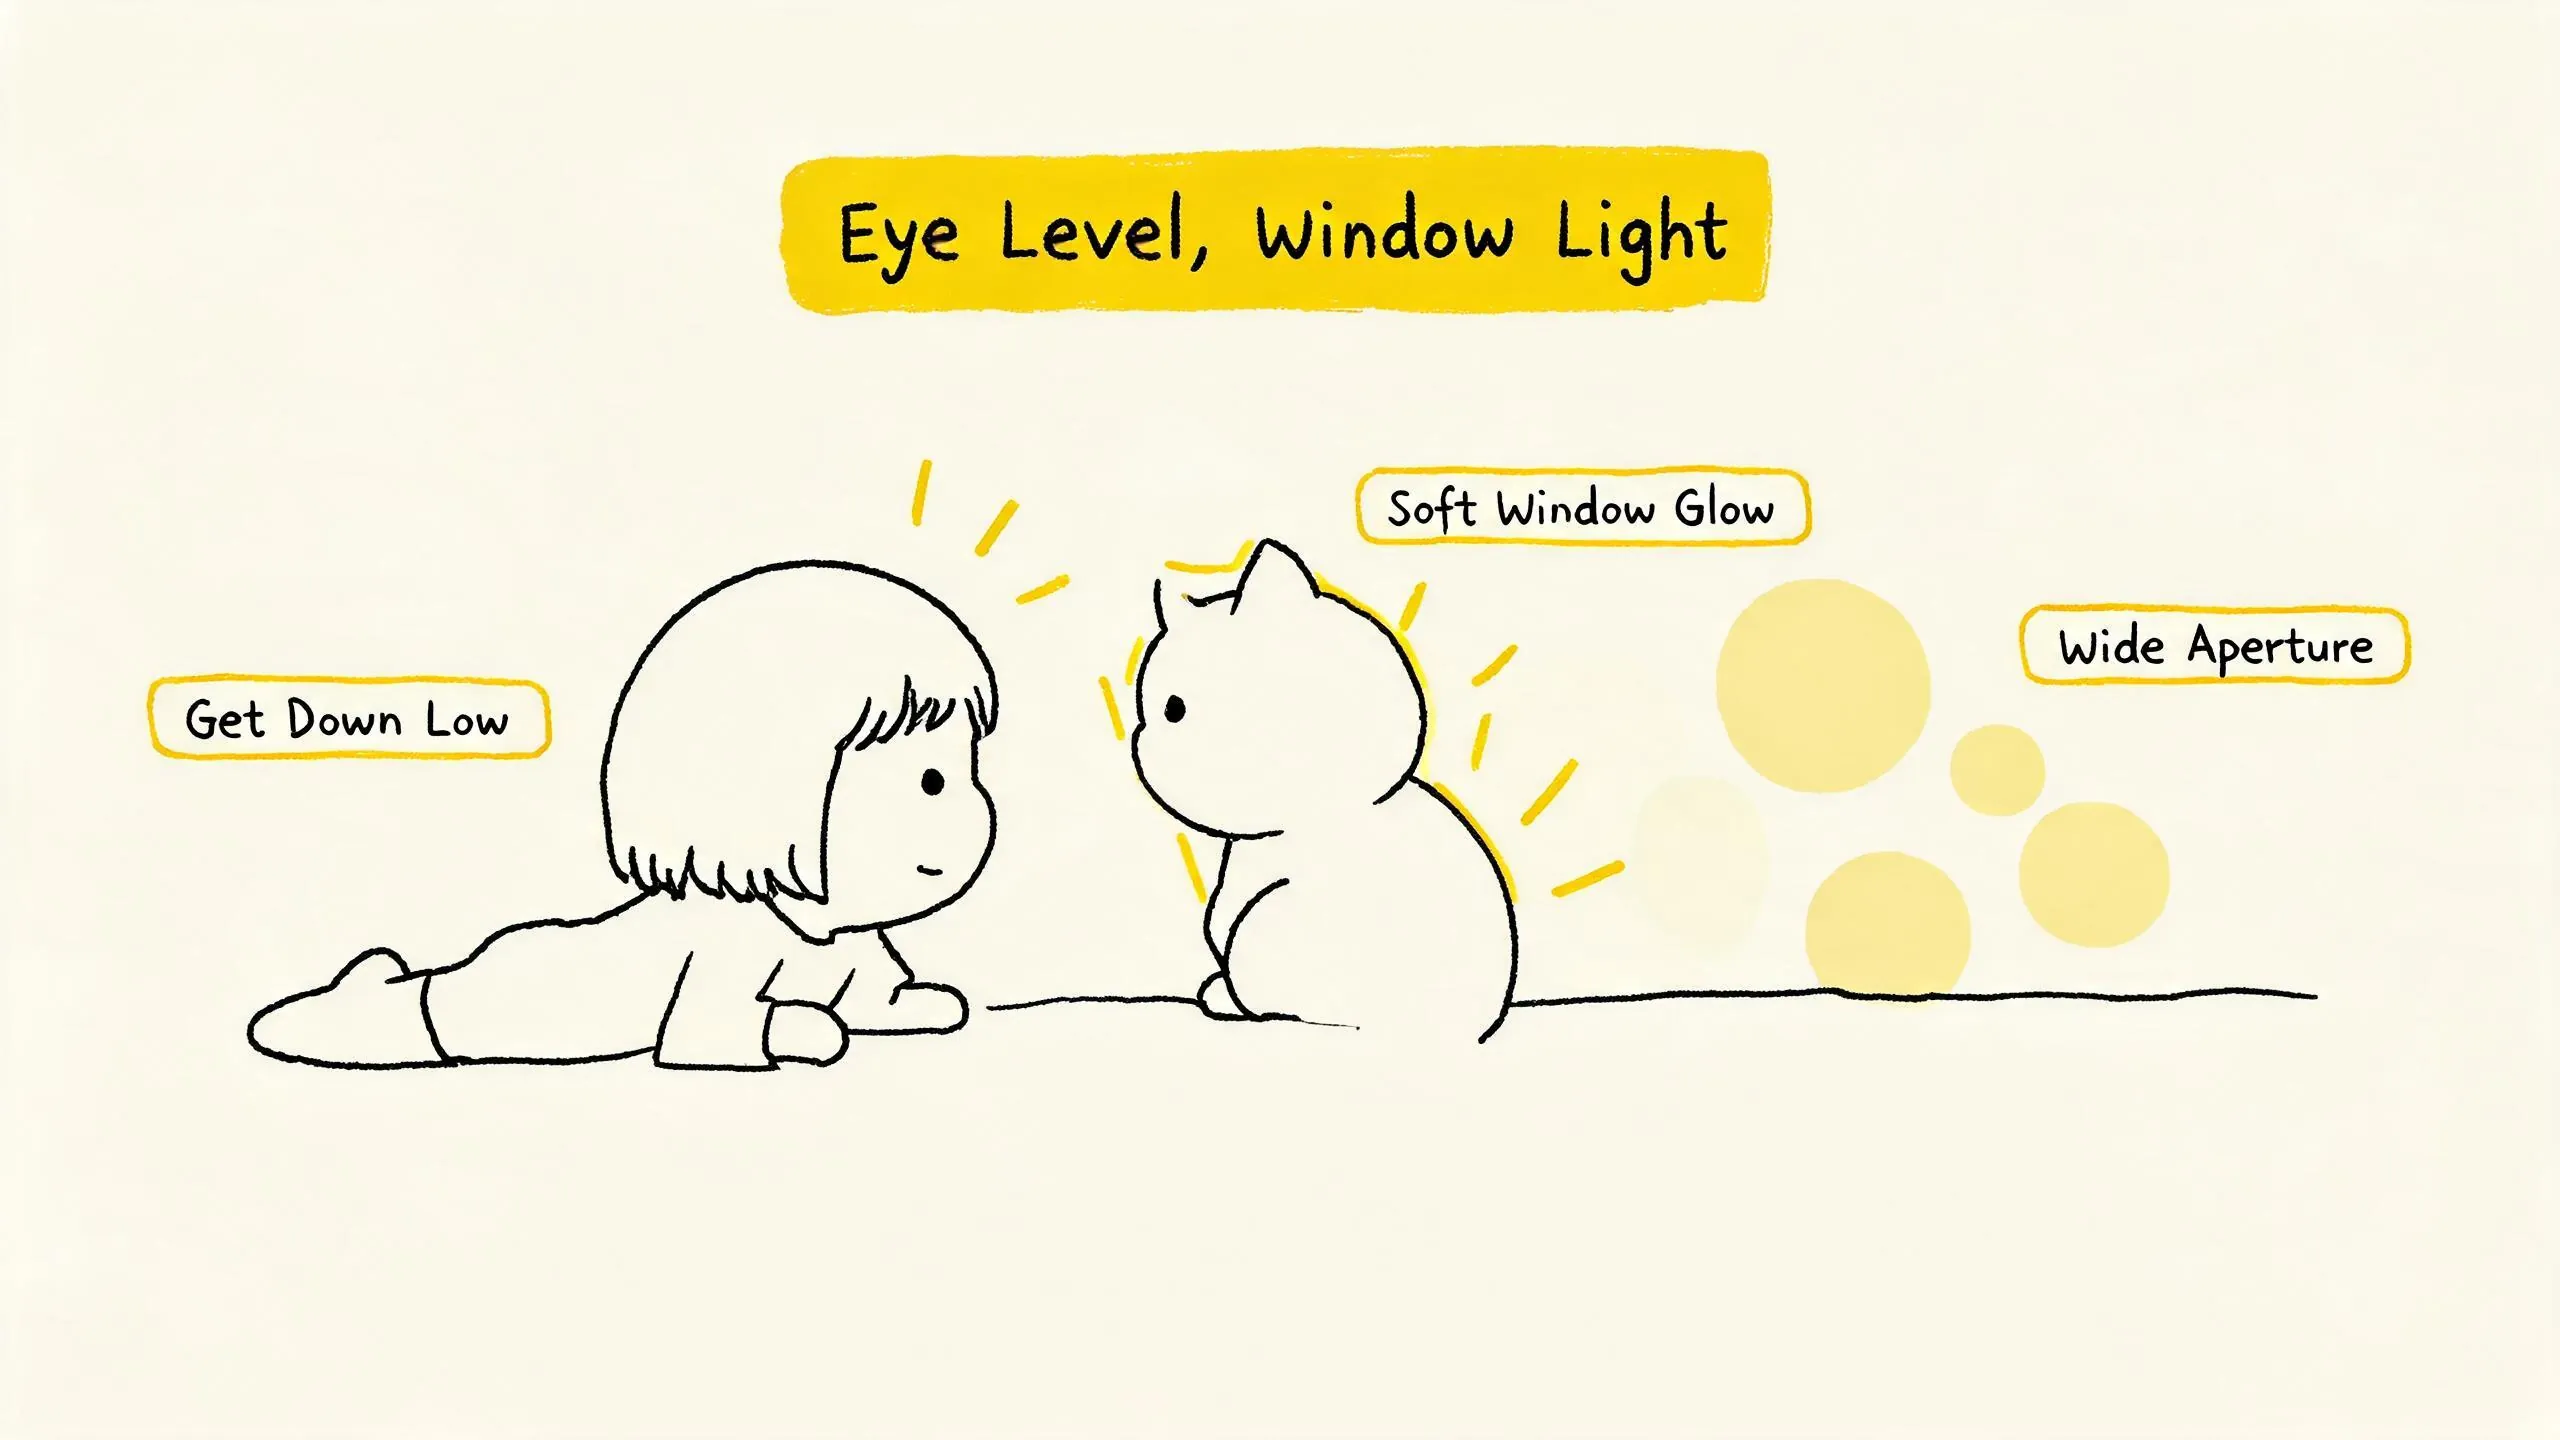
- Eye-Level is King: This is one of the most fundamental composition principles in pet photography. Please squat or lie down to get your lens at the same height as the pet’s eyes . Shooting from above (our most habitual angle) makes pets appear small and often includes a cluttered floor as the background. An eye-level perspective allows the viewer to make direct eye contact with the pet, creating a strong emotional connection, as if entering their world.
- Use the Environment to Tell a Story: Place the pet in a typical home setting—its favorite blanket, a sunlit bay window, a messy toy corner, or by its owner’s leg. These environmental elements immediately establish the “home” context, filling the photo with a sense of life.
- Clean Backgrounds and Leading Lines: Try to keep the background clean, avoiding excessive clutter that distracts from the subject. Use furniture, door frames, hallways, etc., in your home to create leading lines that naturally guide the viewer’s eye to the pet.
- Negative Space and Breathing Room: You don’t always need to fill the entire frame with the pet. Appropriate negative space (especially in the direction the pet is looking) makes the image more comfortable and leaves room for imagination.
Lighting: The Magician of Warm Atmosphere Light is the lifeblood of film photography and the most important tool for creating a warm family atmosphere.
- Prioritize Natural Light, Especially Window Light: For indoor shooting, guiding the pet near a window is the simplest way to get quality light . Windows provide soft, directional light that beautifully sculpts the pet’s contours and fur texture.
- Utilize the Golden Hour: For outdoor shooting, choose early morning or late afternoon. At these times, the sun angle is low, the light is warm and soft, creating beautiful side-lighting or backlighting effects . Backlighting can outline the pet’s fur with a golden rim, creating a dreamy, warm atmosphere. Remember, when shooting backlit, meter for the pet’s face or add +1 to +2 stops of exposure compensation to ensure correct facial exposure .
- The Magic of Wide Apertures: Using a wide-aperture lens (like f/1.4, f/1.8, f/2.8) can achieve shallow depth of field and background blur (bokeh) . This effectively separates the pet from potentially cluttered home backgrounds, making the subject stand out while the background dissolves into soft, creamy bokeh, creating a dreamy, aesthetic feel. It’s also an excellent way to highlight the catchlight in the pet’s eyes.
- Avoid Direct Flash: Direct on-camera flash destroys the ambient light atmosphere, creating harsh shadows and reflective eyes in pets (“red-eye” or “green-eye”). Avoid it whenever possible. If fill light is necessary, use bounce flash or diffusers.
Post-Processing, Scanning, and Sharing: Integrating Your Pet’s Film Images into Digital Life
Shooting and developing are complete, but receiving the negatives or prints is just the first step. In today’s digital age, how to effectively digitize, manage, and share these film images is a crucial part of the complete workflow.
Scanning: The Bridge Between Analog and Digital Scanning is the process of converting negative information into digital files, and its quality directly impacts the final image presentation.
- Choosing a Scanning Method: There are two main methods. One is using a scanner (like a flatbed scanner or a more specialized film scanner), and the other is digital camera scanning (using a digital camera and macro lens to photograph the negative). Unique Photo’s workflow suggests that regardless of the method, aim for high-resolution scanning to fully preserve the film’s grain, color gradation, and detail .
- Preserving Film Characteristics: The goal of scanning or camera scanning is not to “fix” the film’s grain or color, but to digitize it faithfully. Overusing scanner software features like “dust removal” or “sharpening” can damage the unique texture of film. Letting the grain and color appear as-is is the point of digitizing film.
- Metadata Management: Using professional tools like Negative Lab Pro can automatically write film metadata (like ISO, film stock, development process) to digital files during scanning or post-processing . This is crucial for organizing, searching, and archiving vast family image libraries later.
Hybrid Workflow: The Perfect Blend of Film and Digital Many modern film photographers adopt a hybrid workflow, enjoying the乐趣 of shooting film while leveraging the convenience of digital tools:
- Shooting: Use a film camera to capture pet moments.
- Developing: Send the exposed rolls to a reliable lab for development and scanning.
- Scanning/Camera Scanning: Obtain high-quality digital files (e.g., TIFF format).
- Digital Management: Import the digital files into Adobe Lightroom, Capture One, or other digital asset management software. Here, you can make basic exposure and color adjustments (being careful to maintain the film’s original look), and add tags/keywords (e.g., “pet,” “cat,” “Winter 2023”) for easy future searching.
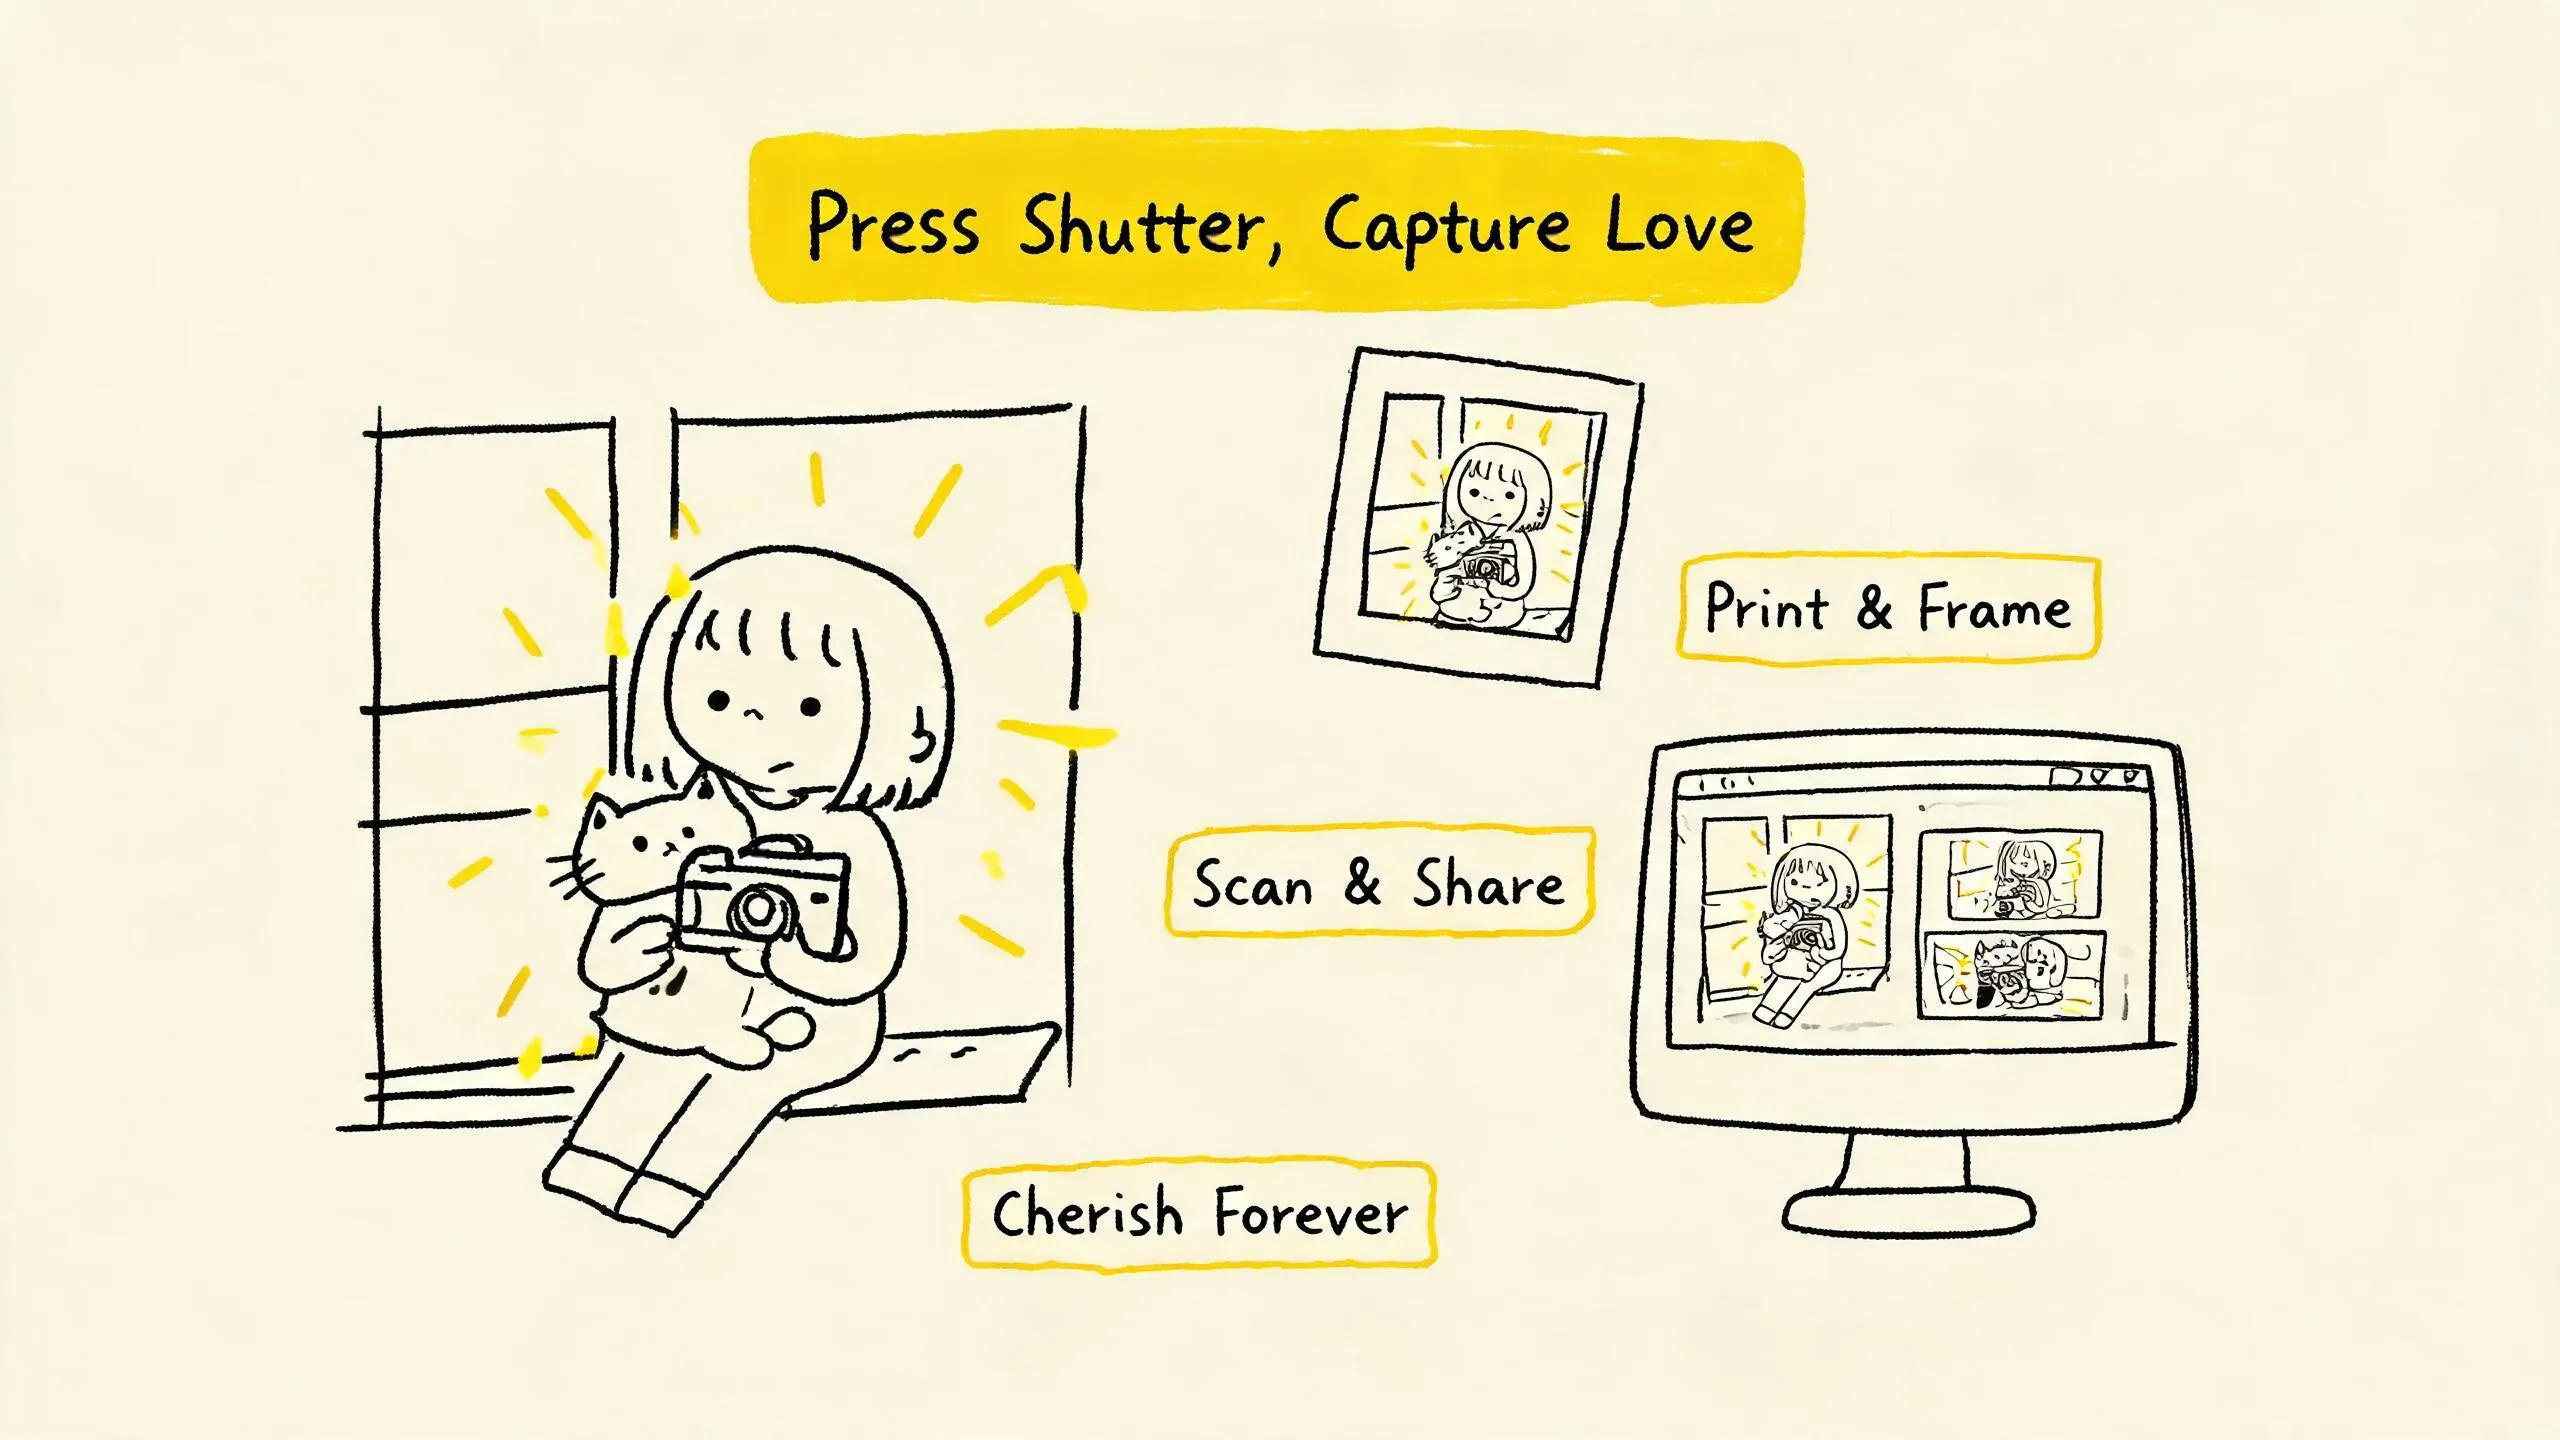
- Sharing and Output: Use the managed digital files for social media sharing, creating digital albums, or printing physical photos . This process seamlessly integrates precious film images into our digital lives.
Sharing and Preservation: Keeping Memories Vibrant
- Create a Family Digital Album: Curate selected pet film photos alongside other family photos, organizing them into digital albums by time or theme, and share them regularly with family.
- Physical Output: Don’t forget that one of film’s ultimate destinations can be a physical print. Printing out particularly satisfying pet photos, framing them, or creating a physical photo album offers a tactile and ritualistic experience that digital screens cannot replace.
- Cloud Backup: Be sure to create multiple backups (local hard drive, NAS, cloud storage) for your scanned digital files to ensure these precious pet memories are not lost due to device failure.
Conclusion: Using Film to Write a Warm Footnote for Your Beloved Pet
Documenting family pets on film is a practice that deeply integrates technique, art, and emotion. It requires us to observe light more patiently, capture moments more decisively, and cherish every shutter release. From choosing the right high-speed film roll, to mastering pre-focus techniques for candid shots, to using window light and composition to create a warm atmosphere, and finally digitizing the images through scanning to integrate them into the digital world—this entire process is itself a solemn record of “love.”
Film’s characteristic grain, color rendering, and unpredictability perfectly complement the vibrant, authentic, and indefinable vitality of pets. What it leaves behind is not just a collection of photos, but moments of time slowed down, emotions settled in silver halide. So, why not pick up your film camera, point it at your napping, playing, or quietly gazing furry companion, and press the shutter. Let film write the warmest, most unique footnote for the story between you.
References
- Six Incredible Films for Low Light Conditions - Lomography
- The Art of Film Grain: Embracing the Aesthetics in Film Photography - Analogue Wonderland
- Kodak Portra 400 Review: Complete Guide to the Professional Standard - Kubus Photo
- Pet Photography Shooting Tips - SIGMA Blog
- 拍摄可爱的宠物照 - Sony China
- 如何把「主子」拍好?寵物攝影的關鍵技巧 - Canon Hongkong
- Kodak Portra 800 Film Review - Medium
- Kodak Portra 800 Review - 35mmc
- A Simply Explained Zone Focusing Tutorial - James Maher Photography
- Zone Focusing: How to (Always) Capture Sharp Street Photos - Digital Photography School