The Complete Digital Pipeline from Film Negative to Social Media: A Guide to Post-Scan Color Management, File Archiving, and Platform Optimization
The story begins after you've shot the film and developed the negatives. For many film enthusiasts, the real challenge lies in transforming physical negatives i
The story begins after you’ve shot the film and developed the negatives. For many film enthusiasts, the real challenge lies in transforming physical negatives into digital images that can be shared, displayed, and resonate with audiences in the digital world. This “digital back-end pipeline” from negative to social media involves multiple stages, including color management, file processing, archiving strategies, and platform adaptation. Each step directly impacts the final texture and vitality of your work. This article will walk you through every key node on this pipeline, helping you establish a reusable and efficient personal workflow.
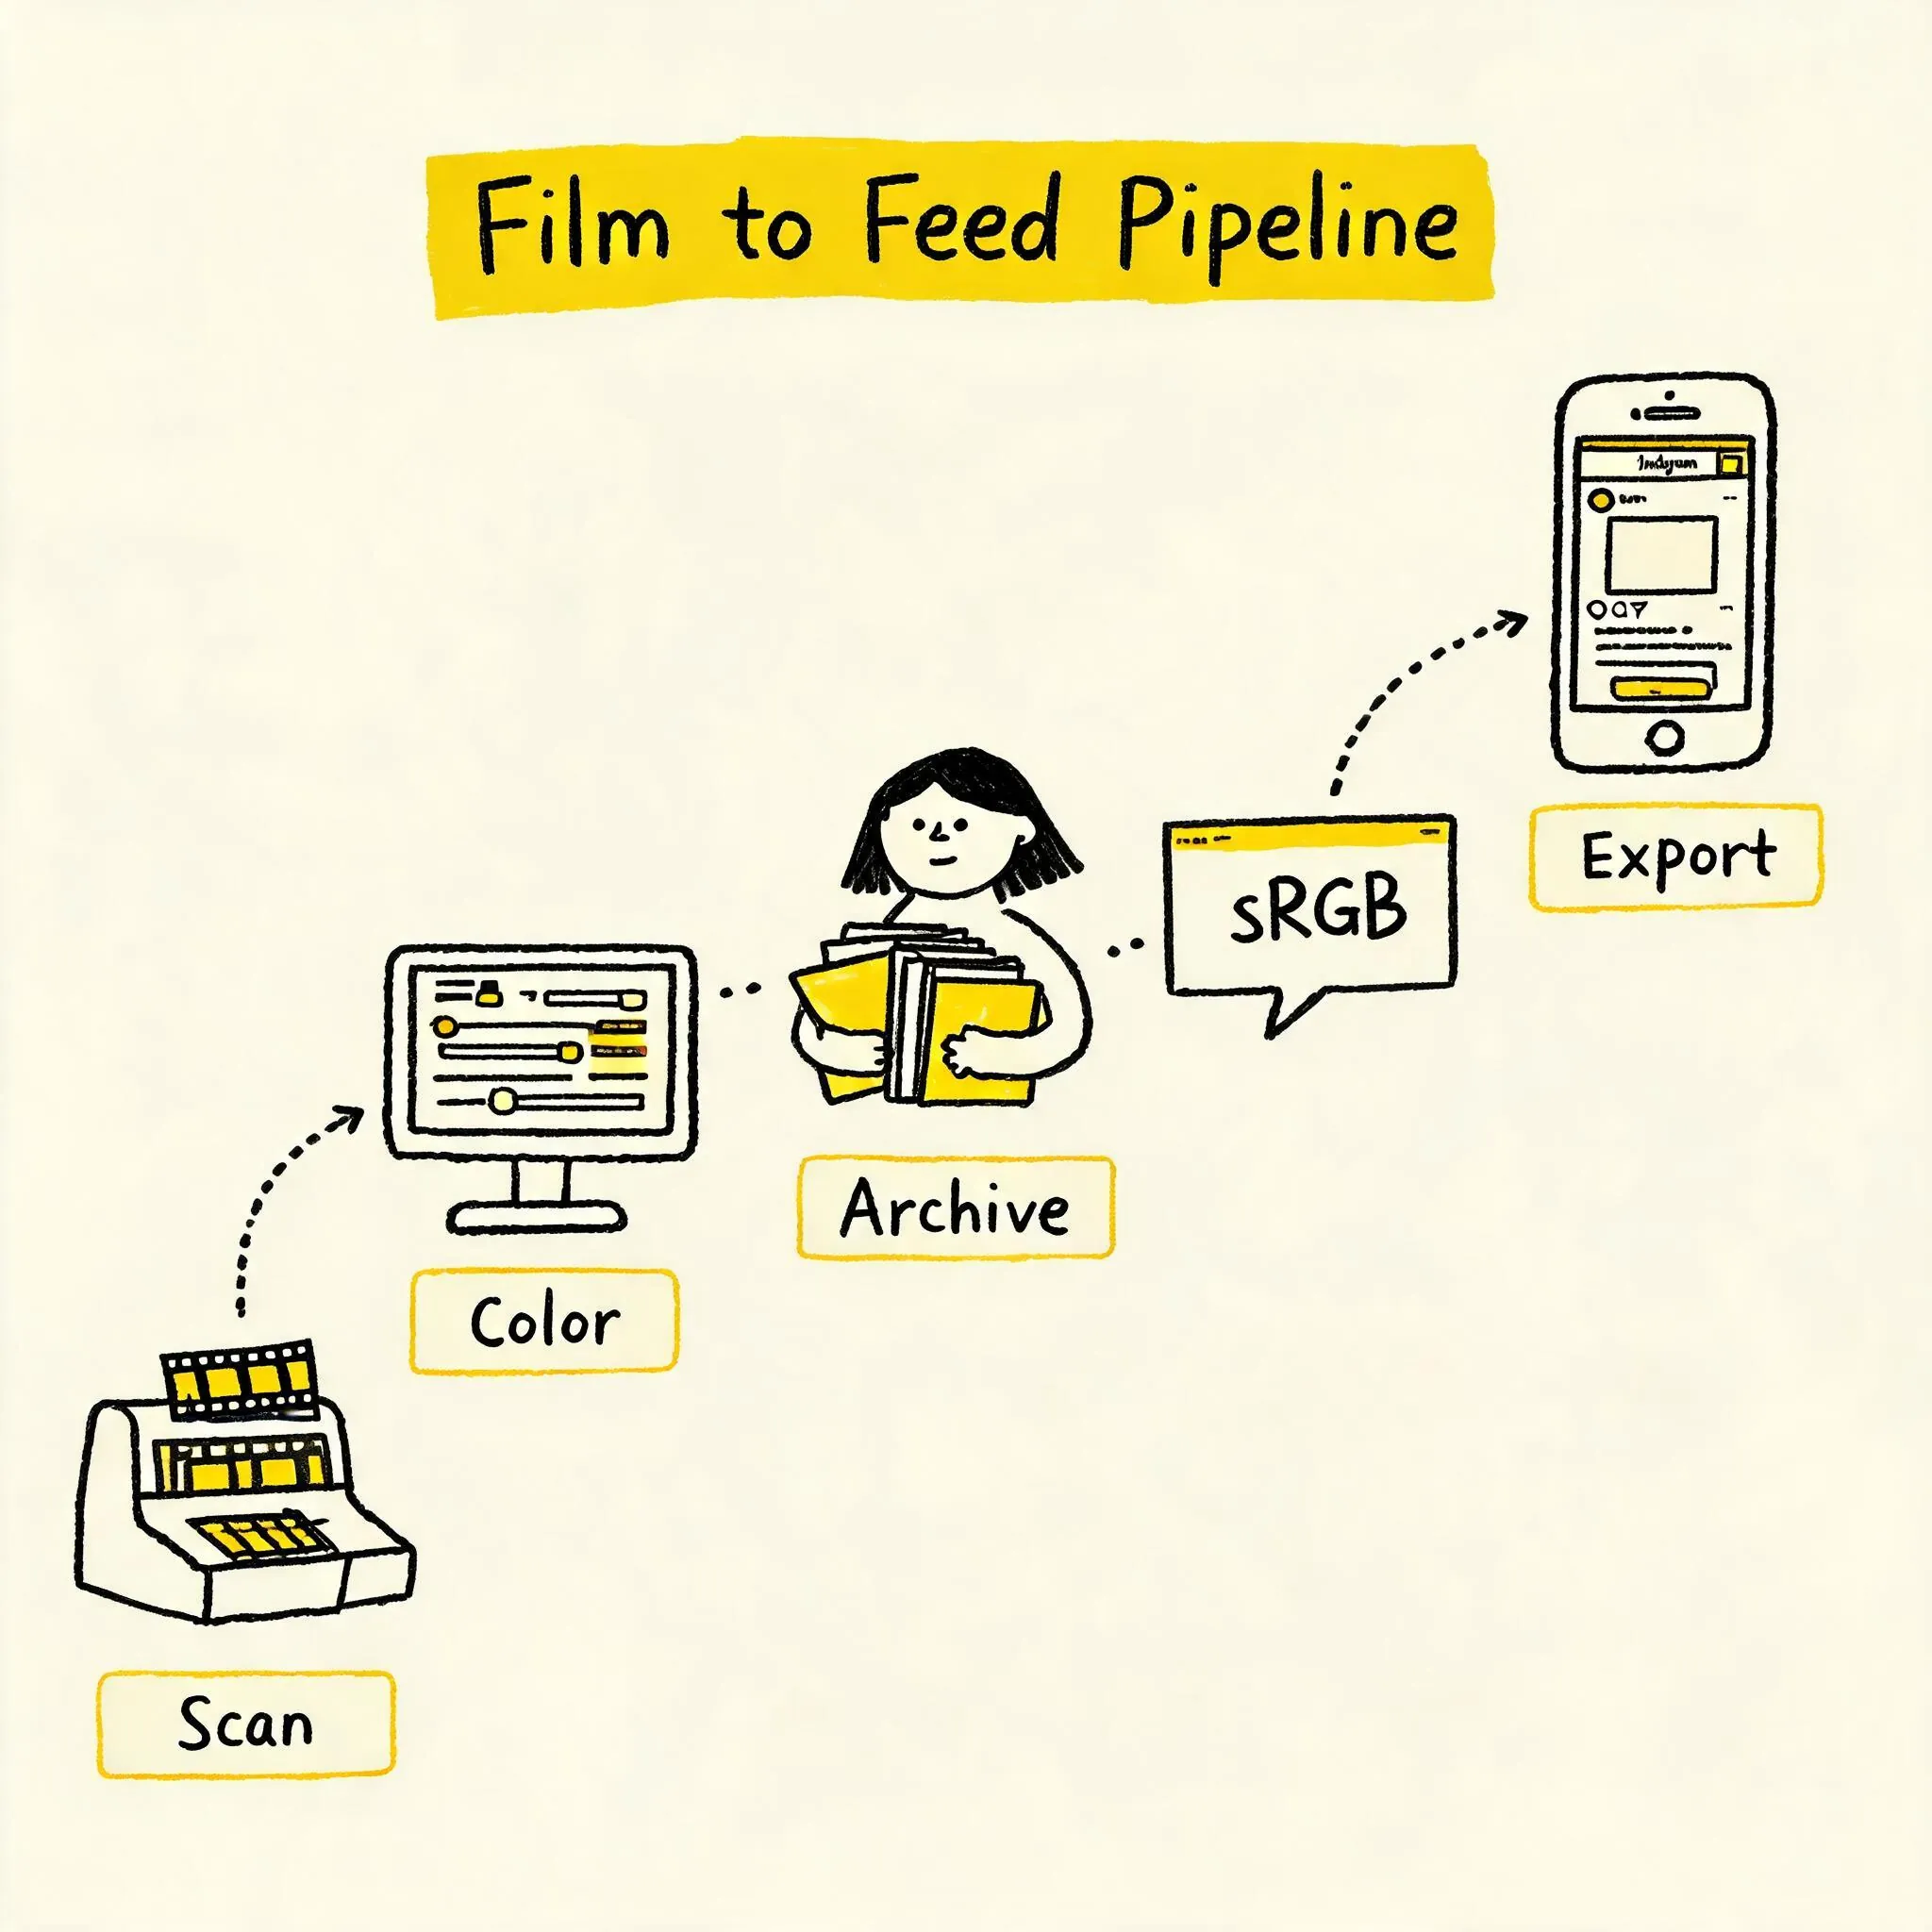
The First Step After Scanning: Correct Settings for File Format, Color Space, and Bit Depth
When you receive your scanned files—whether from a flatbed scanner, a dedicated film scanner, or a DSLR copy—the first decisions you need to make concern file format, color space, and bit depth. These technical choices form the foundation of your post-processing.
File Format: TIFF vs. JPEG
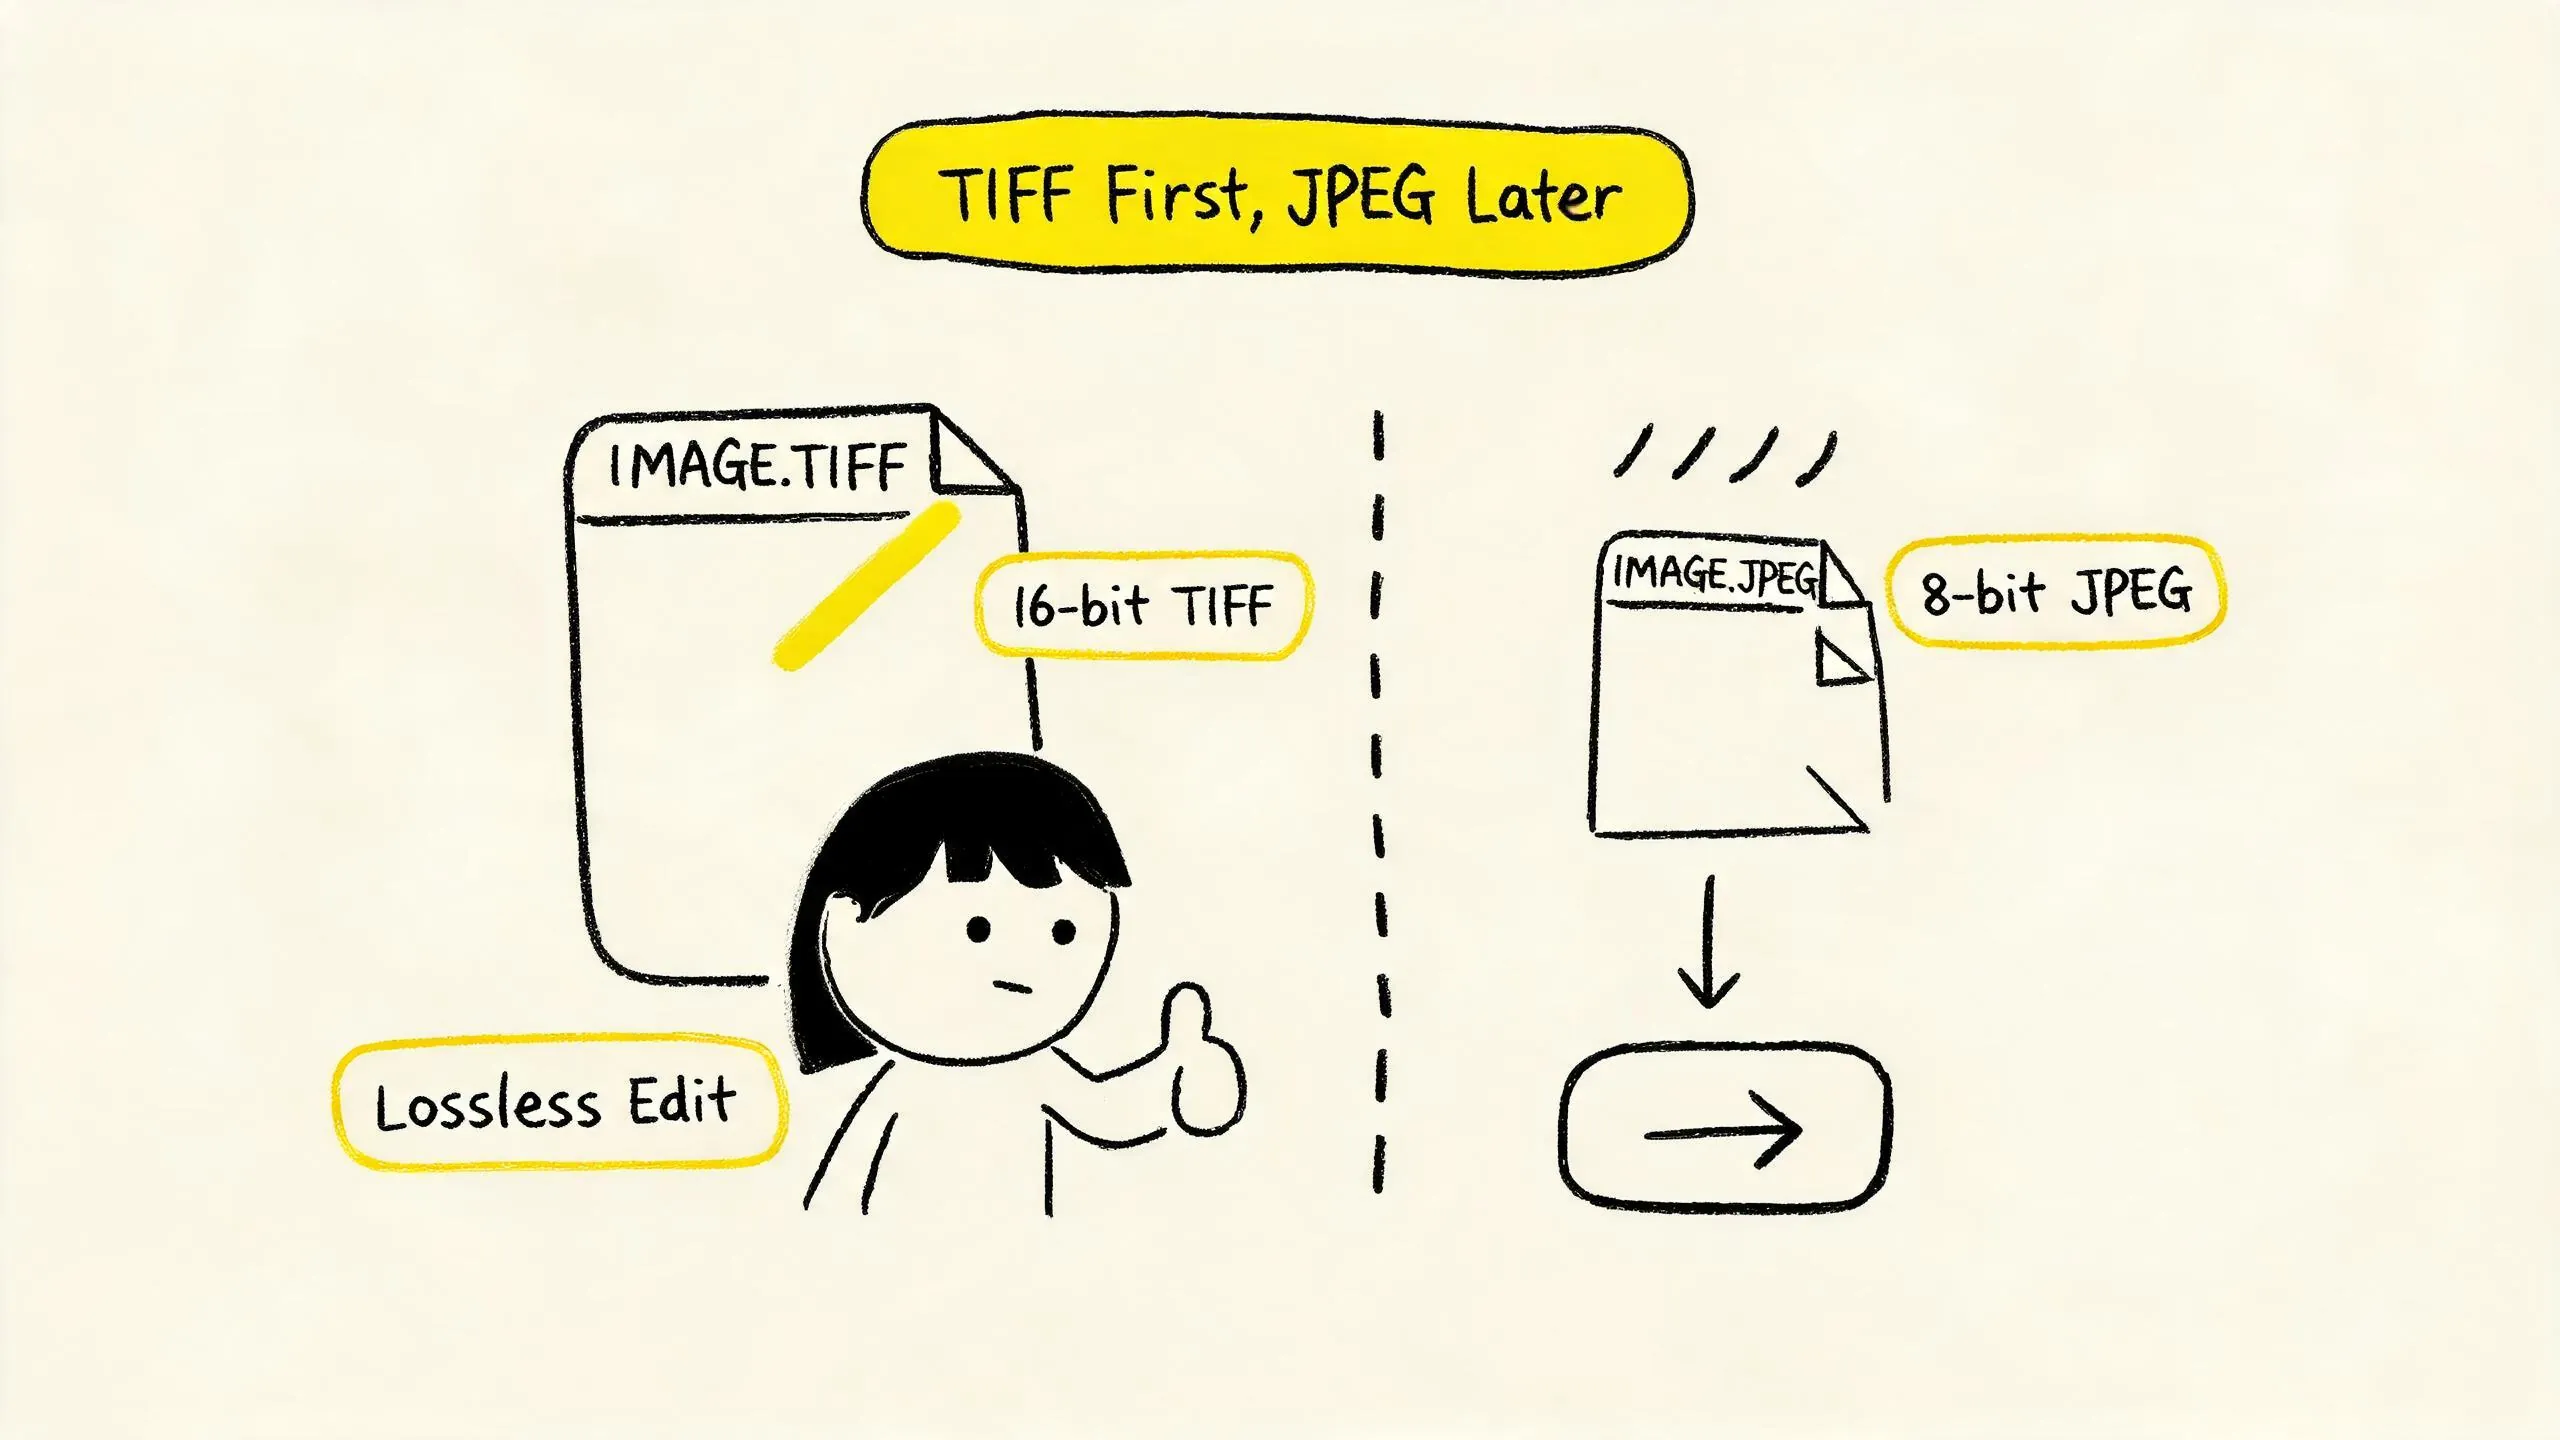
After scanning, you typically get files in two formats: TIFF and JPEG. TIFF (Tagged Image File Format) is the preferred choice for post-processing film scans. It supports lossless compression or no compression, preserving all the details and color information captured by the scanner, providing maximum latitude for subsequent color correction and adjustments. In contrast, JPEG is a lossy compression format; each save loses some image data, and quality degrades noticeably after multiple edits. Therefore, always save a high-quality TIFF file as your “digital negative”. All edits should be based on this file, with virtual copies or JPEG exports generated for publishing.
Martin Bailey explicitly recommends in his podcast that RAW or high-quality TIFF files should be retained as archives, and editing should use virtual copies to ensure the original files remain untouched, maintaining archive integrity.
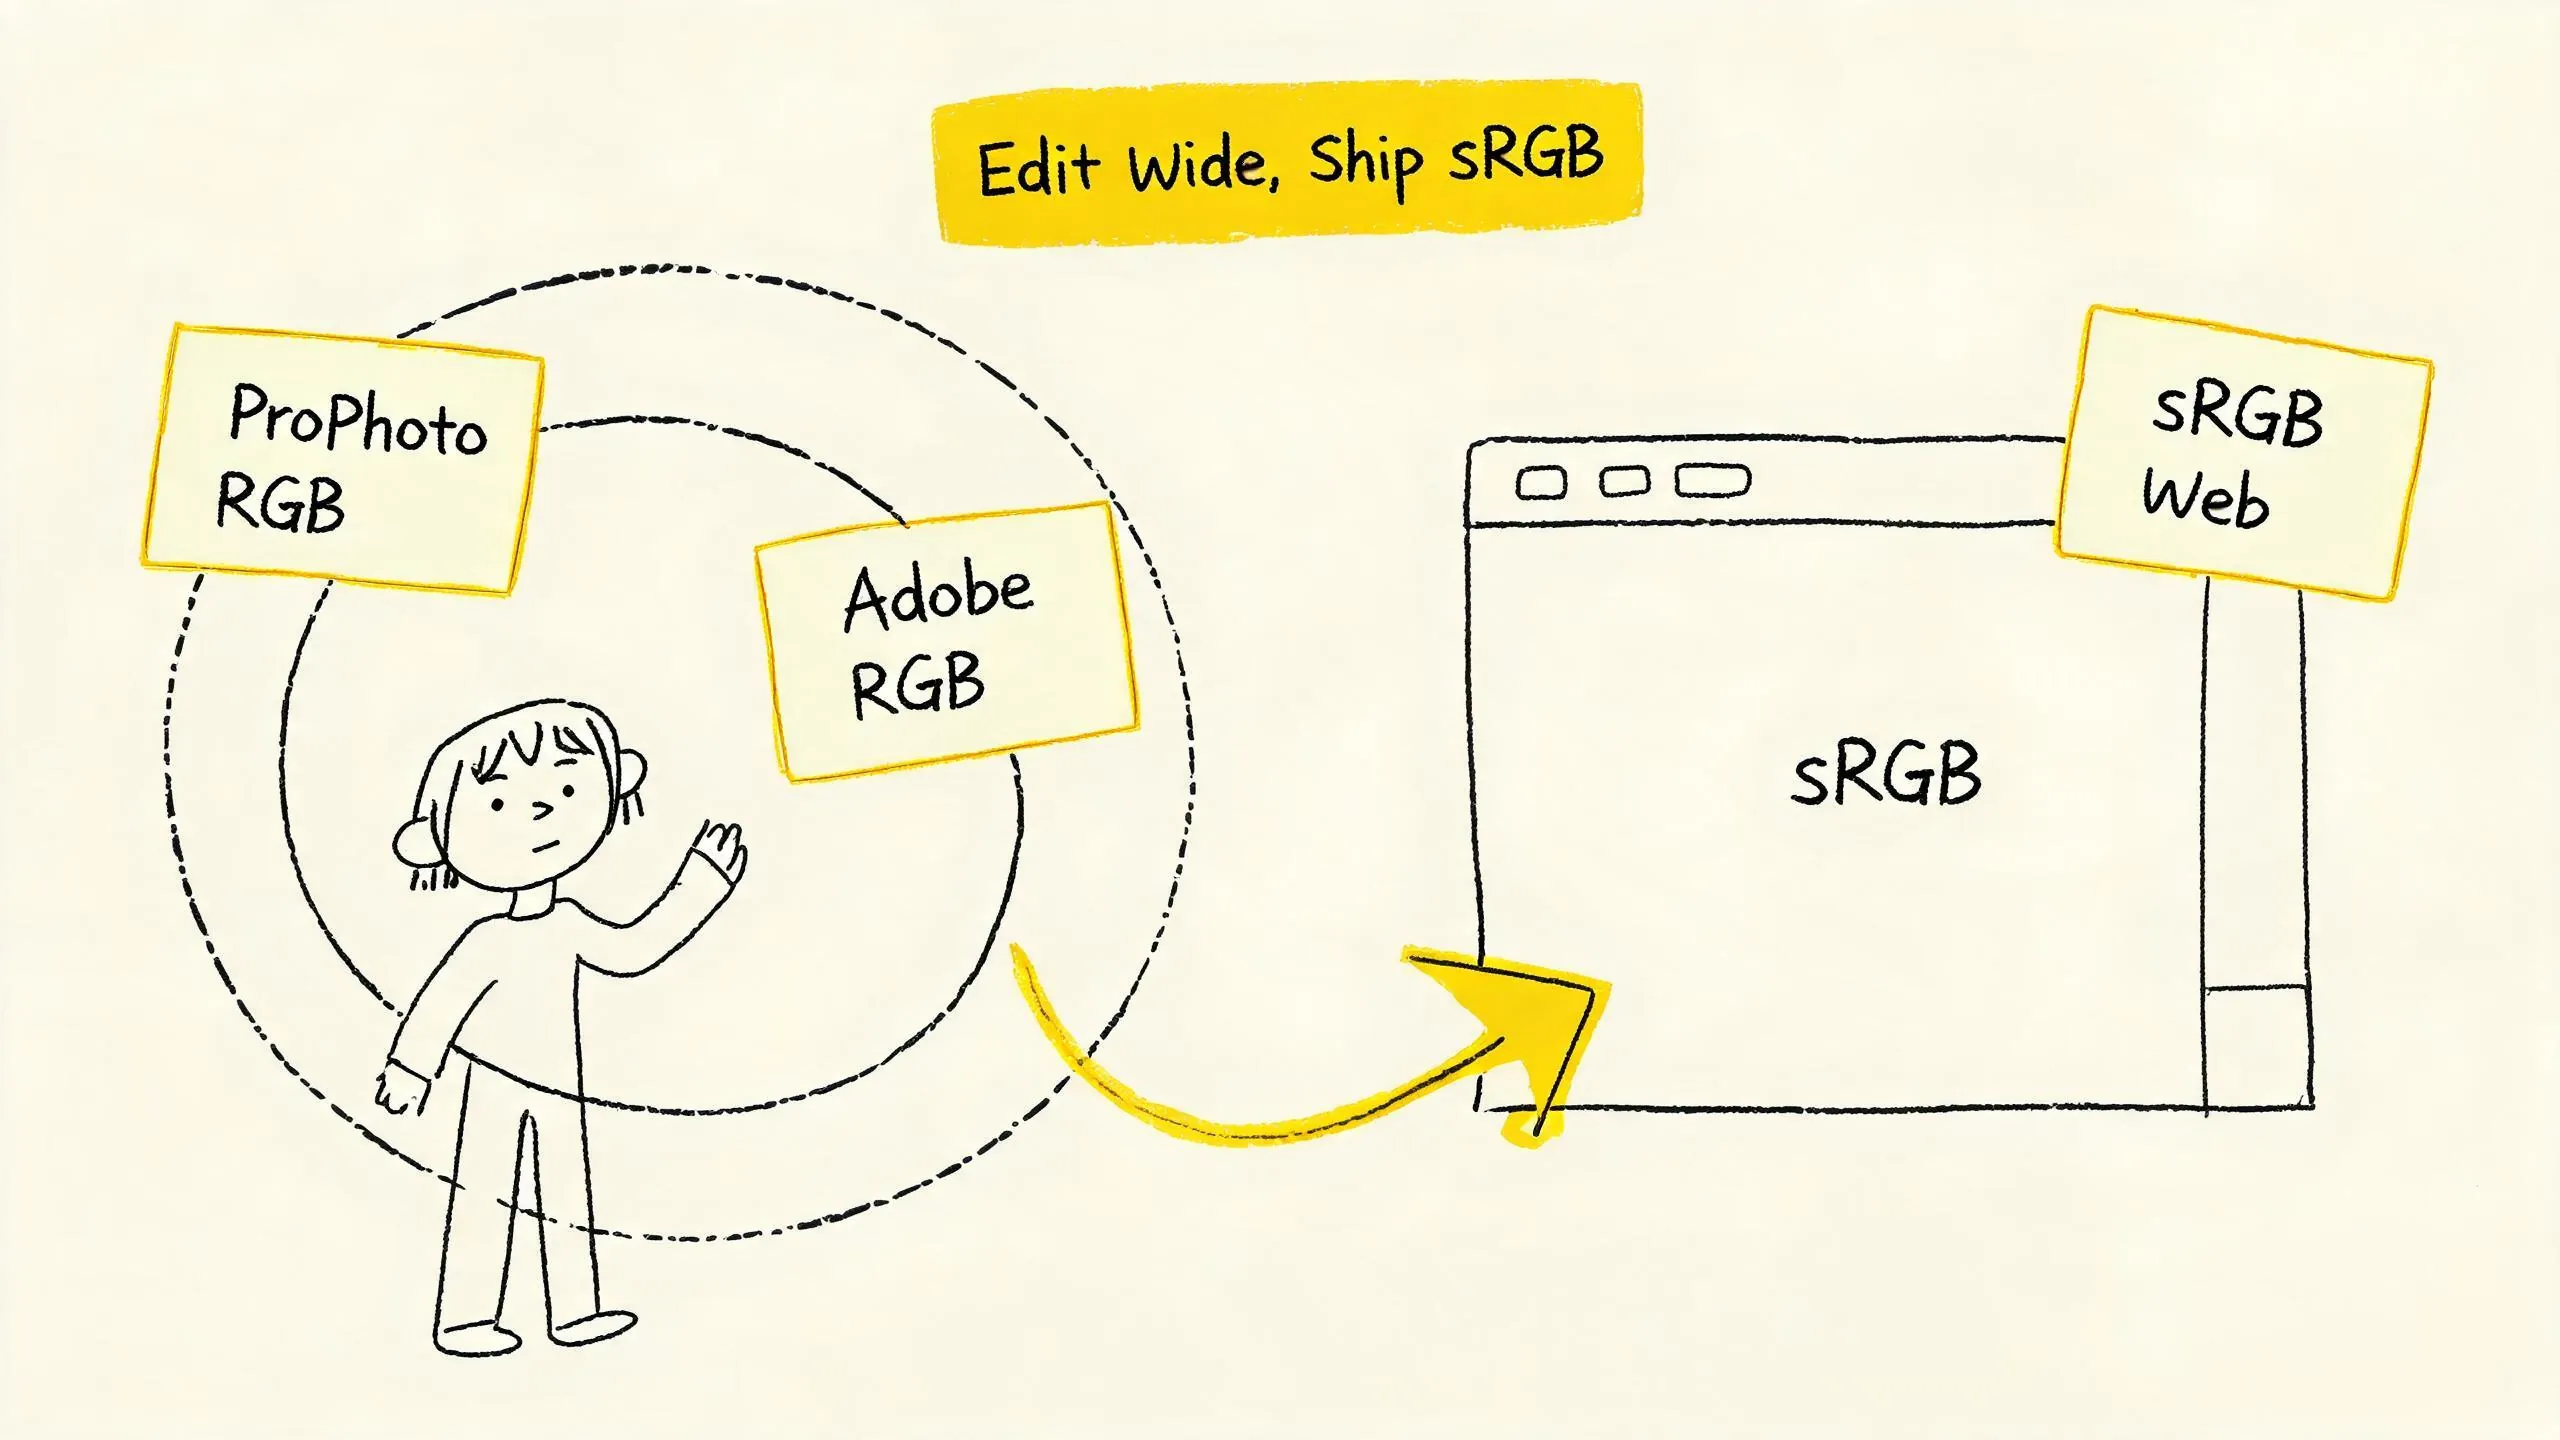
Color Space: sRGB, Adobe RGB, and ProPhoto RGB
Color space determines the range of colors a file can record and display. Choosing the wrong color space can result in colors that look vibrant on screen but become dull and distorted when published online.
- sRGB: This is the safe, universal color space for web publishing. Almost all browsers, social media platforms (including Instagram), and consumer-grade monitors default to sRGB for color interpretation. If your workflow ends with web sharing, converting files to sRGB is a critical step to ensure color consistency.
- Adobe RGB: Its gamut is wider than sRGB, especially in cyan and green areas, capturing more color information. It is suitable for professional print-oriented workflows. However, if you upload Adobe RGB files directly to the web, platforms will forcibly convert them to sRGB, a process that often causes colors (especially vibrant greens) to become muted.
- ProPhoto RGB: This is the widest color space, encompassing almost all visible colors. It is often used as a “working space” during advanced editing to preserve maximum color information. However, ProPhoto RGB is not suitable as a final delivery format. Lumaprints’ guide notes that it requires 16-bit TIFF files, and most printers cannot physically reproduce most of its colors, so “the potential benefits are far outweighed by the drawbacks”.
Practical Advice: When editing in Lightroom, Capture One, or Photoshop, you can set the working space to ProPhoto RGB or Adobe RGB to retain maximum information. But when exporting final files for web publishing, always convert to the sRGB color space.
Bit Depth: 16-bit vs. 8-bit
Bit depth determines the number of color gradations each pixel can record. An 8-bit file has 256 levels per channel, while a 16-bit file has 65,536 levels per channel. For film scans, especially color negatives requiring significant color and exposure adjustments, editing with 16-bit TIFF is recommended. More gradations mean smoother color transitions when adjusting curves and levels, reducing the risk of banding. After all edits are complete, export to 8-bit JPEG for publishing.
The Core of Color Management: ICC Profiles, Soft Proofing, and Color Consistency
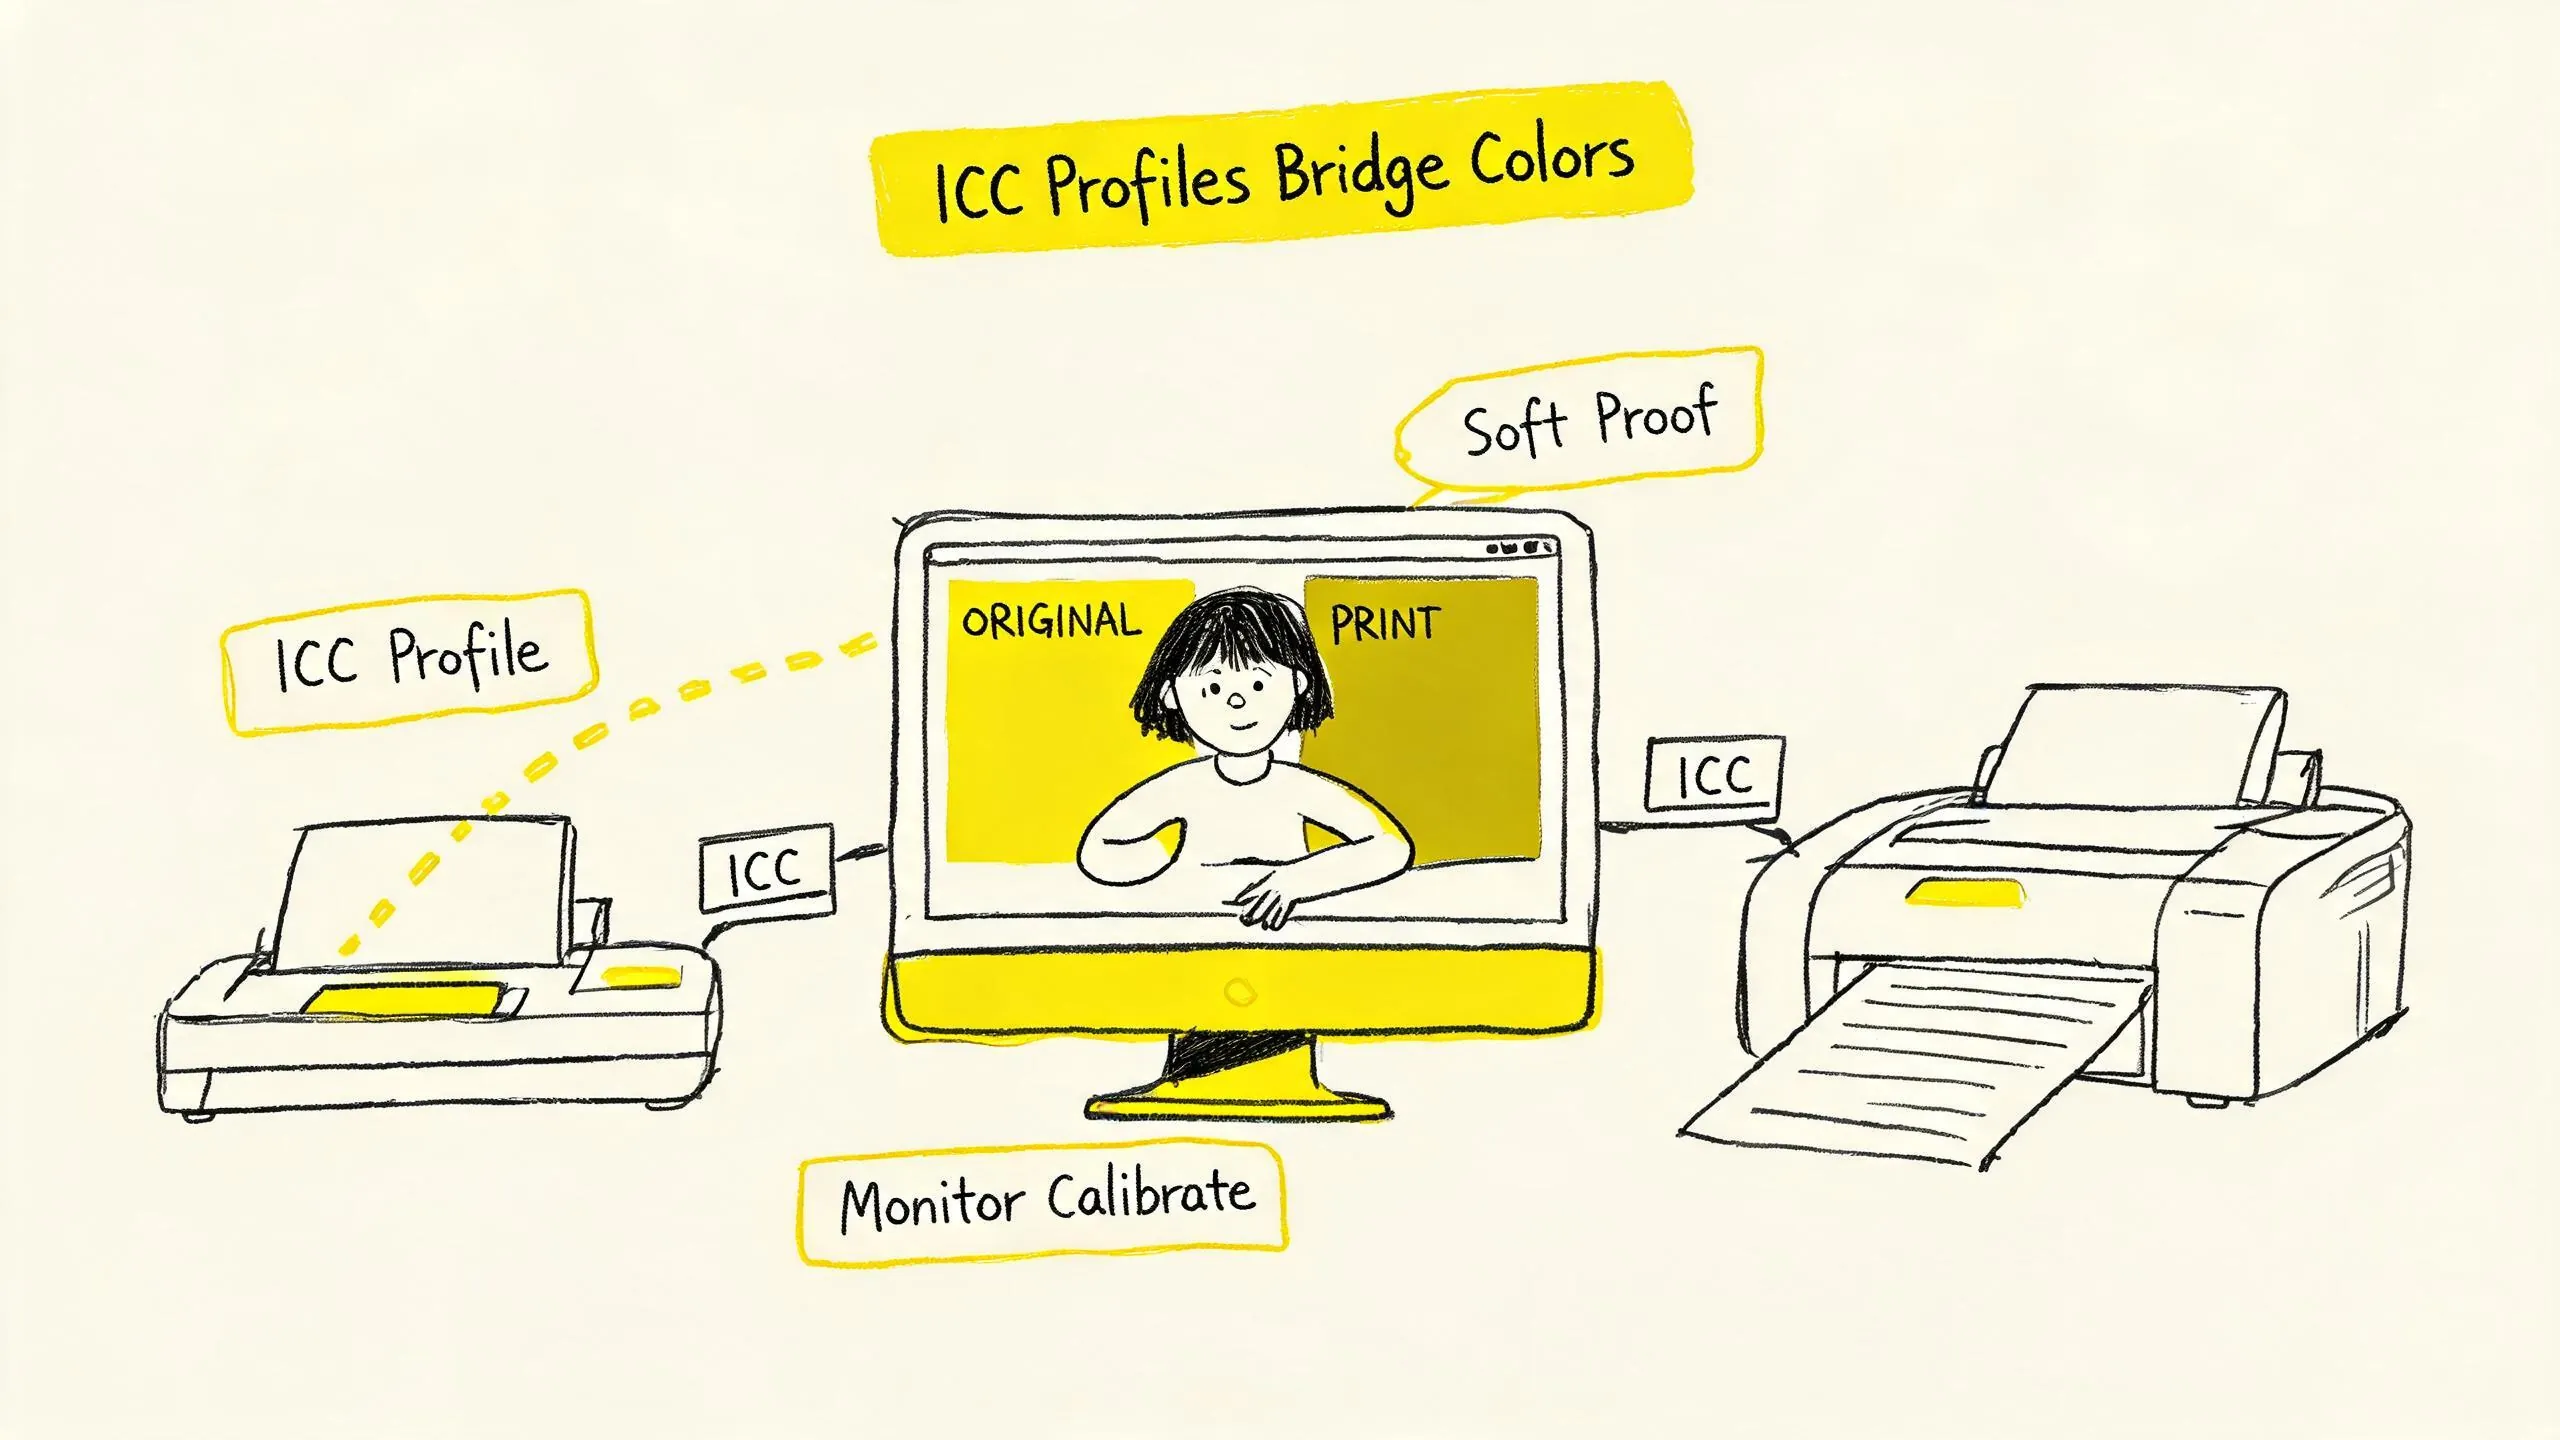
Color management is the science of ensuring color consistency from the scanner to your monitor and finally to the output (screen or print). Its core tool is the ICC Profile.
ICC Profiles: The “Color ID Card” of Devices
An ICC profile is a data file that describes the color gamut characteristics of a specific device (e.g., your scanner, monitor, or printer). The International Color Consortium (ICC) official FAQ explains that color management works by using these profiles to map different devices’ color spaces to a standard “Profile Connection Space” (PCS), enabling cross-device color conversion. You can think of it as a “translator” that accurately translates between the color language of the scanner, the monitor, and the printer.
ICC profiles come from three main sources: device manufacturers, operating systems, or user creation. For photographers pursuing ultimate color accuracy, especially those using DSLR copy workflows, creating custom ICC profiles for specific device combinations is an advanced choice. User nicnilov on the Negative Lab Pro forum shared a complete process using the open-source tool AryllCMS: first converting RAW files to linear TIFFs with dcraw, then using the scanin tool to match IT8 color charts, and finally generating profiles with colprof and verifying color differences with profcheck. This process is technically demanding but can significantly improve the starting accuracy of color management.
Soft Proofing: Previewing Final Output on Screen
Soft proofing is a function in editing software that uses ICC profiles to simulate the color performance of the final output device (e.g., a specific printer model or paper type). By enabling soft proofing, you can preview the approximate print colors on screen and make adjustments accordingly, avoiding the waste of repeated test prints. This is an indispensable step in professional print workflows.
Practical Color Correction: Handling Film Scans in Lightroom/Capture One
With correct file settings and a color management foundation, we move to specific color correction. Whether using Lightroom, Capture One, or other professional software, processing film scans has its unique logic.
From Negative to Positive: The First Conversion
For color negative scans (usually with an orange base), the first step is “inversion” and removing the base color. Many modern software packages (like Lightroom with the Negative Lab Pro plugin, or Capture One’s built-in tools) provide dedicated modules for this step. This process is not just a simple inversion but also involves an initial interpretation of the film’s characteristics.
White Balance and Color Correction
White balance correction for film scans differs from digital photos. You cannot simply use the gray card tool because the base color affects the reading. More effective methods include:
- Finding Neutral Gray or White Areas: Locate objects in the image that should be neutral gray or white (e.g., a white wall, gray clothing), and use the white balance eyedropper tool to click and make an initial correction.
- Using Curve Tools: Adjusting the RGB curves individually is a more precise way to control color balance. For example, if the scan has an overall yellow cast, you can brighten the midtones in the blue channel curve or darken the midtones in the red and green channel curves.
Preserving Film Grain
Film grain is a crucial component of film image texture. In digital post-processing, we sometimes need to deliberately preserve or even enhance grain rather than smoothing it out with noise reduction tools. In Lightroom’s “Effects” panel or Capture One’s “Details” panel, you can find the “Grain” slider. Adjusting the “Amount,” “Size,” and “Roughness” parameters can simulate the grain patterns of different ISO films. The key is to make the grain look natural and blend with the image content, rather than appearing as harsh digital noise.
File Archiving System: Naming Conventions, Directory Structure, and Metadata Tagging
As your scanned files multiply, establishing a clear and scalable archiving system becomes crucial. This ensures you can quickly locate the digital file corresponding to any negative months or even years later.
Naming Conventions
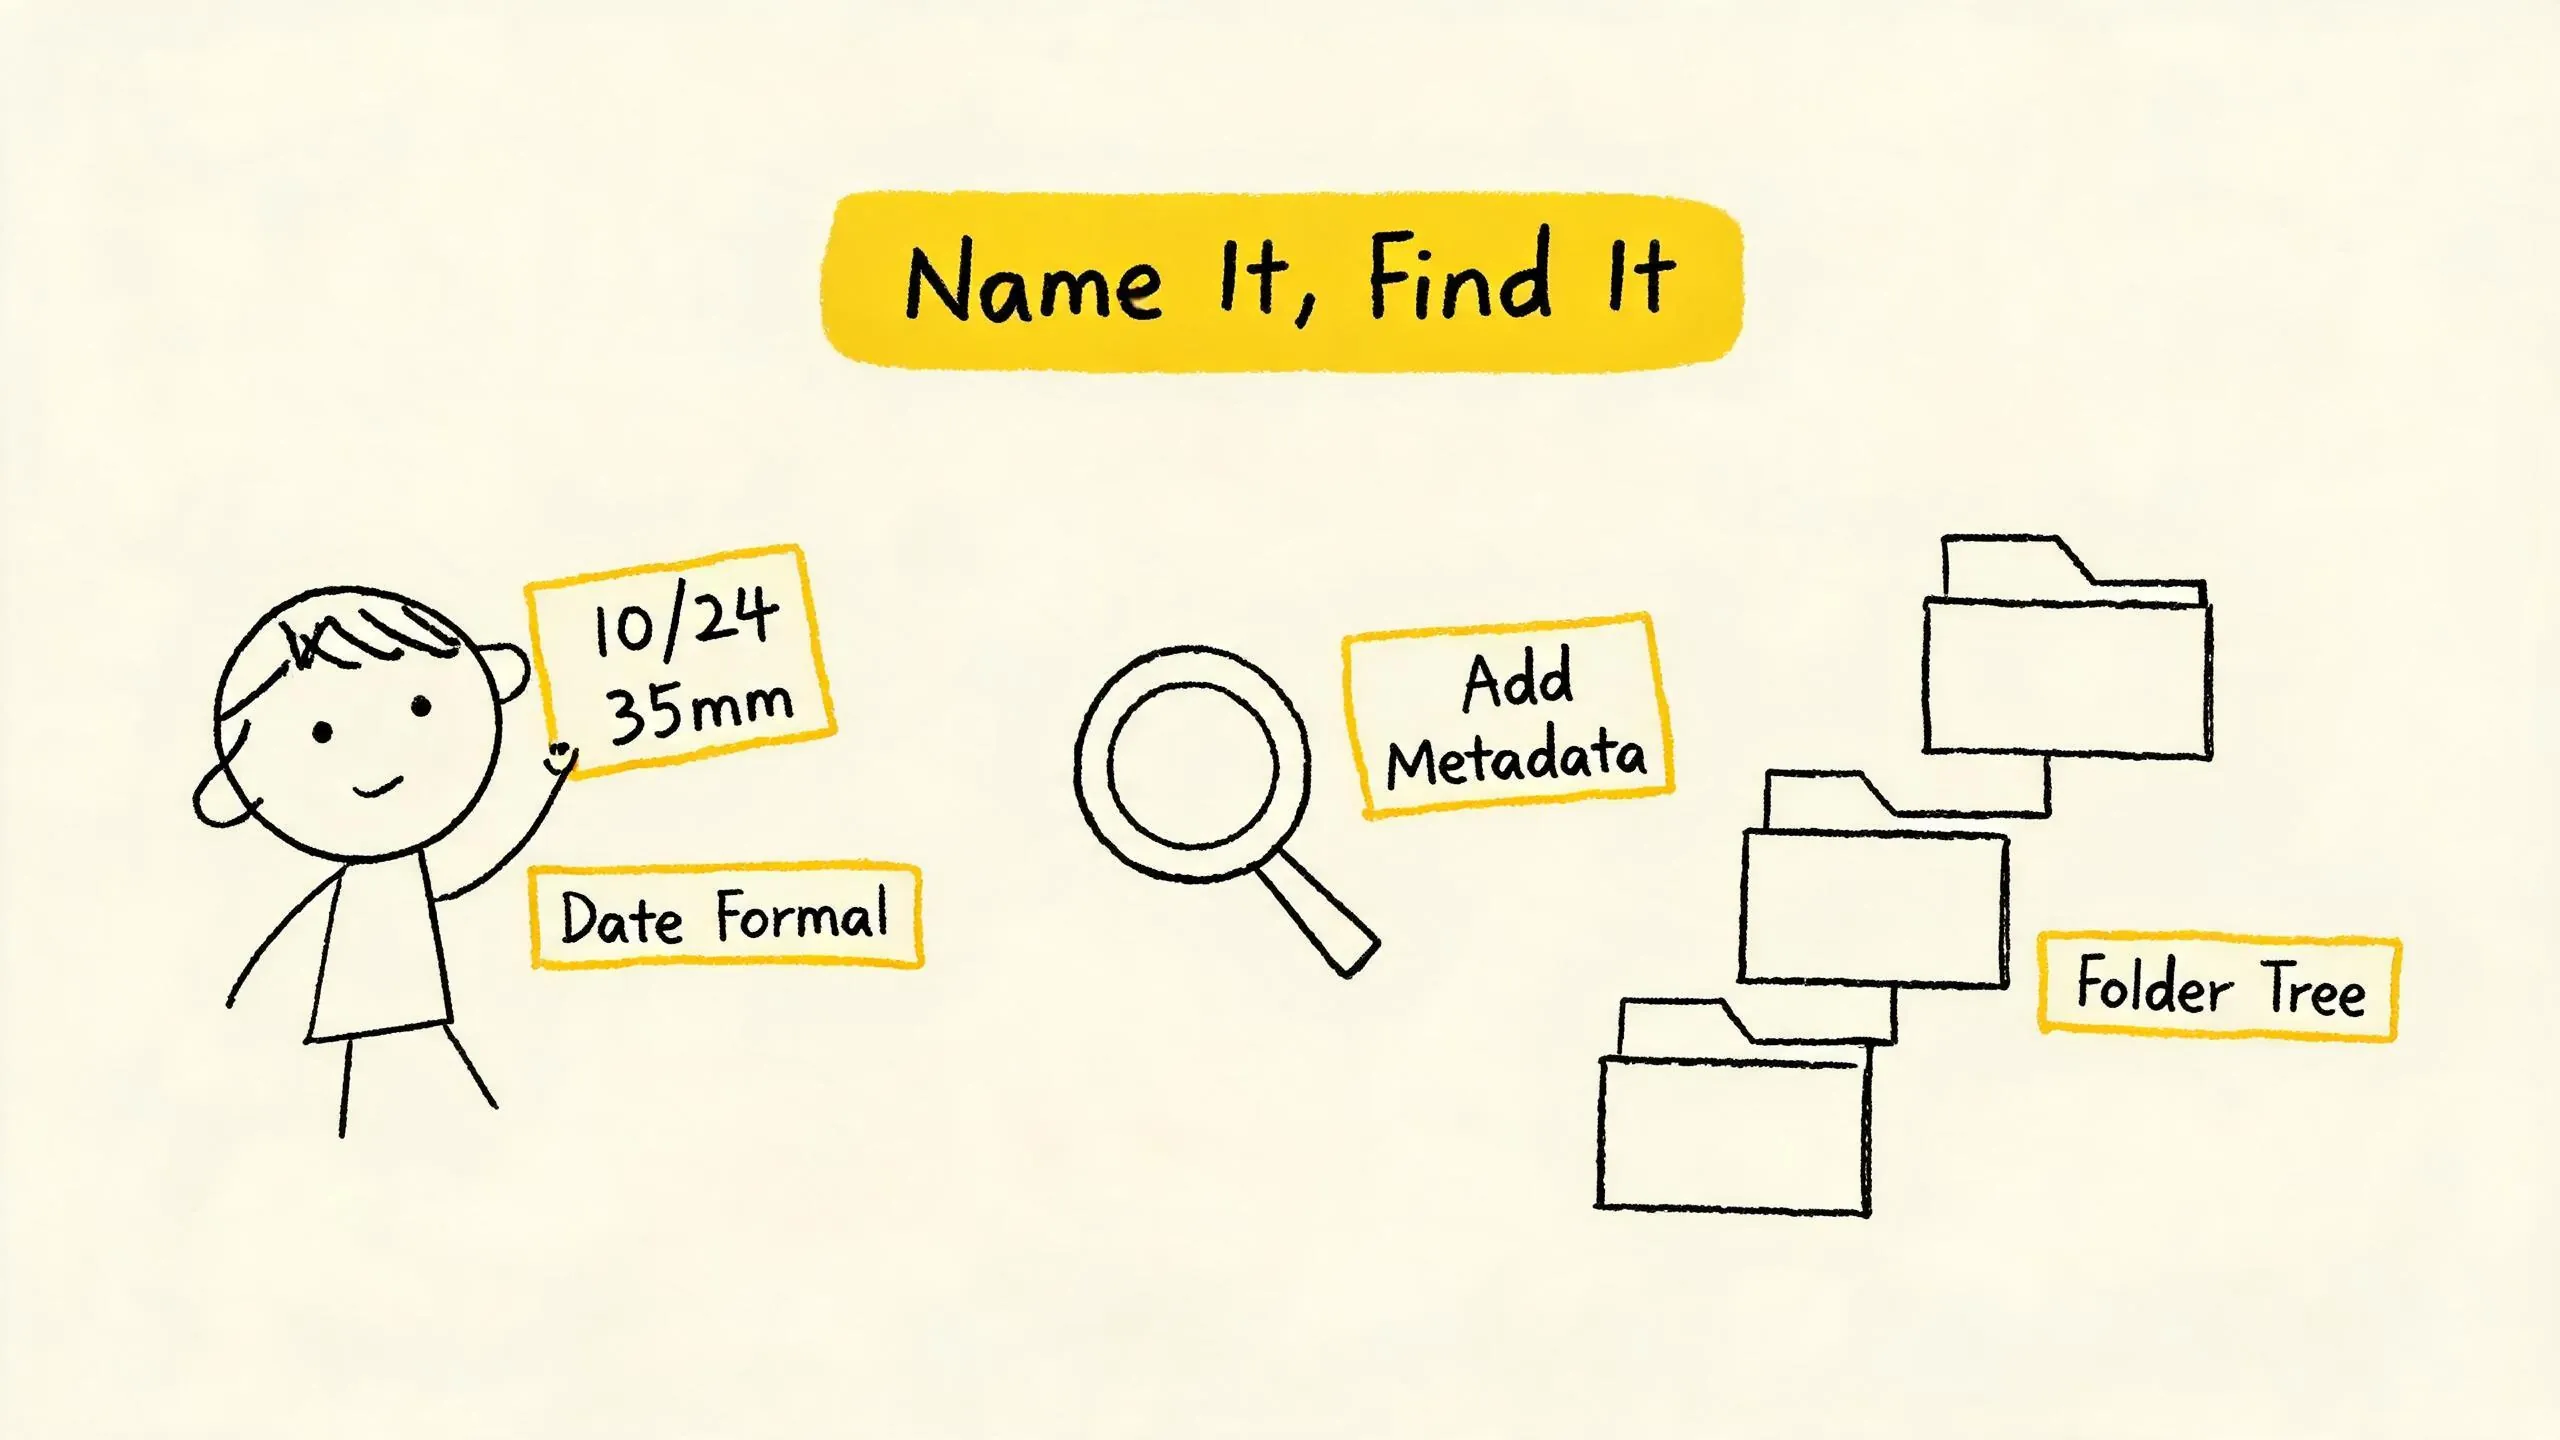
Adopt a naming format that includes key information, such as: Date_FilmModel_RollNumber_Sequence.FileFormat. For example: 20260401_KodakPortra400_R01_001.tif. This naming is clear at a glance, containing the shooting date, film type, roll number, and sequence, facilitating sorting and retrieval.
Directory Structure
Establish a logically clear folder hierarchy. A common structure is:
FilmPhotography/
├── 2026/
│ ├── 2026-04_KodakPortra400_Daily/
│ │ ├── RawScans/ (Stores unedited 16-bit TIFFs)
│ │ ├── Edits/ (Stores Lightroom catalogs or editing project files)
│ │ └── Exports/ (Stores JPEGs or TIFFs for publishing and printing)
Discussions on the Negative Lab Pro forum emphasize that for large-volume scans, standardized processes and scripted automation are fundamental to ensuring repeatability and archiving consistency. Even without scripts, establishing standards during file import can yield twice the results with half the effort.
Metadata Tagging
Utilize software metadata functions to add keywords, descriptions, copyright information, and more to files. This not only aids internal management but also lays the groundwork for future portfolio organization or stock photo sales. You can tag shooting locations, camera and lens used, film type, and even scanning equipment information.
Platform-Adapted Output: Tailoring the Best “Performance Costume” for Different Stages
The same photo requires different optimal presentations on Instagram, Xiaohongshu (Little Red Book), and personal websites. Optimizing output for different platforms is the final mile of the digital pipeline.
Instagram: Vertical Format Reigns, Quality First
Instagram is a key platform for sharing film work. Based on the latest tests and guides from 2025-2026:
- Optimal Aspect Ratio and Size: Instagram has increased the maximum vertical aspect ratio from 4:5 to 3:4. Tests show that uploading images with a short edge of 1440px (for 3:4 ratio, i.e., 1440×1920 pixels) results in significantly better quality when zoomed in on mobile compared to the traditional 1080px, offering the best balance between quality and file size. AAA Presets’ 2026 guide also recommends export sizes of 1080×1440 pixels (3:4) or 1080×1350 pixels (4:5).
- Color Space and Format: Export as sRGB color space JPEG files. JPEG quality is recommended to be set between 80-90 (starting around 85) to balance quality and file size.
- Sharpening: Apply “Screen” output sharpening during export, with a “Standard” amount.
- A Common Misconception: The PPI (pixels per inch) value (e.g., 72 or 300) does not affect the display size of an image on screen; it only affects print size. Screen display size is entirely determined by pixel dimensions. Therefore, there’s no need to worry about setting 72 PPI or 300 PPI during export.
Xiaohongshu: Cover Image Determines Click-Through Rate
Xiaohongshu’s image feed displays in a two-column waterfall layout, making the cover image crucial. Although there is no absolute authoritative official documentation, common experience in the Chinese community suggests:
- Recommended Size: Cover images are recommended to be 1080×1440 pixels (3:4) or 1080×1080 pixels (1:1). Vertical 3:4 images occupy more space in the feed, making them more eye-catching.
- File Size: Keep under 20MB, in JPG or PNG format.
- Content Adaptation: Xiaohongshu users prefer content-rich, informative images. Consider using collages, adding text annotations, or using multi-image carousels to tell a story within a single post.
Personal Portfolio Website: Quality Above All
Your personal website is the stage to showcase your highest-caliber work, free from platform compression.
- File Format and Size: Provide high-quality JPEG or WebP format images. File dimensions can be larger, such as a width of 2400 pixels or more, to showcase the rich details and tonal range of film.
- Color Space: Again, sRGB is recommended, as it is the safe choice in browser environments.
- Loading Optimization: To balance quality and loading speed, use modern image formats (like WebP) and responsive image techniques to serve appropriately sized images to visitors on different screen sizes.
Conclusion: Building Your Digital Back-End Pipeline Workflow
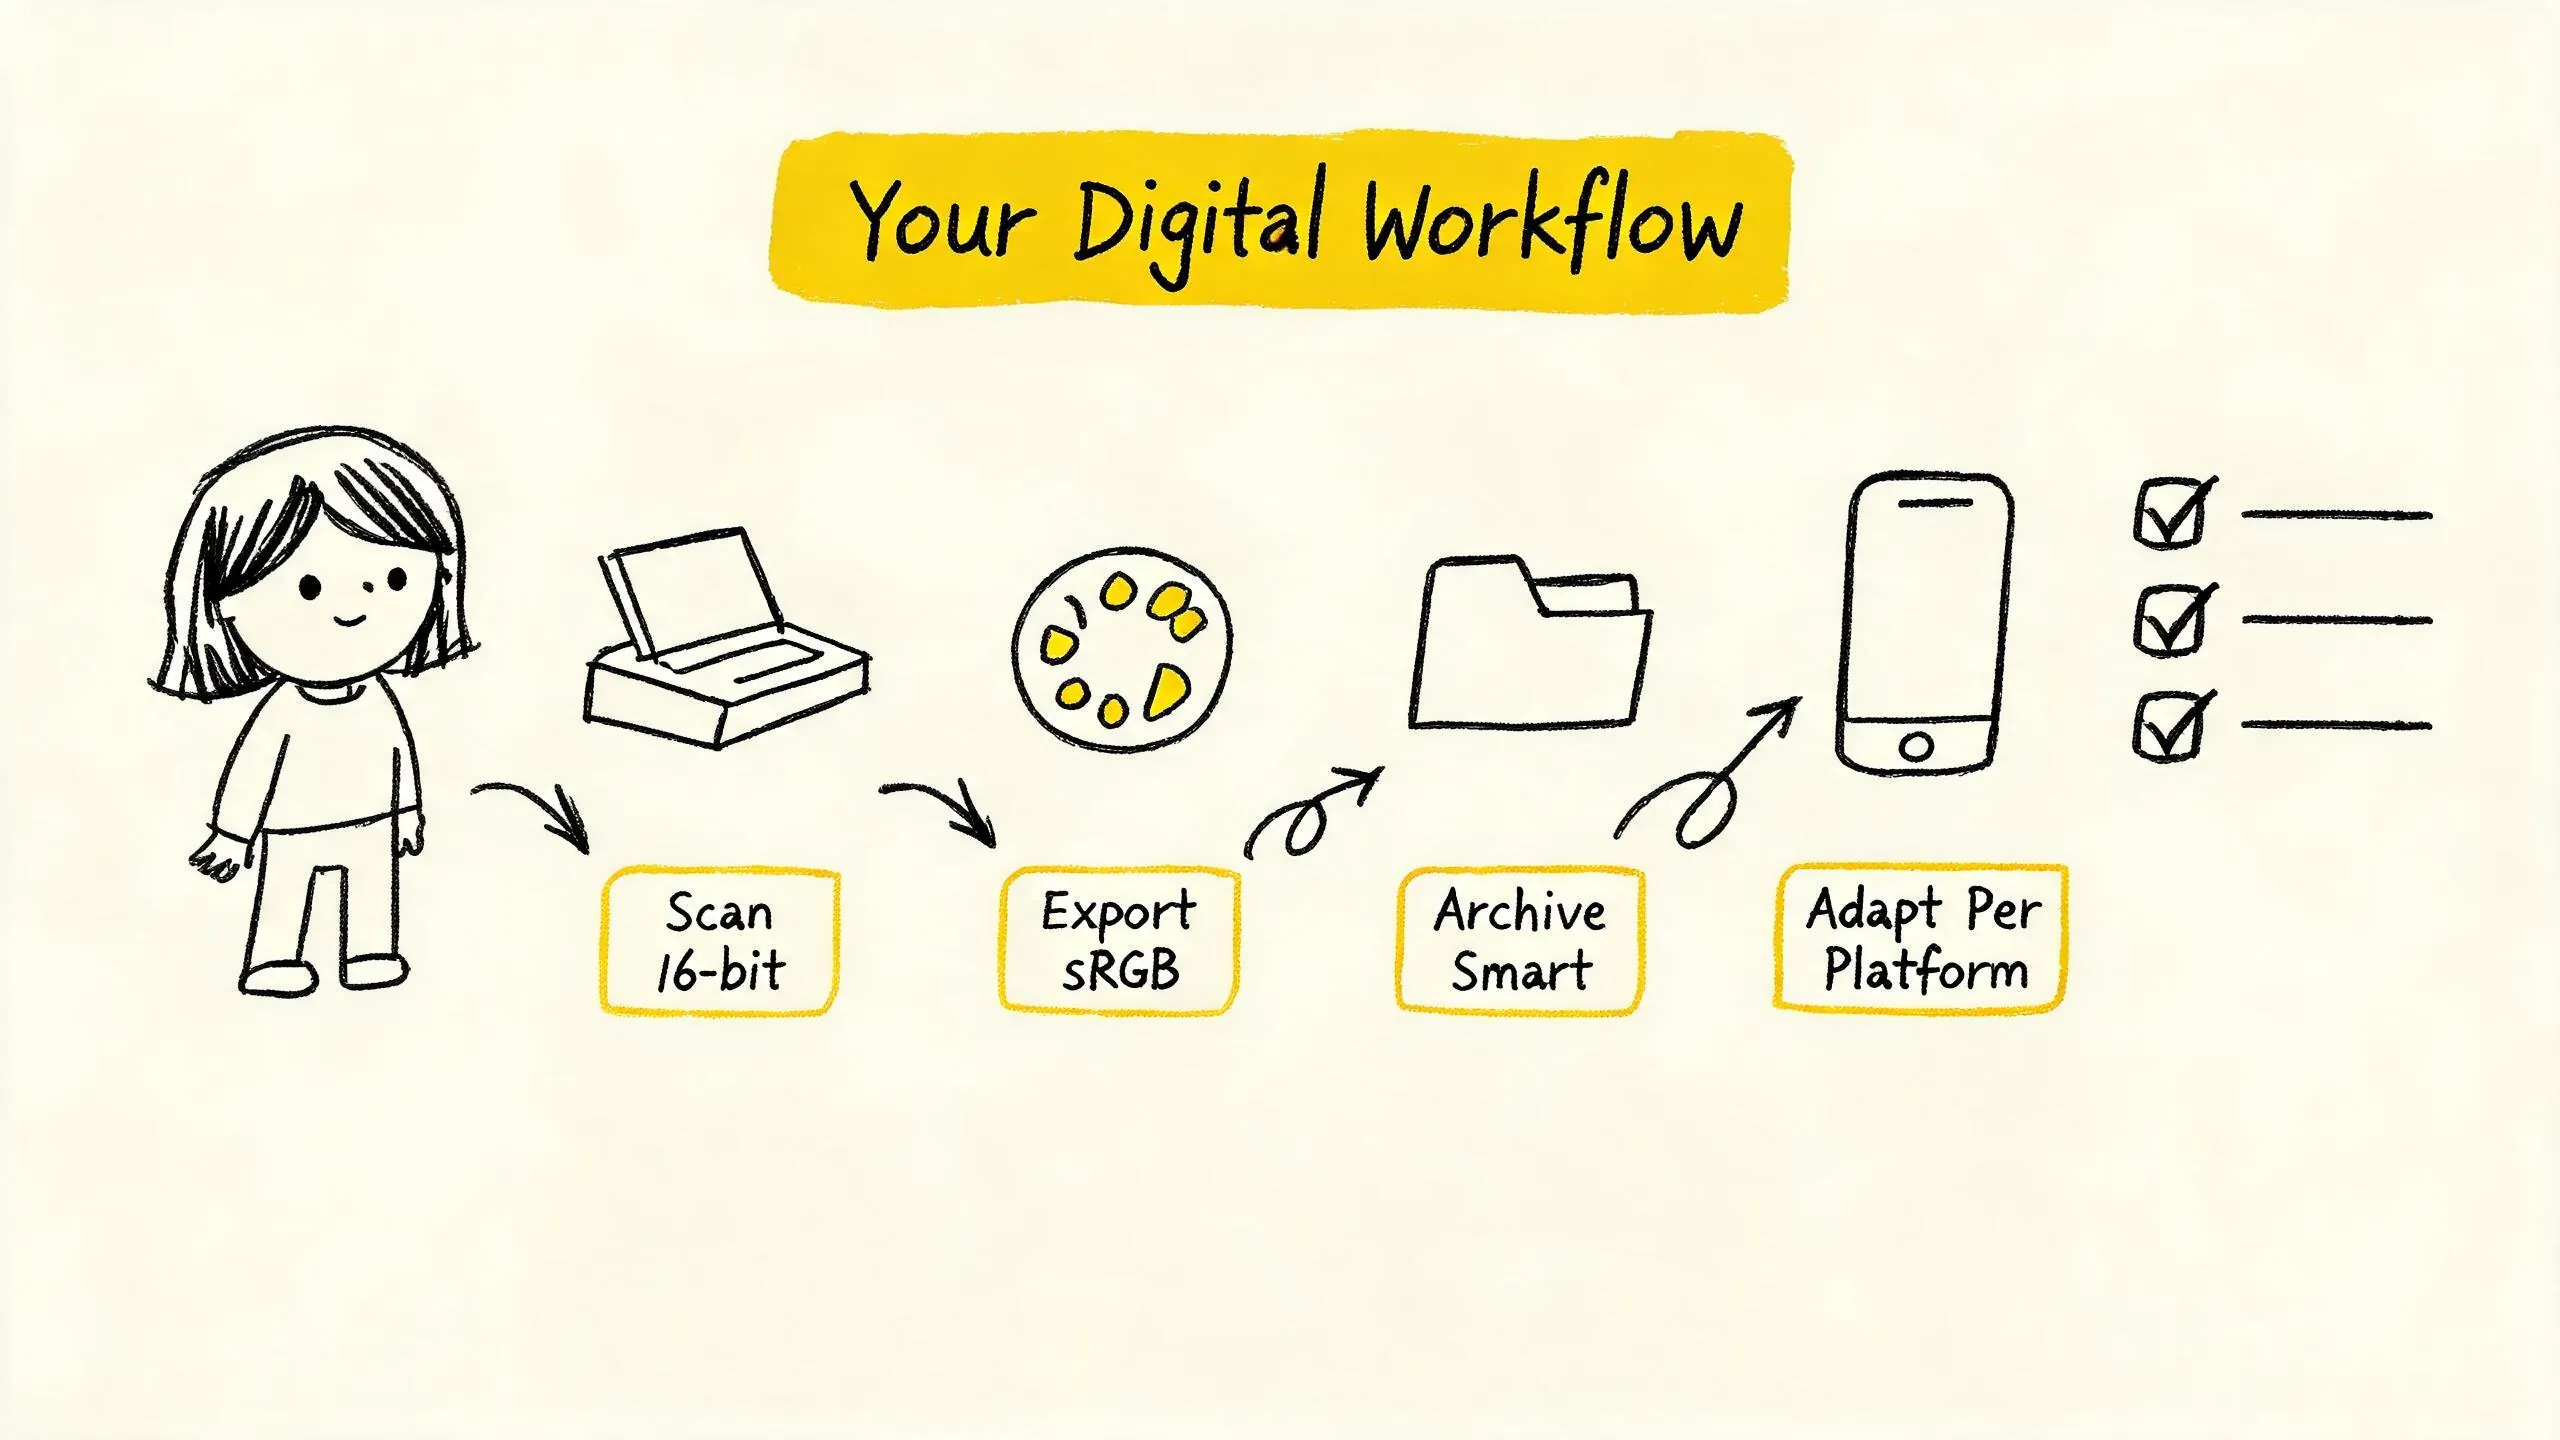
From negative to social media, this digital pipeline is interconnected. An efficient, reusable workflow can be summarized in the following steps:
- Scanning and Archiving: Scan in 16-bit TIFF format, immediately name and archive files according to established rules into corresponding folders.
- Color Management Setup: Correctly set the working color space (e.g., ProPhoto RGB) in editing software and ensure the monitor is calibrated.
- Basic Color Correction: Complete the conversion from negative to positive, perform white balance and initial color correction.
- Fine-Tuning and Creative Processing: Use tools like curves, HSL, etc., for precise color grading, and add effects like grain as needed.
- Export and Publishing:
- Social Media: Export as sRGB, JPEG, specific sizes (e.g., Instagram’s 1440×1920px) files.
- Personal Website: Export as high-quality, large-dimension JPEG or WebP files.
- Printing: Depending on print needs, export as Adobe RGB or retain ProPhoto RGB 16-bit TIFF, and perform soft proofing.
The core of this pipeline lies in consistency and traceability. Through standardized file management, scientific color management, and targeted platform adaptation, your film work can not only be presented to audiences in its best possible state but also remain fresh in your personal archive, ready to be rediscovered and appreciated at any time. Investing time to build and optimize your own digital back-end pipeline is the best investment in your passion for film photography.
References
- Color Management in Printing: Complete Workflow Guide
- Color Management/custom profiles at capture - slides
- ICC Frequently asked questions — International Color Consortium
- 色彩管理的基础 — Digikam Manual 9.2.0 文档
- All About ICC Profiles and Working Color Spaces (Podcast 577)
- Best Instagram Upload Resolution in 2025
- Mastering Instagram Exports: Crystal Clear Photos in 2026
- The Best Instagram Export Settings for Adobe Lightroom 2026 (Pat Kay)
- 色彩管理流程 — Krita Manual 5.3.0 文档